
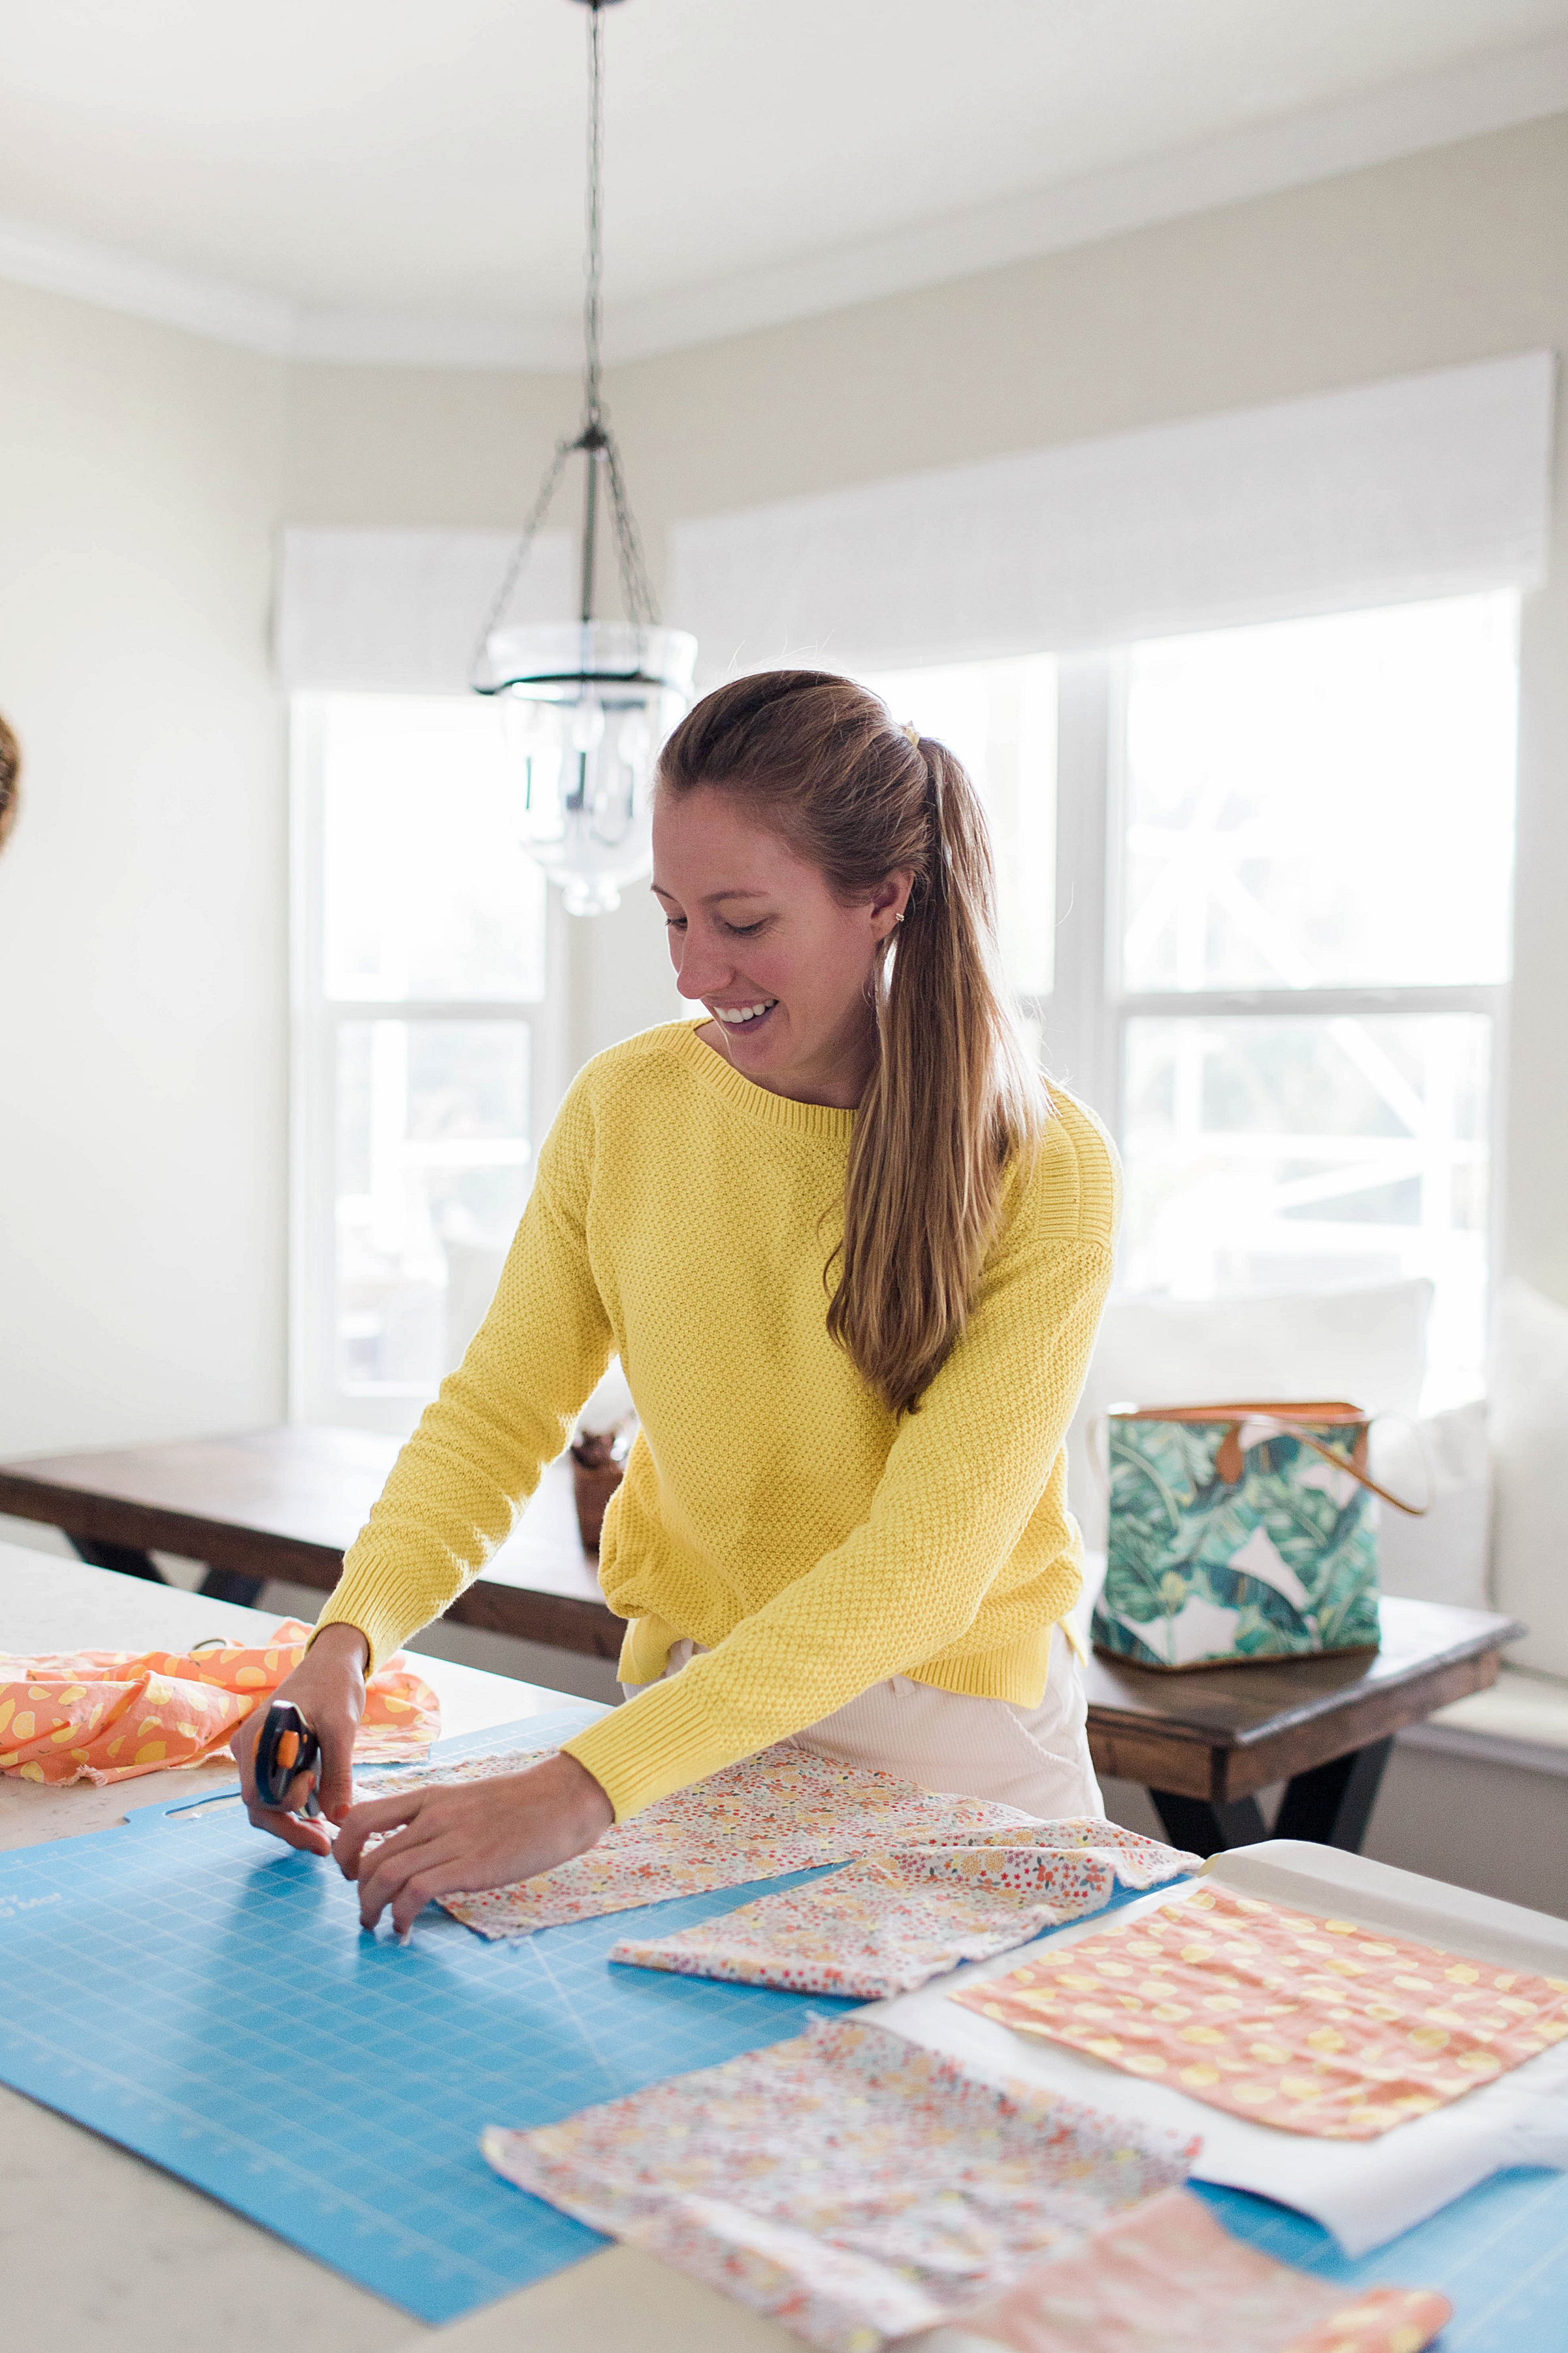
Last week I met up with my good friend and blogger, Harmony, to make DIY beeswax wraps. She’s the food and dessert queen and I’m the fashionista, so we make a fun pair! We always have the best time together and were both really passionate about sustainable and eco-friendly products! I had seen the tutorial making it’s way around the Pinterest-sphere and knew I had to try it out with the one and only Harmony!
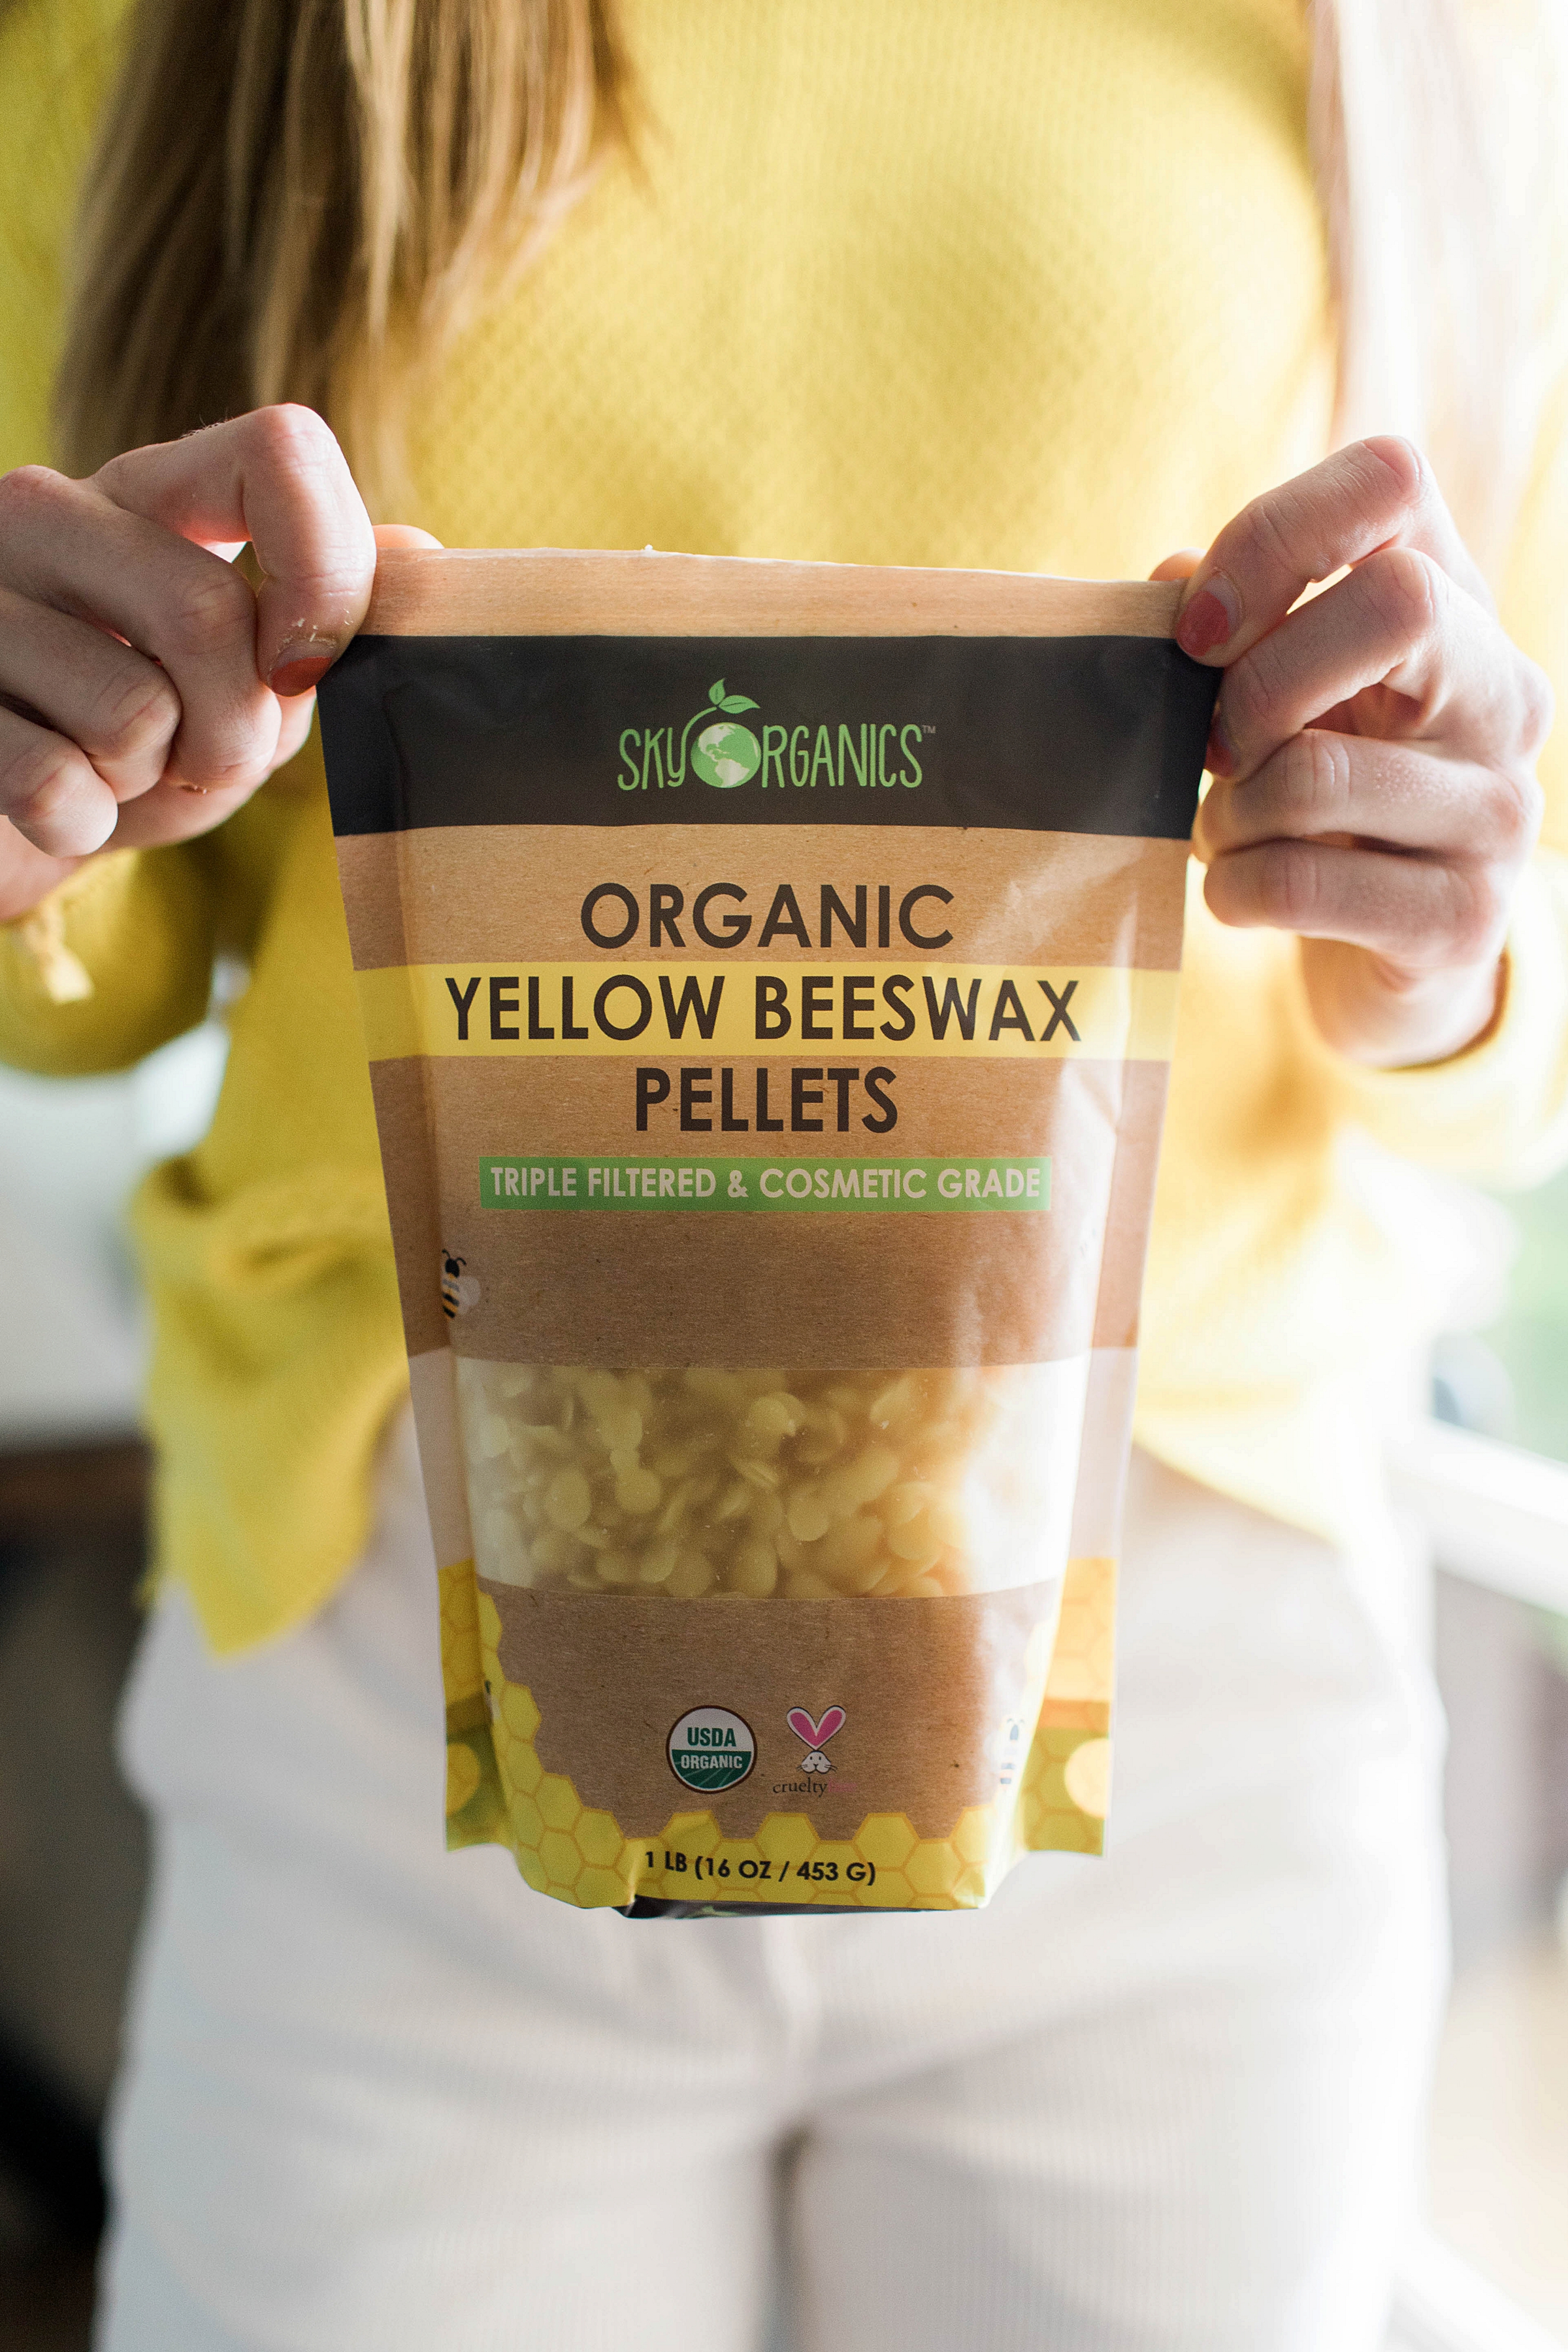
With my flexible schedule at the moment and the need to stay sane while job hunting, I text Harmony asking if she wanted to hang soon and craft together. Of course she said yes! So within a few minutes I put in an order for these beeswax pellets, made a trip to pick out some fabric at Joanns in Sunshine Style fashion of course and printed out the recipe! This tutorial is incredibly easy and will only take you about 30 minutes!
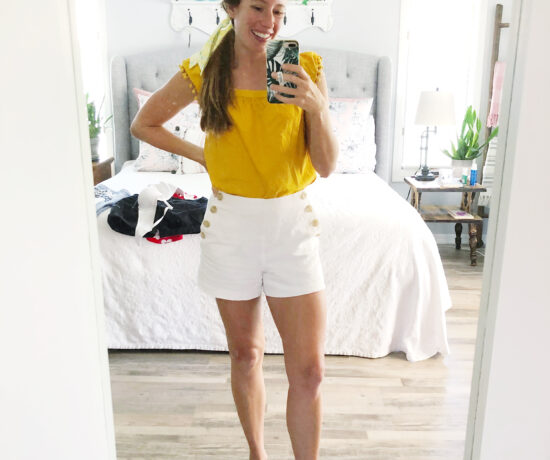
Sunny Outfit Details
Similar Yellow Sweater / Everlane Pants
Items Needed
Pretty Fabric – 1 yard is plenty!
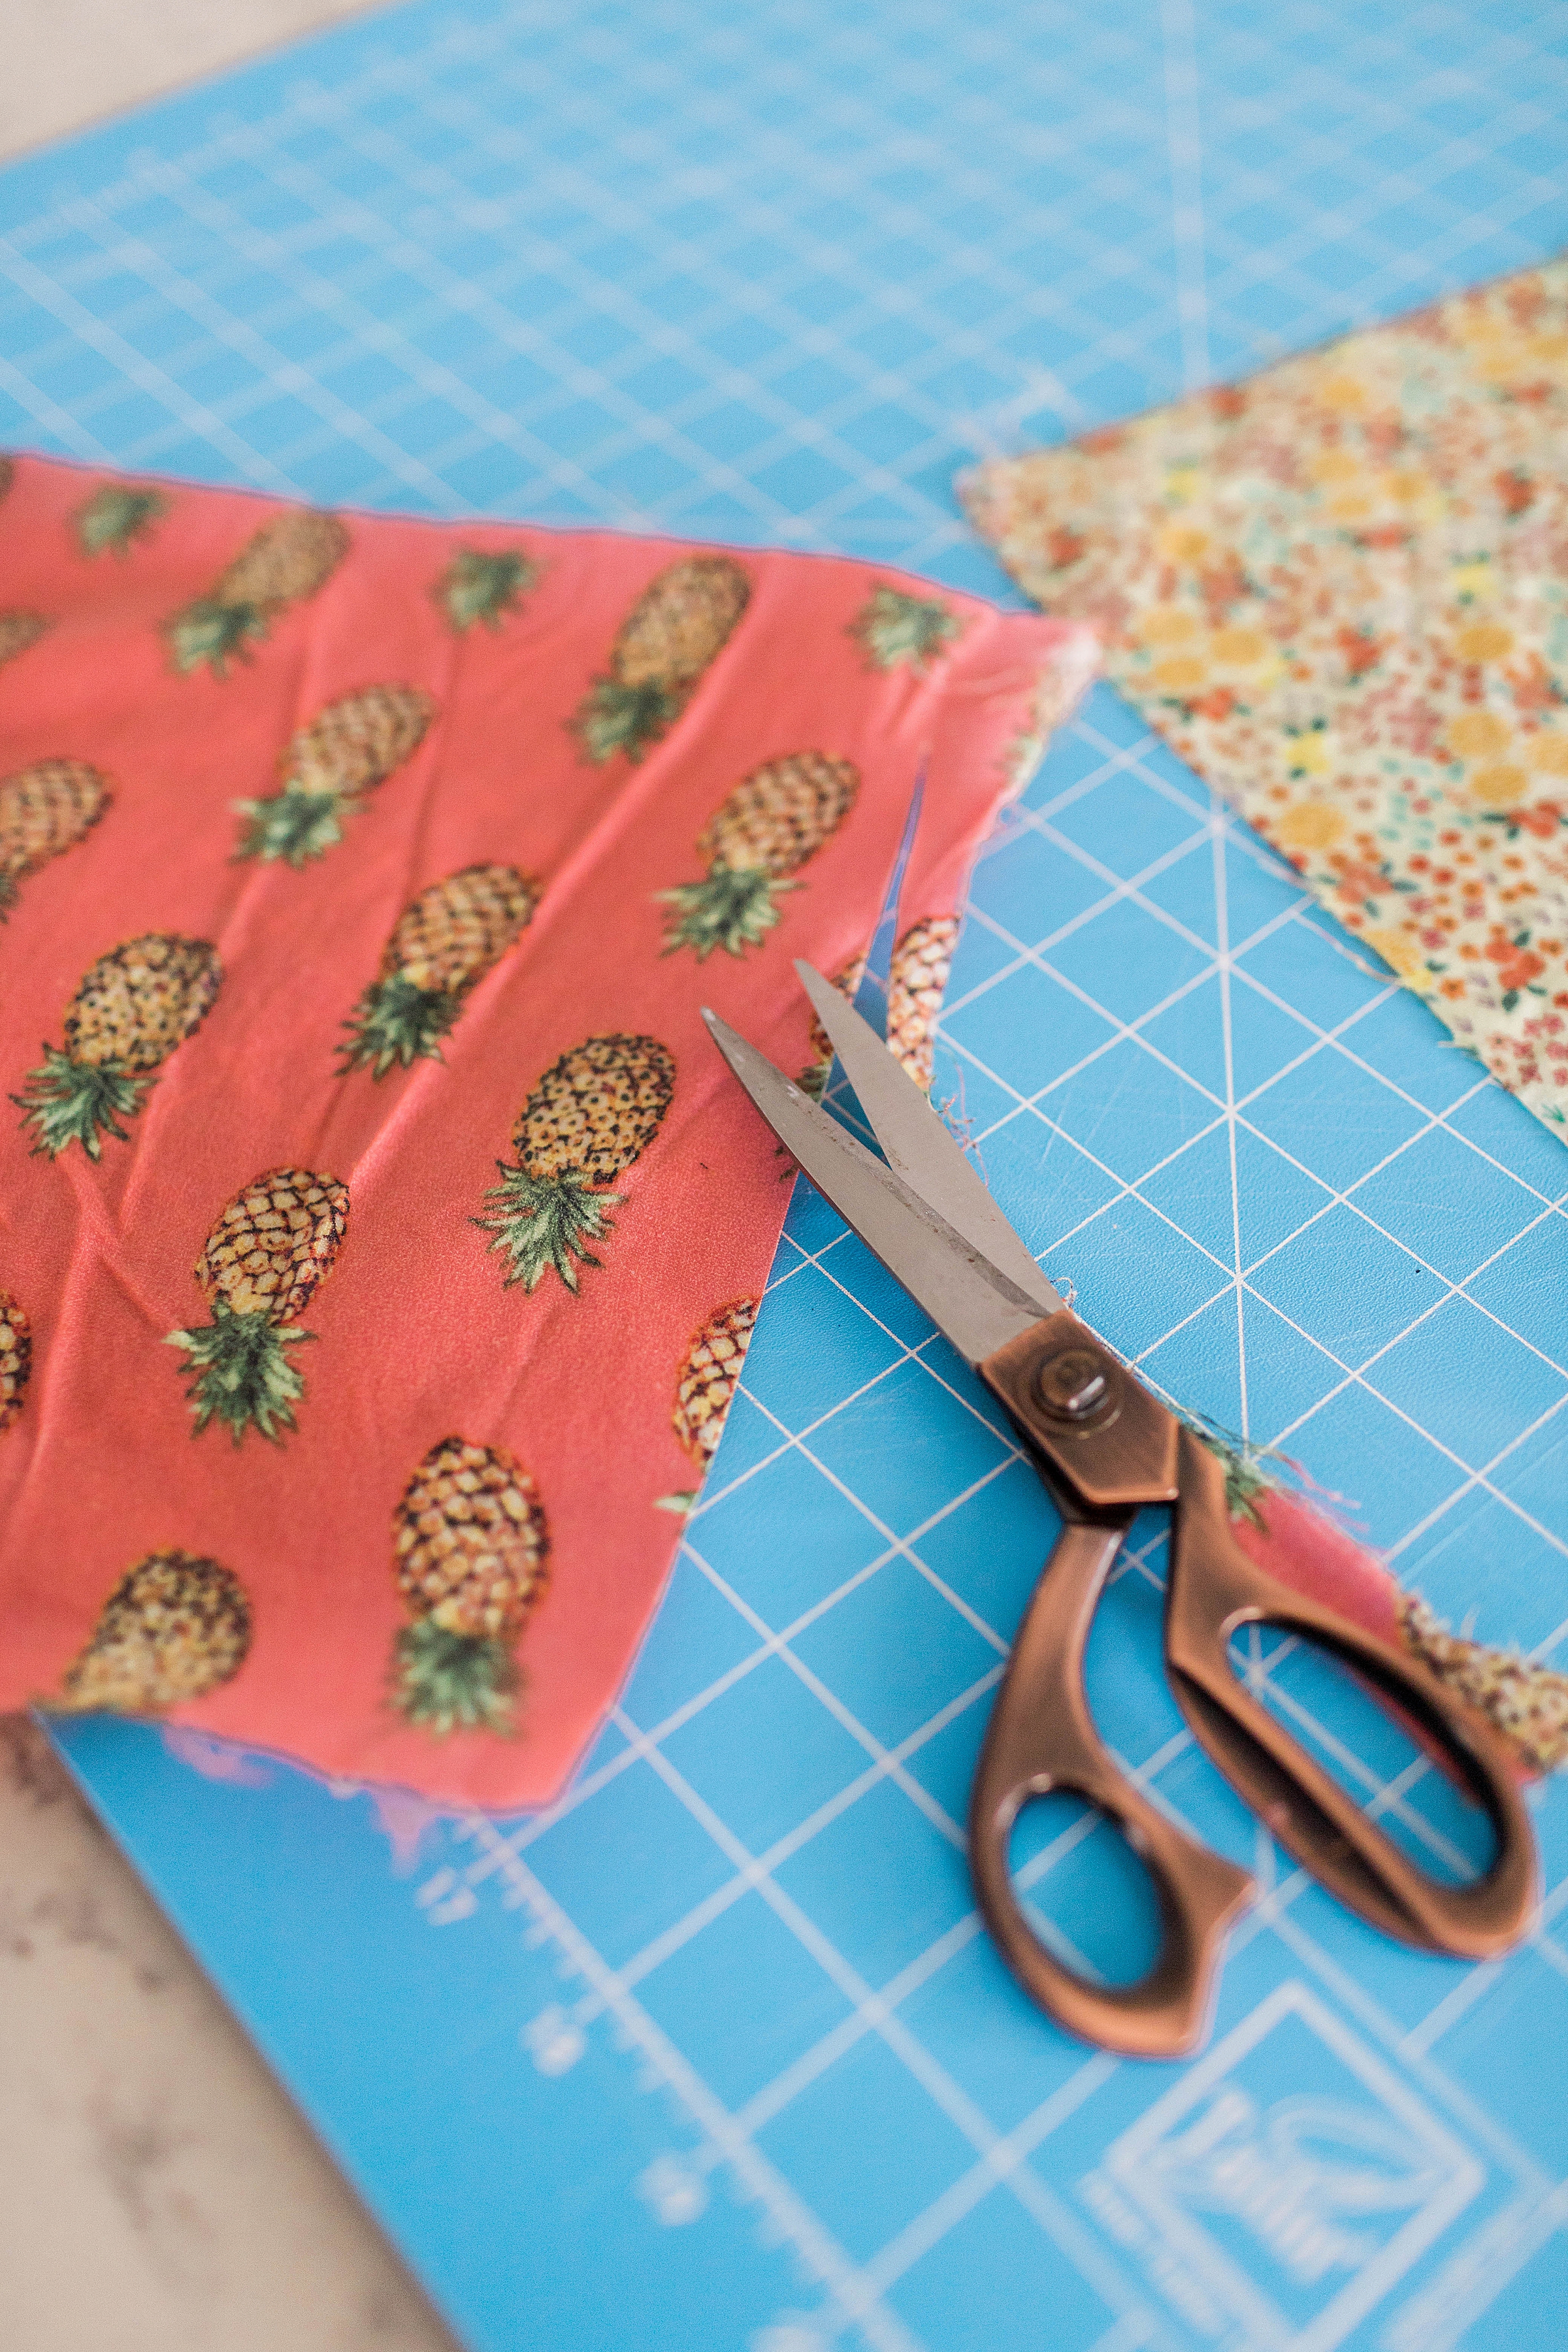
Fabric Scissors
Parchment Paper
Old Paintbrush
Before I stared the DIY project, I researched all the articles on the Internet on how to correctly make these wraps. There were tons of unnecessary ingredients and steps. Once I narrowed it down to what I truly needed, I made the list of items to buy and brought them to Harmony’s for our craft day. Harmony and I experimented with our supplies and had success!
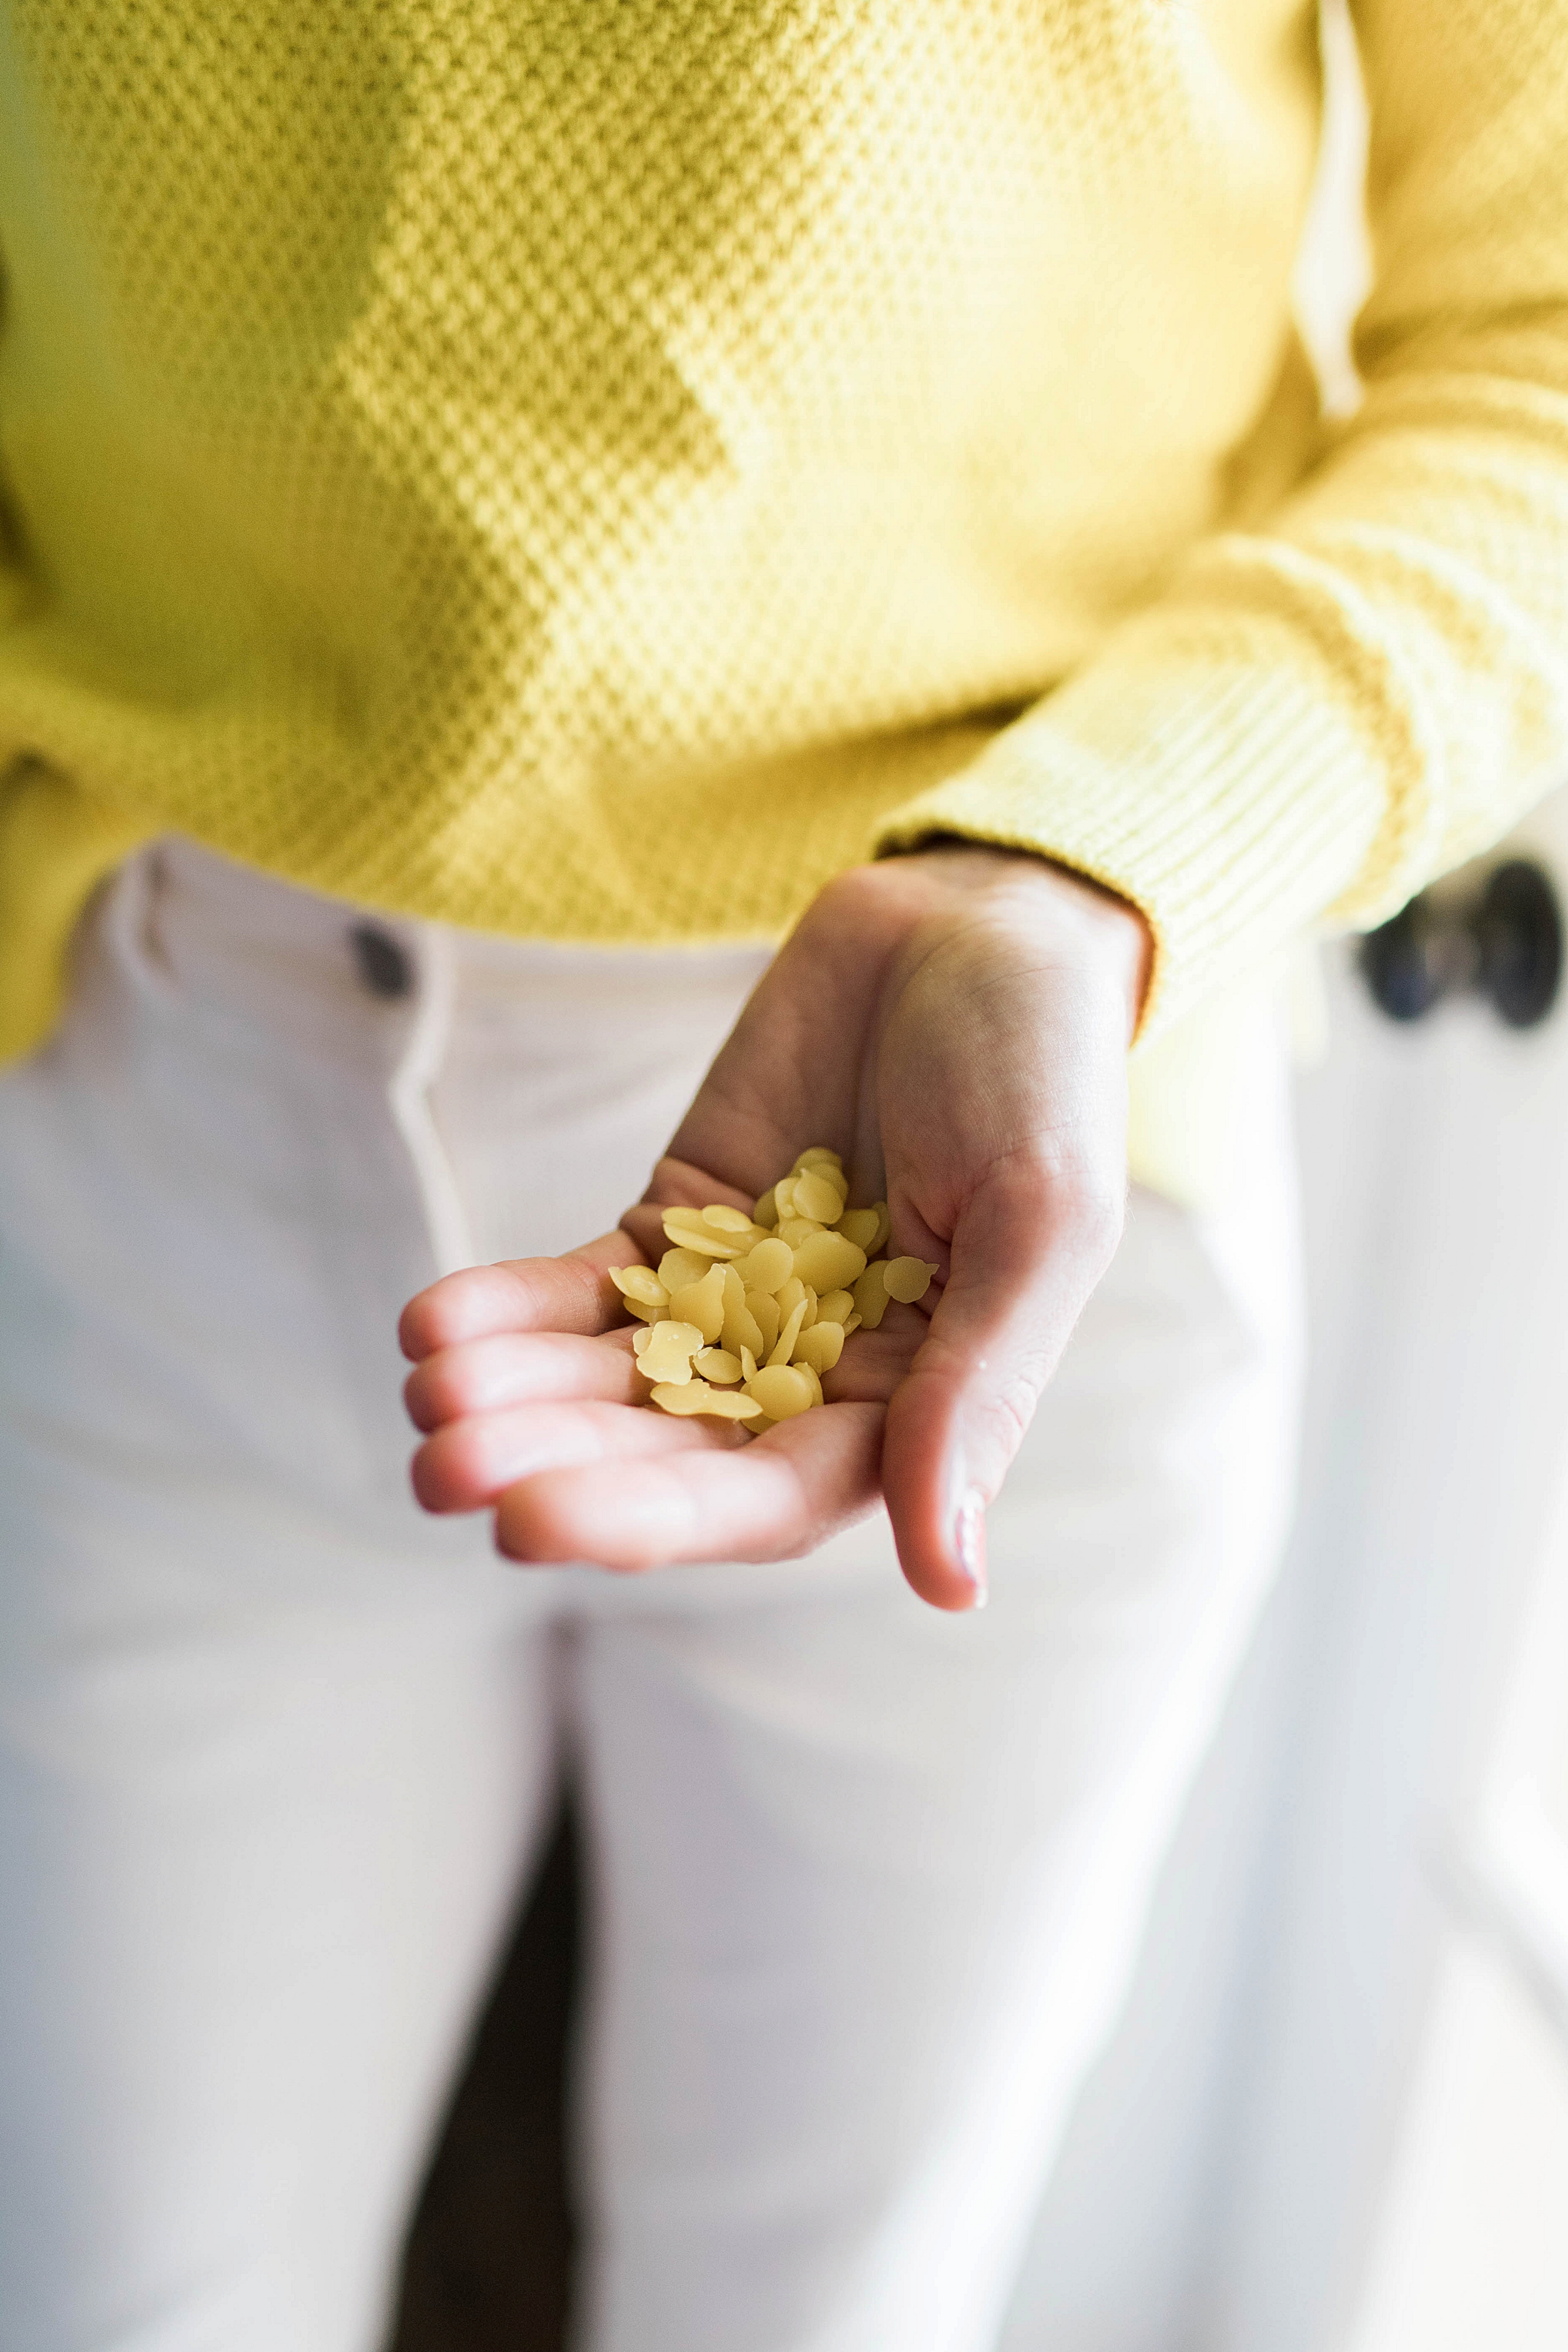
All you truly need are beeswax pellets, fabric pieces and an oven to melt the wax onto the fabric! I’m going to leave it to the experts here. For detailed step-by-step directions, Harmony wrote up a post with specifics that are very helpful!
Beeswax Wraps Directions
1. Cut Your Fabric.
I brought over my giant fabric cutting board and used that to measure out my sizes! 8×8 and 11×11 were the two sizes I used! Perfectly cutting your fabric is not necessary but I found it helpful!
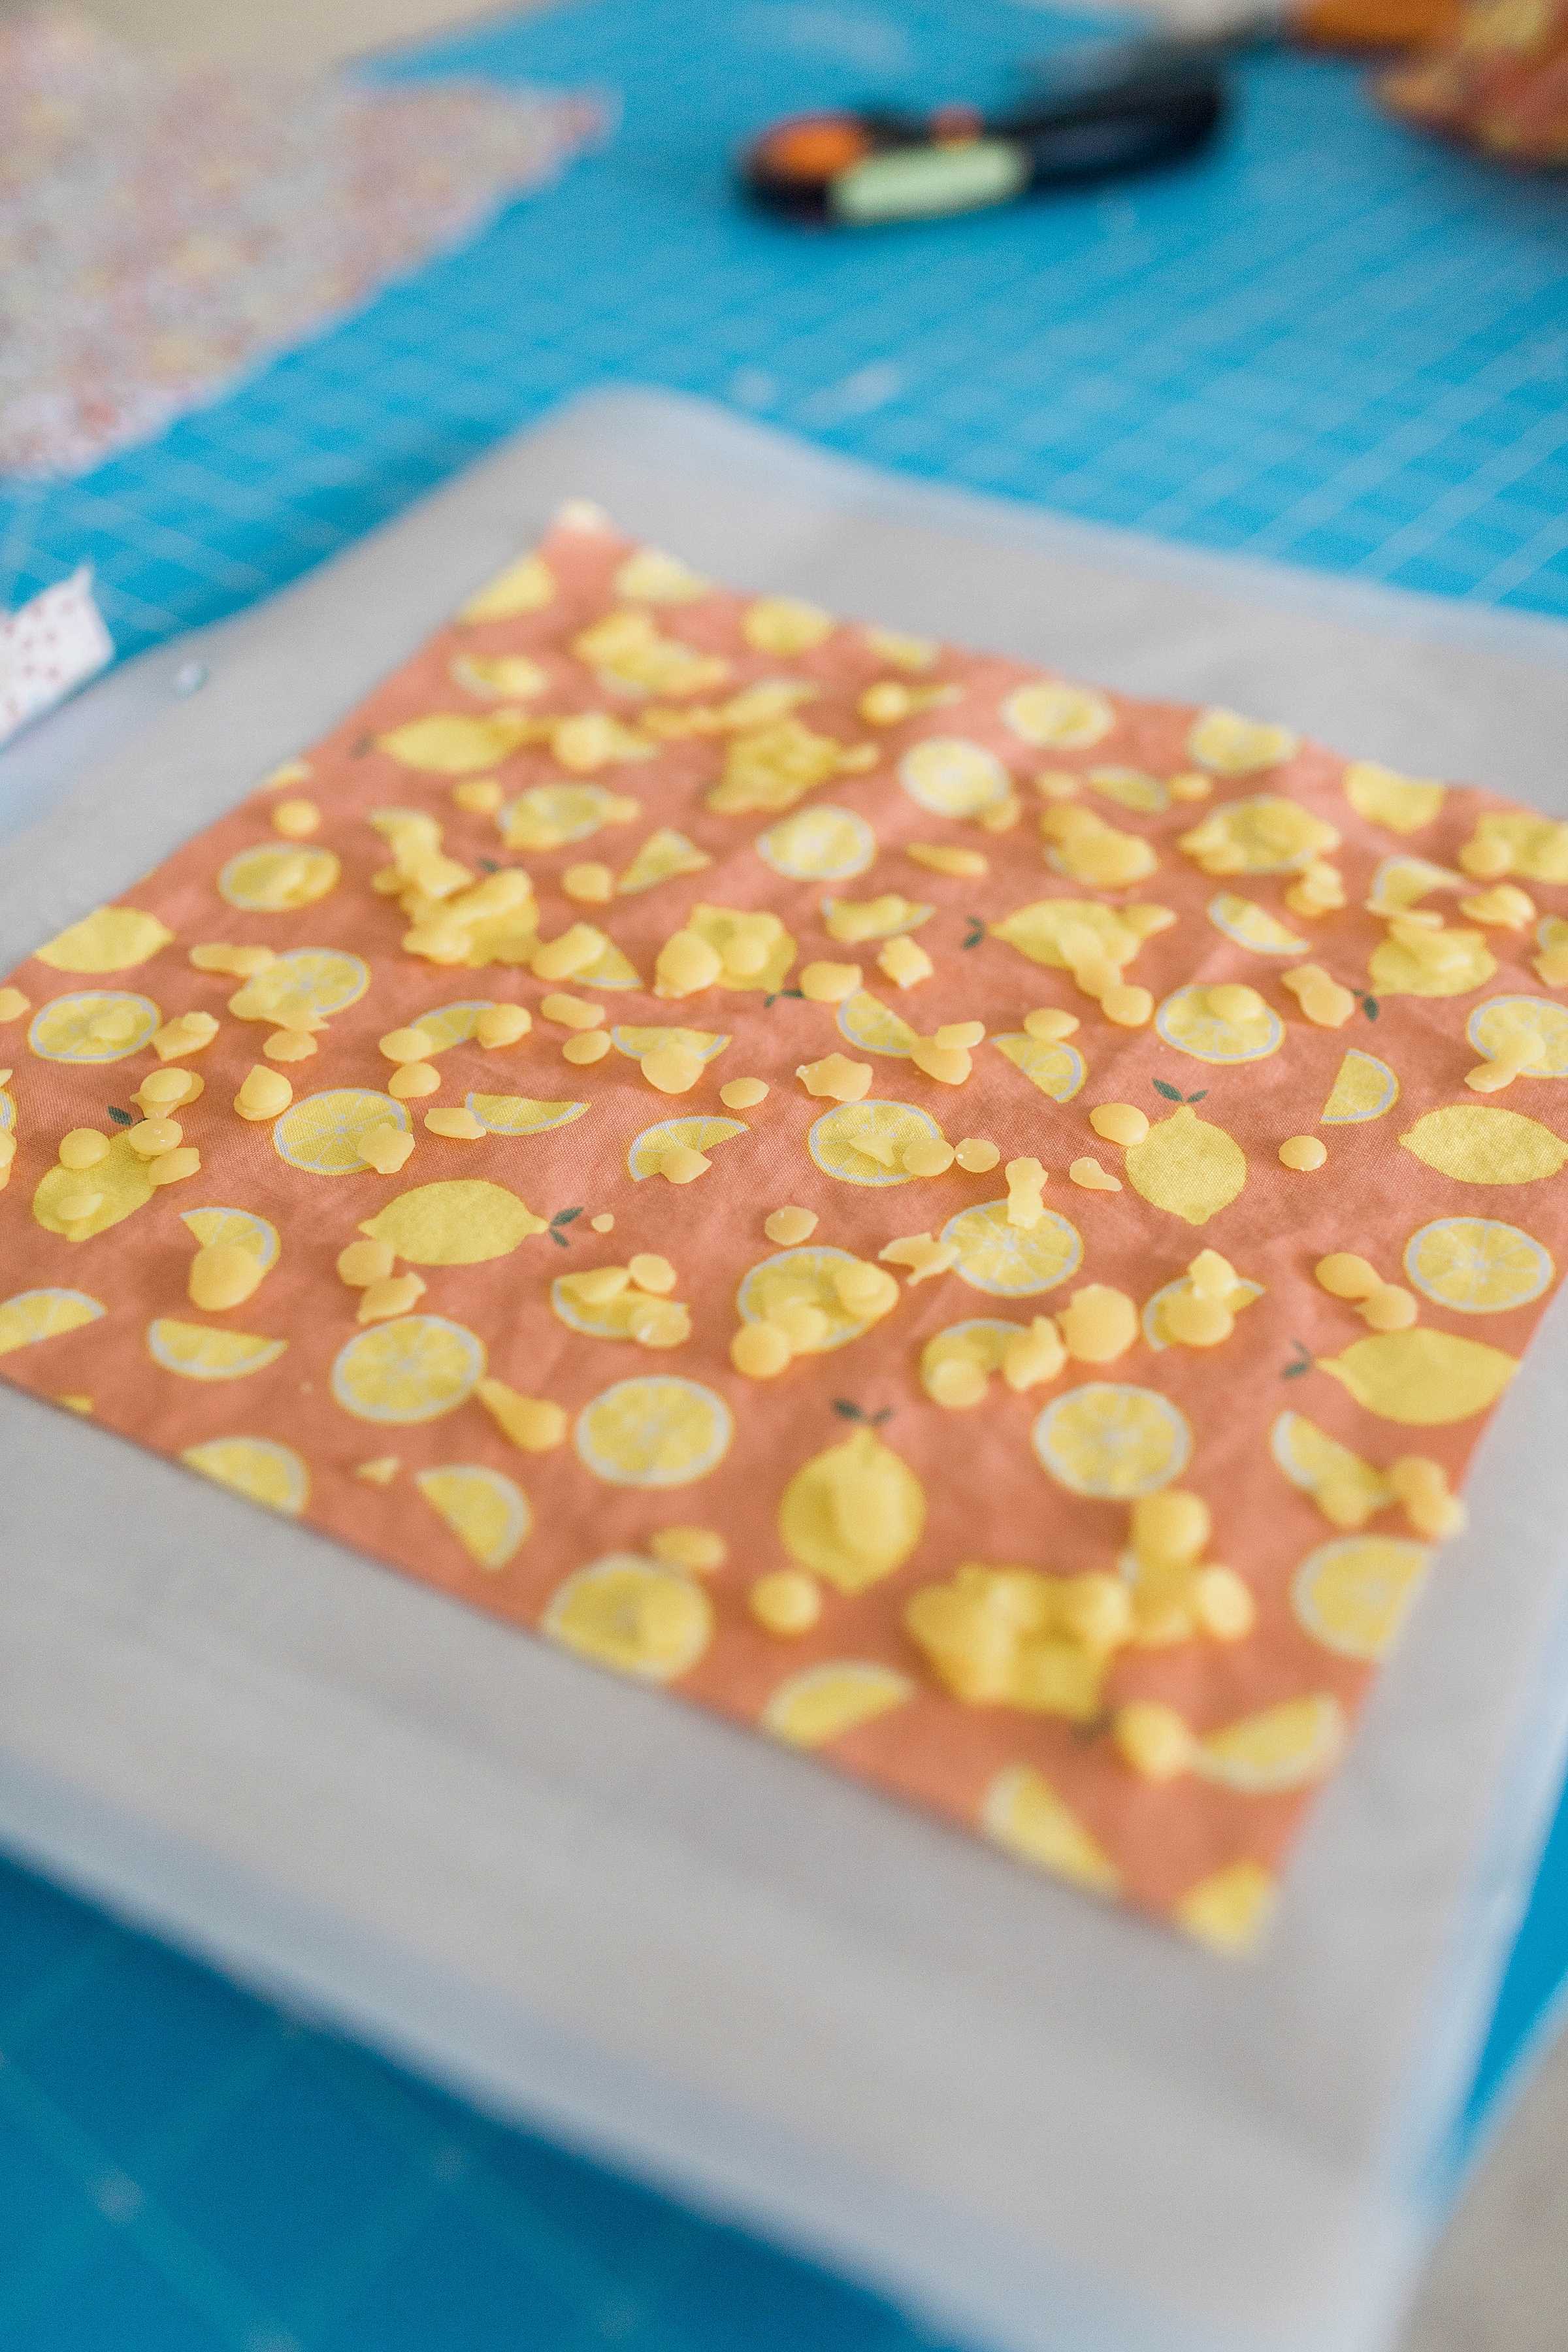
2. Sprinkle Beeswax on Fabric
This part is super simple. On smaller wraps, use about 1 tablespoon of the beeswax pellets. On bigger wraps, use about 2 tablespoons! Lay fabric on parchment paper, spread the pellets evenly and make sure to get close to edges!
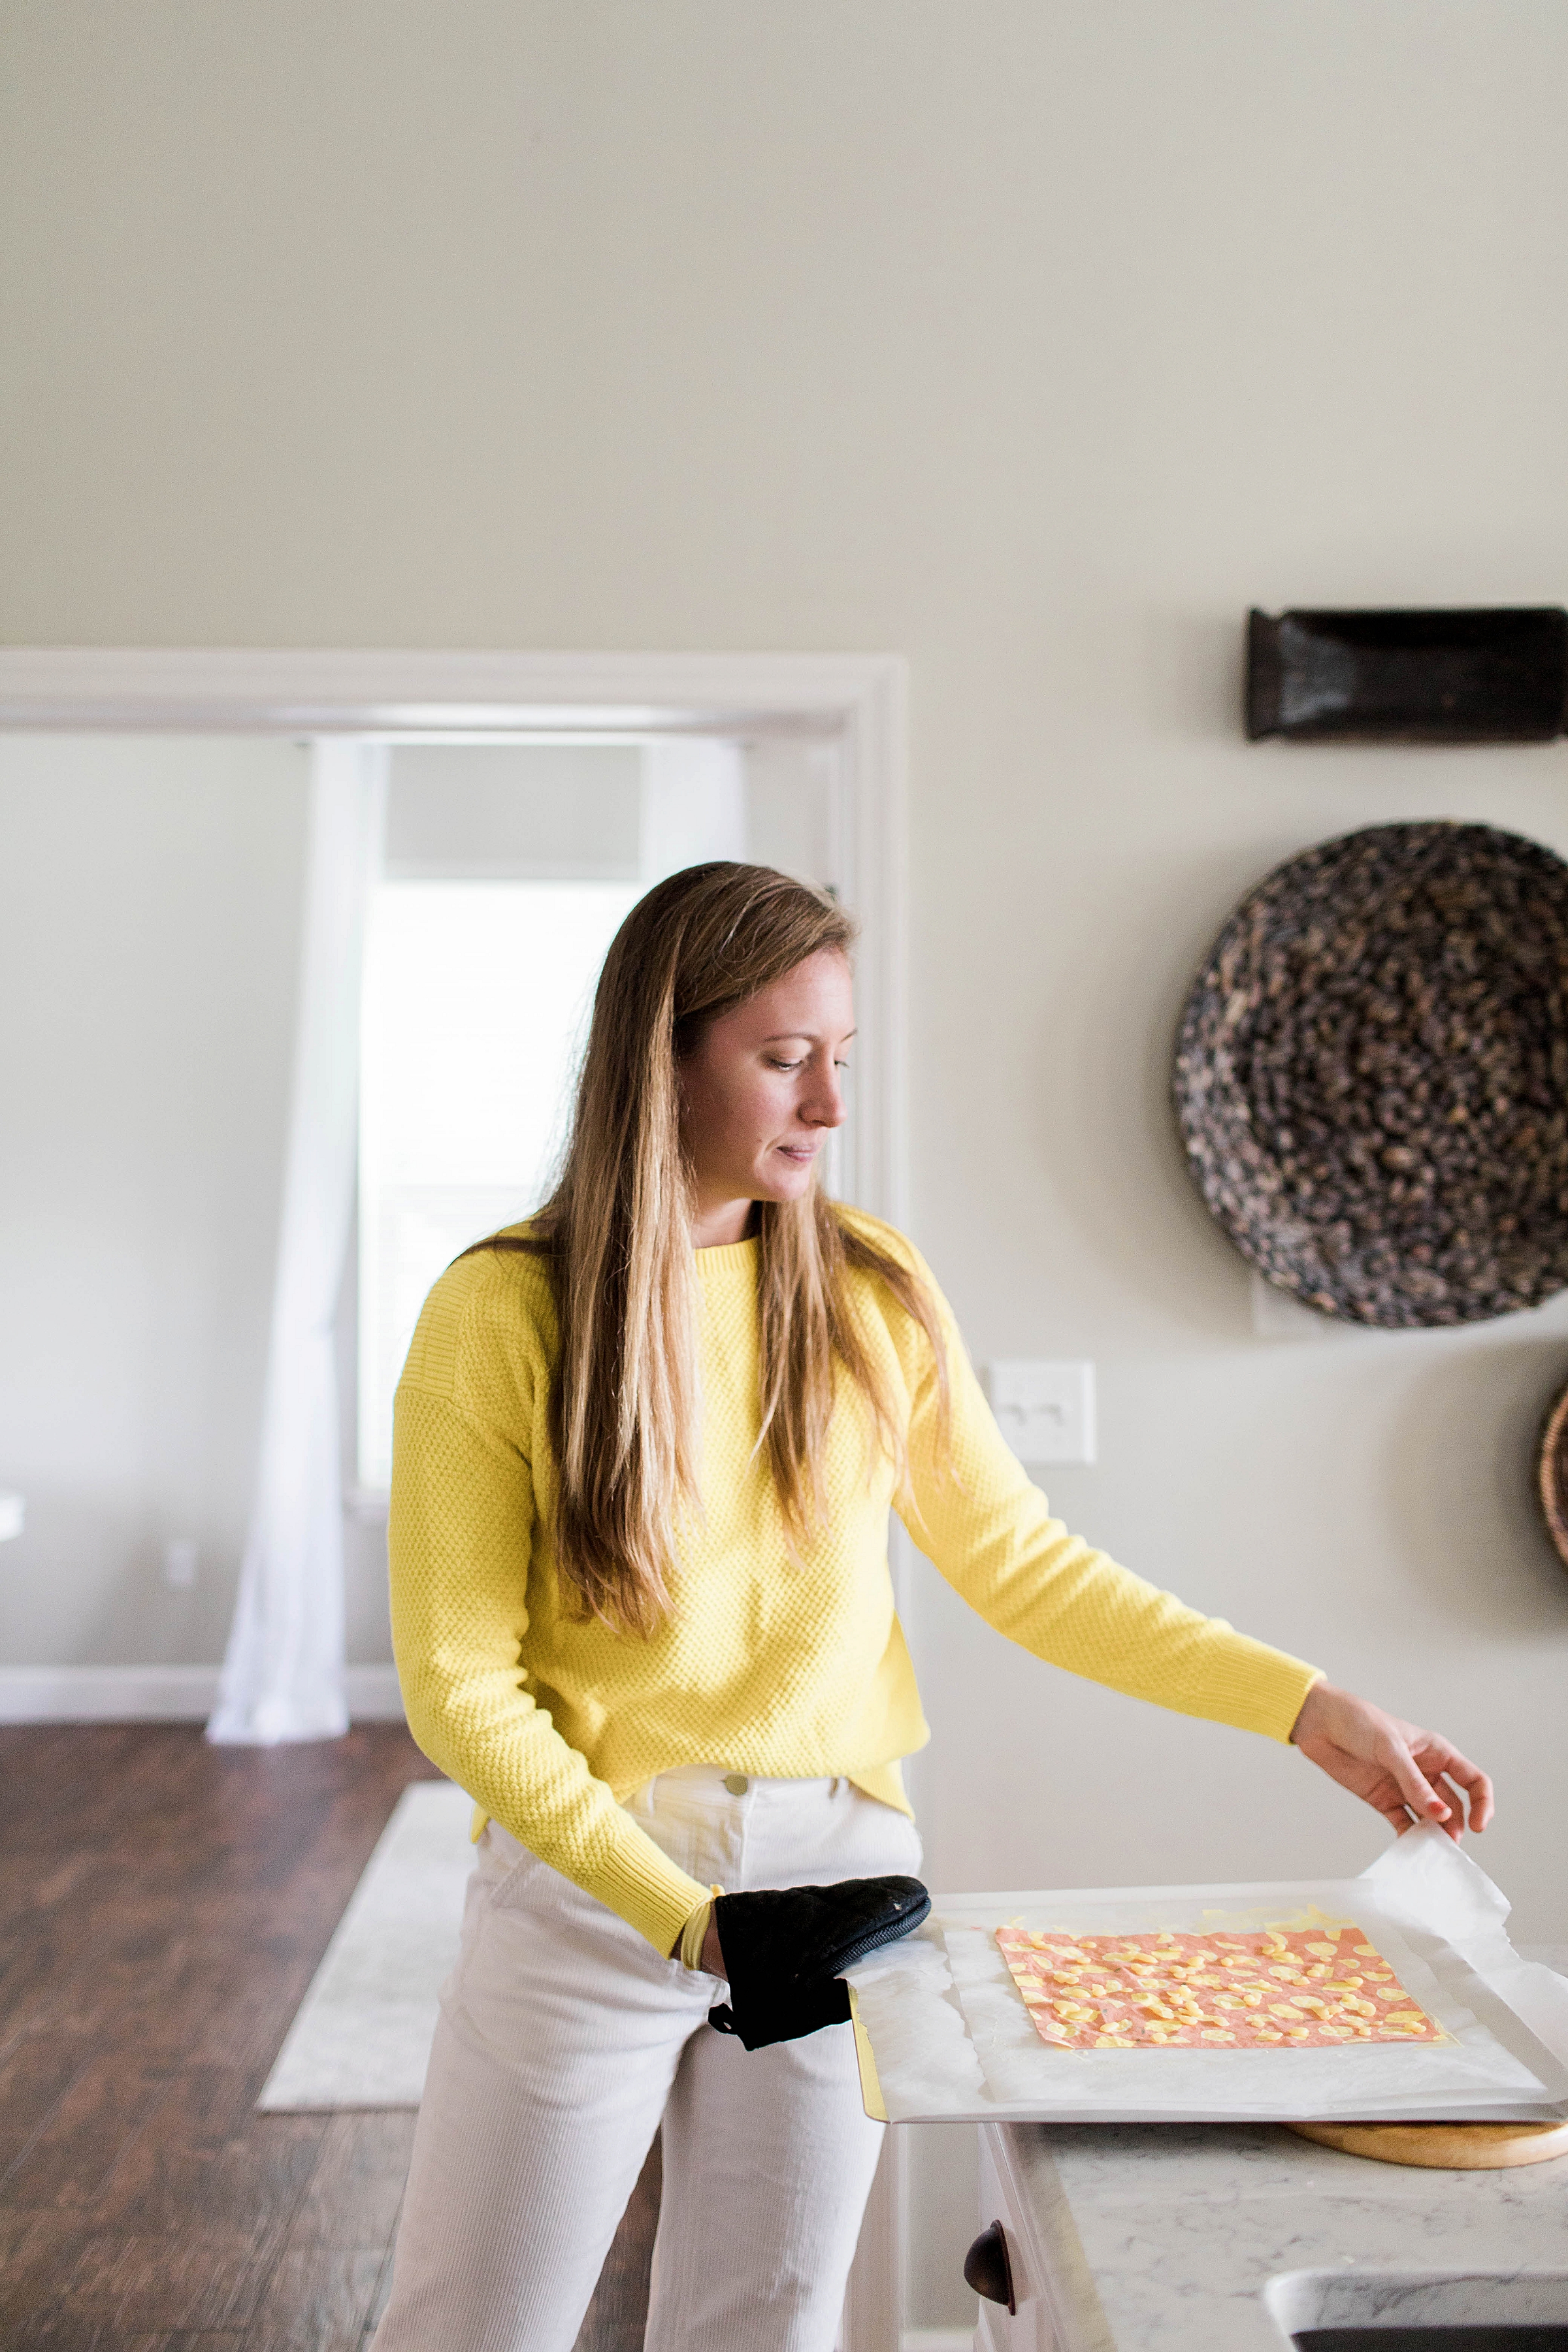
3. Bake Your Fabric + Beeswax
Preheat oven to 250. Bake for 5 minutes to melt pellets. Grab paintbrush and run strokes over entire fabric to make beeswax even. Then flip the fabric*. This step is super important.* Bake another 2-3 minutes. This will make sure the wax is baked evenly on each side!
Remove from oven and pick up fabric from two corners. Let it hang by air drying. It sounds weird but it works! The fabric will cool and stiffen within 1 minute. It allows the wax to spread evenly throughout the fabric.
*If you let it cool while laying on the parchment paper, the wax will clump weird and not be as even on one side.
4. Cut raw edges.
If you have any stray stings or raw edges, now is the time to trim your fabric! I pre-cut mine and Harmony waited to the end to compete this step. Either works!

Voila! Time to Enjoy!
How to Use and Clean
To use them, use your body heat! Wrap up your food of choice or place the wrap on top of a bowl and squeeze gently to melt the wax. It will help the wax fabric stay wrapped. I personally have used these beeswax wraps for months with everything from avocado (my fav food ever!), to fruits and veggies. As soon as Harmony finished cooling her first wrap, she wrapped a huge block of cheese up!
Make sure to clean with cold water and to not wrap them with raw meats. Hot water will melt the wax. I am so excited to start using my wraps! This DIY is so easy yet it gives you the biggest sense of accomplishment. After my first wrap, I help it up and was like “Harmony, look I made this!” It was a pretty exciting moment ha!


2 Comments
Kristen
January 31, 2020 at 10:42 amThis is amazing!! I love beeswax wraps, but i had no idea how simple this would be.
Sunshine Style
February 2, 2020 at 8:48 pmYes Kristen! It truly is SO EASY!!! Send a photo when you finish the craft! I want to see!!! Glad you found it easy!