 At the beginning of summer, my friend Erin had asked me to help her lay dirt for her second garden (I wrote about it here) and it was so fun, it inspired me to start my own. Her first garden was thriving and all of the plants were luscious and producing tons of fresh veggies, like kale. I asked her to give me all of her tips and pointers because she had so much success with her first garden. She gave me all of her advice and it seemed relatively easy to make and grow plants. I was super eager to start, I had my garden set up within a few weeks. The making of the actual garden and planting the seeds was super easy but I learned a lot on the way of how to properly maintain it. I just want to clarify that this is a DIY on how to build a garden, not how to grow a garden. If you want your garden to actually thrive, please do not take my advice on growing plants, I will only be sharing how I made my garden!
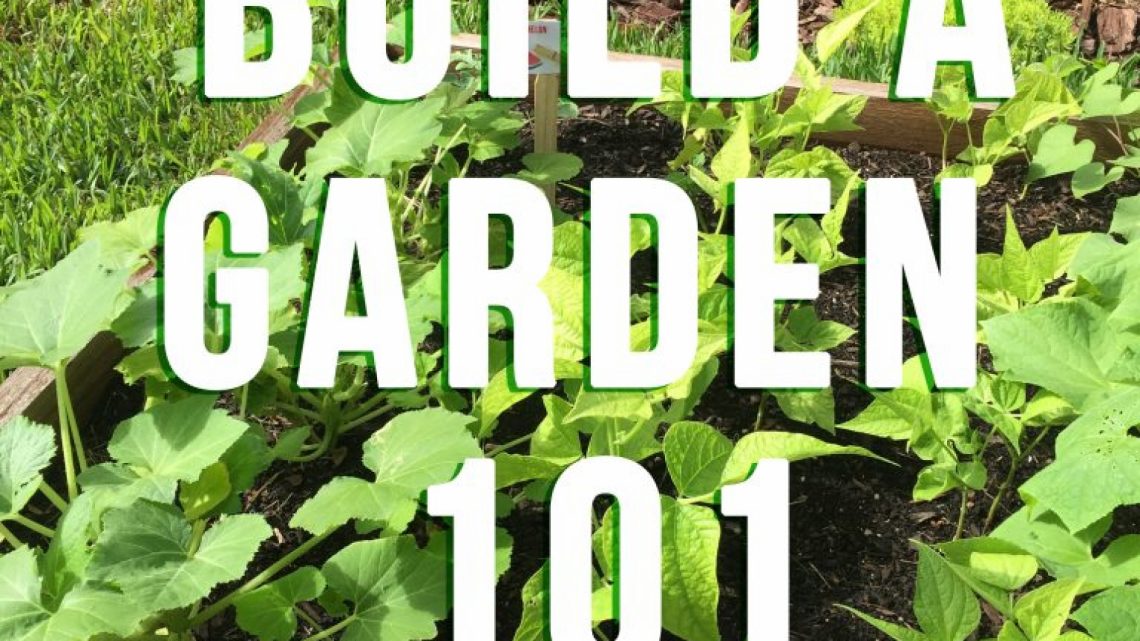
What I Grew from Left to Right: Squash, Watermelon (Back Left), Green Beans, Cucumber, Black Beans (Back Right) and Zucchini
From Weeks 1-4 the garden flourished so well! I was so proud that it was actually growing plants with almost no effort. My prayers were working!
Week 1
WEEK 2
Week 3
 WEEK 4
WEEK 5
At week 3, I thought my garden was looking a little slim so I decided to plant a few more rows with some of the extra seeds I had left over. During weeks 4-5, I was out of town on my mission trip to Guatemala and had left my parents to faithfully attend my garden. My parents had sent me a few pictures of my growing garden while I was away, but I had no idea how much it actually flourished until I saw it in person when I got back into town. IT COMPLETELY OUTGREW THE GARDEN BED! What can I say, go big or go home, right? Wrong. A big rookie mistake. I should never have planted those extra rows in the 3rd week because by week 8, I had to completely rip out half of the plants because I over planted and it was overgrown. Like I mentioned at the beginning, do not follow my growing plants advice. My friend, who has way more of a green thumb than I do, made it look so easy, but between constant rain and over planting, I was forced to rip out my whole garden.
Week 9 or 10
This was the last picture I took before I decided I needed to prune my garden. We had about 4 weeks of non-stop rain almost every single day from July-Aug (hellooooo its summer in Florida). By the time the soil and leaves would dry out, it would rain again and then the garden bed would be completely flooded for the whole next week. This was great because I didn’t have to water it myself but it was already overgrown and being over watered daily. The plants became overwhelmed and every single thing I planted wove and grew together into a huge mess.
The squash and zucchini plants (far left and far right) tried super hard to produce fruit, but it was so badly flooded there was no natural sunlight to help the leaves underneath dry out. Every time it grew a squash or zucchini, the ends would just turn into moldy mush. I tried to fix the problem by pulling out 3/4 of the plants but it only lasted about a week until all of the plants decided to turn brown and die. I killed my garden and had to completely rip out everything. The only fruit it produced were 2 baby cucumbers and 1 squash. I told you not to follow my gardening advice, but hey look at that plant bed, it’s calling for fresh new seeds to be planted in the fall! I plan on replacing some of the old dirt with new compost dirt I have been saving and planting carrots because hey, carrots are so cute to harvest!
That’s my compost in the Grey Bin. Let’s just say making dirt is much easier than trying to grow a garden in that dirt. I turn it 1-2x’s/week and add food scraps to it about every 1-2 days.
What I put in my compost:
- fruit (apple core, orange and banana peel, strawberries, grapes, etc.)
- veggies (celery, cucumber, broccoli, cauliflower, carrots)
- shredded newspaper ( I had to add a lot in during the extra rainy months to soak up the excess moisture)
- lawn scraps (leaves, grass, twigs)
- hair (it might as well be put to good use)
- dryer fuzz
The picture above was right after I pruned my garden, unfortunately those pretty green plants all died and it’s now an empty garden bed with dirt.
The first fruit of my garden that my parents found. By the time I got home from traveling in Guatemala my poor squash was molded on the end and as soon as I touched it, half of the squash just crumbled and fell into the dirt.
How to Build a Garden Bed
- Stake out a 4×6 piece of grass by placing stakes of wood in each corner.
- Remove all roots, weeds and sod. Your outcome will be an empty 4 x 6 rectangle of plain dirt.
- Buy cedar planks at a local hardware store. We bought 4 pieces of 2″ x 8″ rough cut cedar. We had our local hardware store cut the planks into two 4 ft and two 6 ft pieces of wood to make the garden box around the bed.
- Drill two holes on the 4 corners of each plans. You will have a total of 8 holes altogether.
- Use 8 lag bolts to screw into the 8 holes with a socket wrench.
- Then you place the 4×6 garden box around the area that you staked out.
- Dump 8 bags of Organic potting soil into the garden and spread evenly.
- Plant row of seeds and water!
- Watch your garden grow!
Shout out and thanks to my dad for helping to make the garden box bed! I will post a Part 2 after I successfully plant and harvest Fall carrots! Pray I don’t kill off all of the plants next time!


3 Comments
hena tayeb
September 22, 2015 at 4:33 pmlooks great.. thanks for sharing the step by step.. good to have those flamingo’s helping out
Caroline Wilhite Photography
May 14, 2017 at 3:20 amLove the flamingos. Thanks for sharing!
katieskronicles
May 15, 2017 at 2:22 pmYour very welcome! Glad you stumbled upon this post. One of my faves!!! Flamingos are the best. =) =)