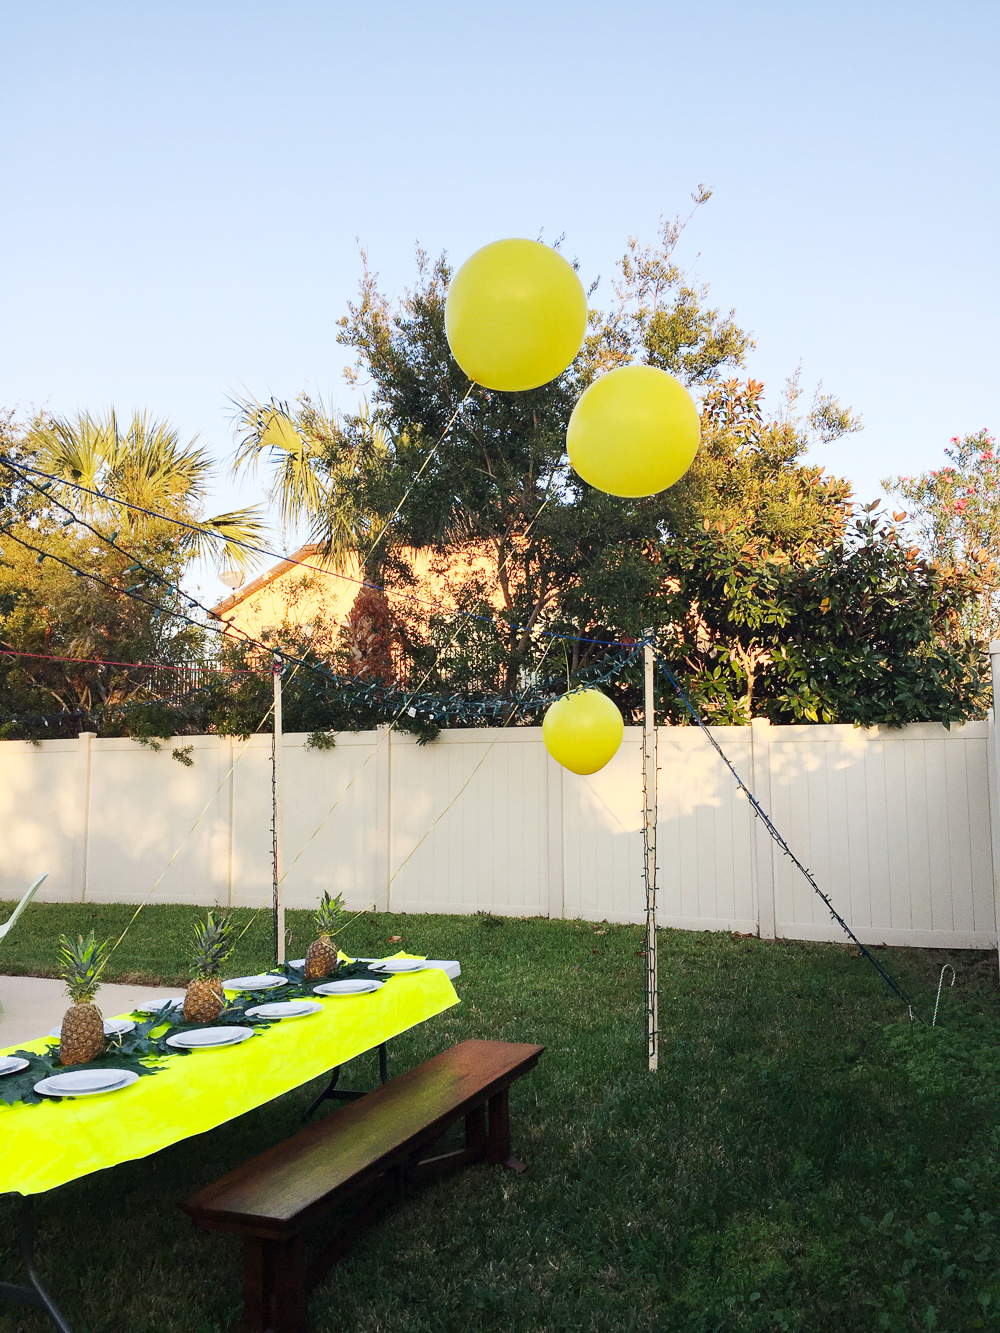
This was the first year I hosted a Friendsgiving at my house! Seriously, I am so glad I did. It was a blast and every single one of my friends enjoyed it, including myself. The biggest to-do’s were making sure I coordinated all of the food, keeping track of everyone I invited/who is able to come and then decorating. Figuring out how I wanted to decorate was my favorite part! My vision was to use bright colored balloons, pineapples and lights and it came out exactly how I expected.
The first thing I did was create a friendsgiving vision/mood board. I used Photoshop and collected images off Pinterest to get started. I knew that once I figured out how I wanted to decorate, everything else would fall into place. Make sure you pre-plan how you want to decorate so you have ample time to get all of the necessary supplies.
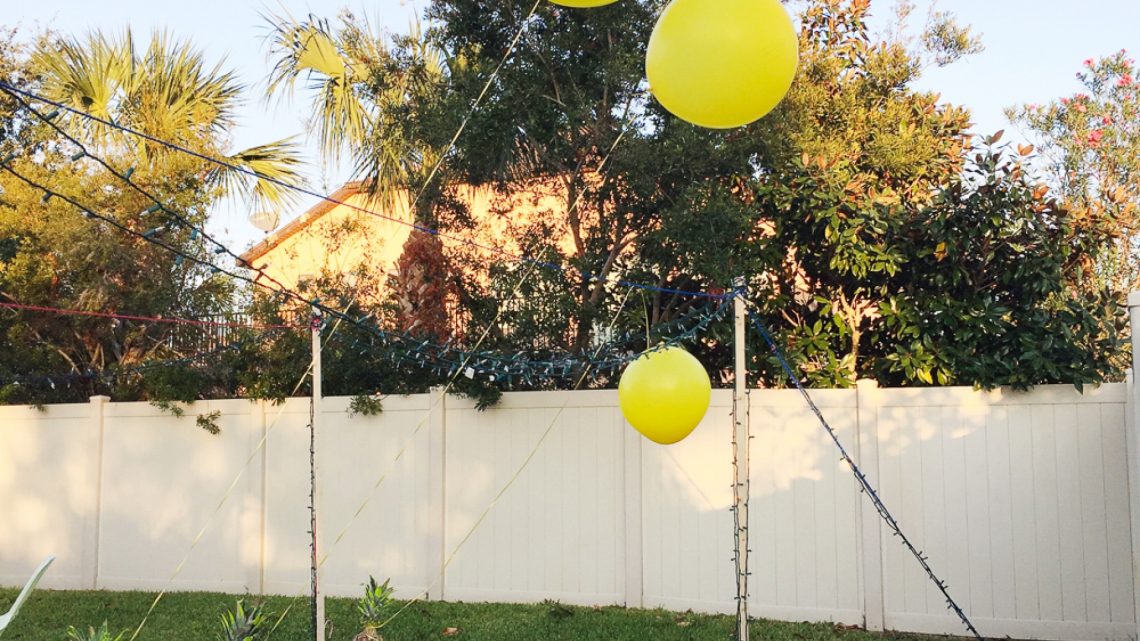
The vision I had was not your typical Thanksgiving table setup. My first priority was to not spend a ton of money. I knew I wanted to eat outside under lights and to incorporate pineapples somehow and the giant yellow sphere balloons I have pictured. I originally wanted to use my parents dark wood dining room table but we realized it wouldn’t fit through our sliding glass doors lol. That idea was immediately nixed but I was able to borrow a plastic table from my work in the exact same size.
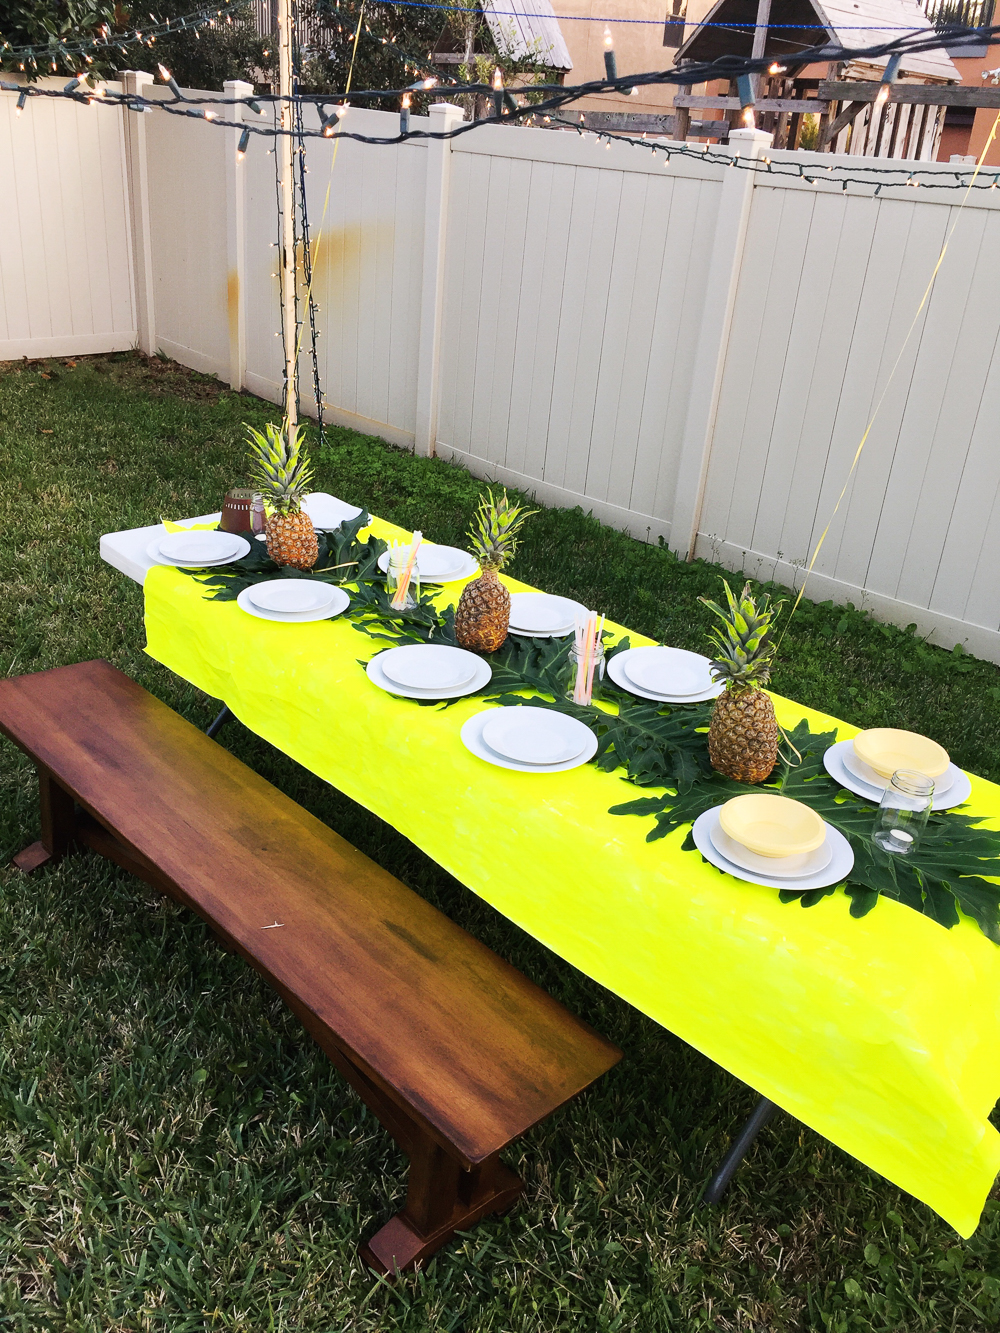
What totally took my decorating to the next level was figuring out how I was going to cover the less than attractive plastic table for cheap. Originally I wanted to use my moms dining room table and just cover it with a table runner to let the natural wood stick out. Once I realized the table was a no-go, I really did not want to pay for an expensive table cloth or table runner to cover it.
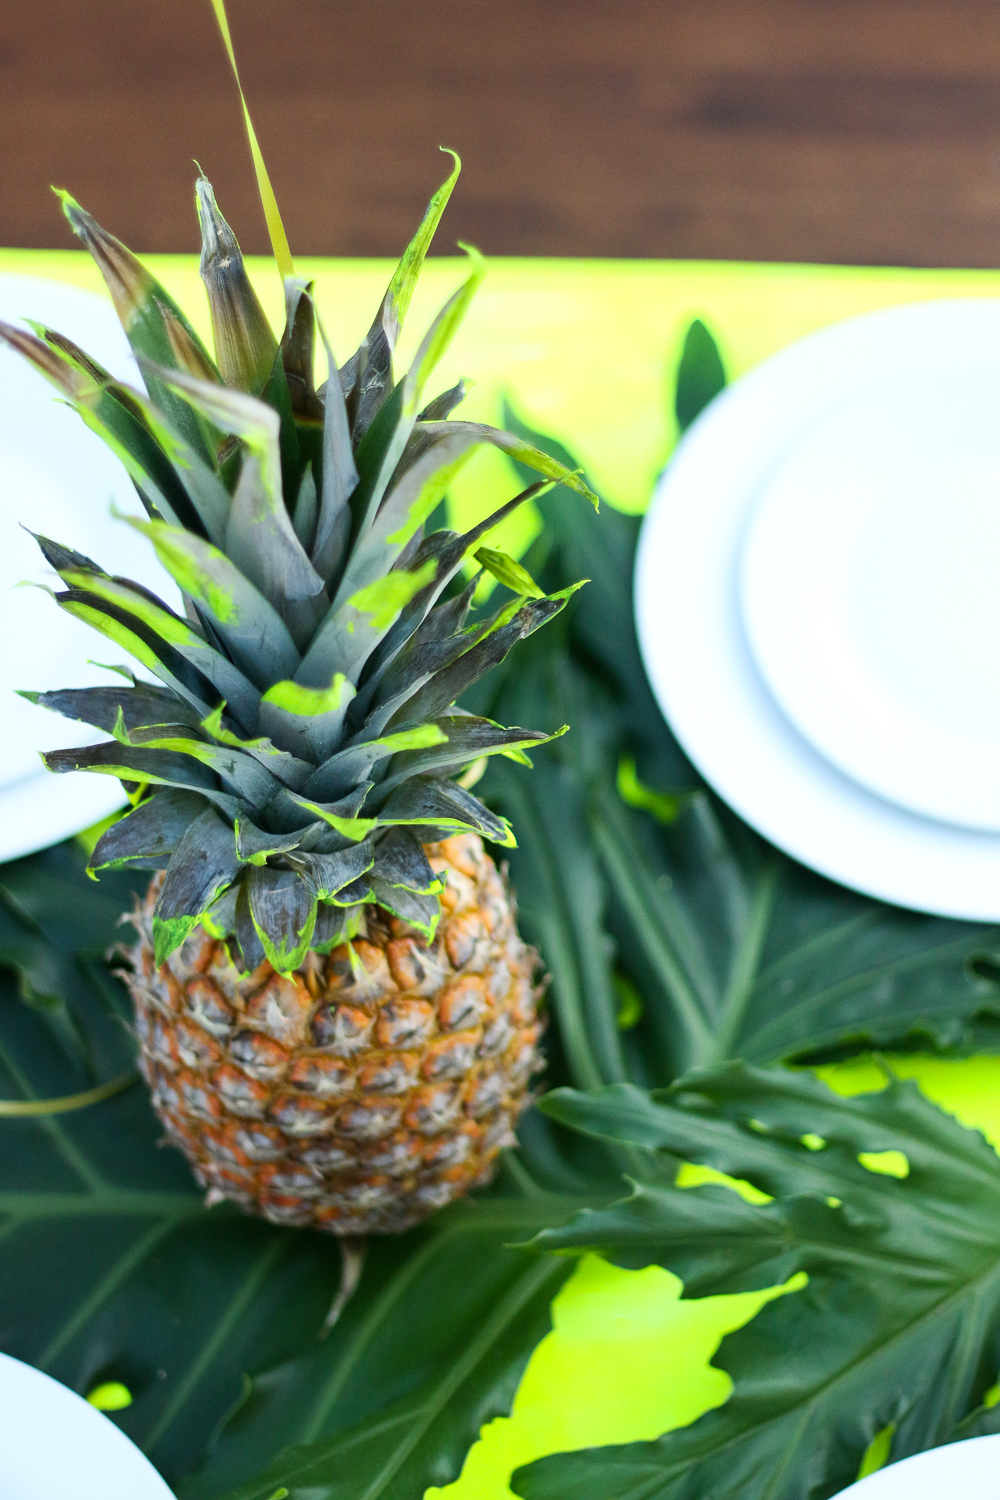
In order to not spend money I had to figure out a way to use resources I already had. I remembered I had left over neon yellow blacklight paint from a VBS room I decorated a few years back. I also had a paper roll that is used with a kids easel with hundreds of feet of paper on it. I decided to test it out and see if I could cover the blank paper with bright yellow paint and then use that as a paper table cloth. I rolled out enough paper the length of the table and got to painting. It worked brilliantly! I painted three sheets of 12 ft paper with brilliant yellow blacklight paint! The results came out amazing! I was so pleased. I lightly brushed the pineapple stem with some of the paint to add an exciting element when the blacklights were on. You could try to paint the whole pineapple but it would have taken a ridiculous amount of time to try and paint every groove of the fruit.
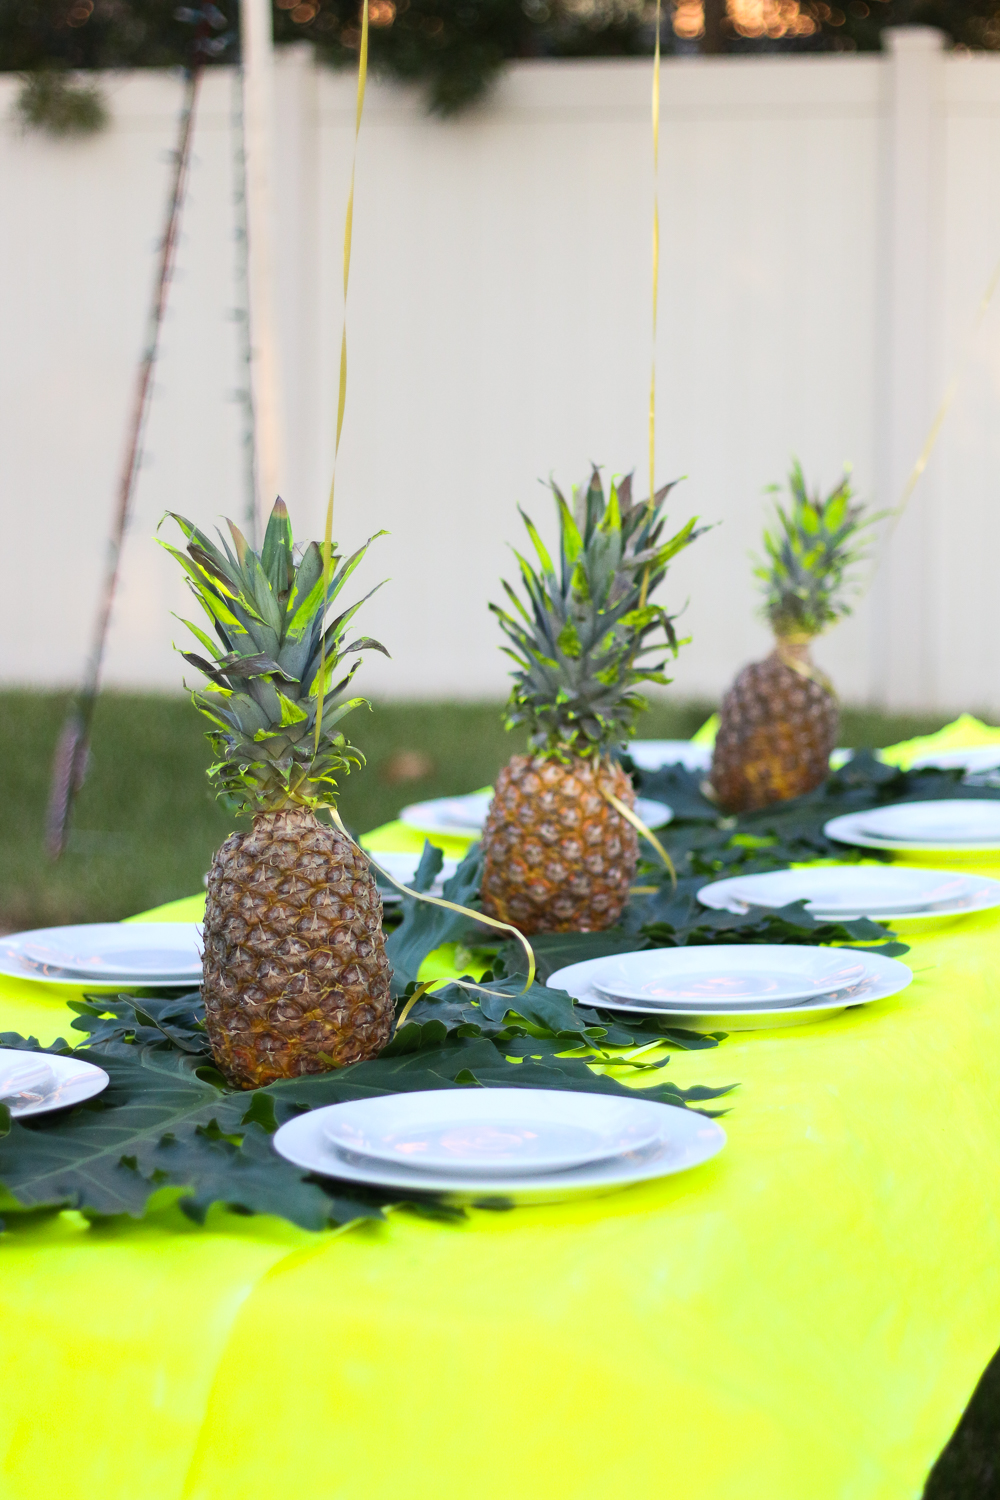
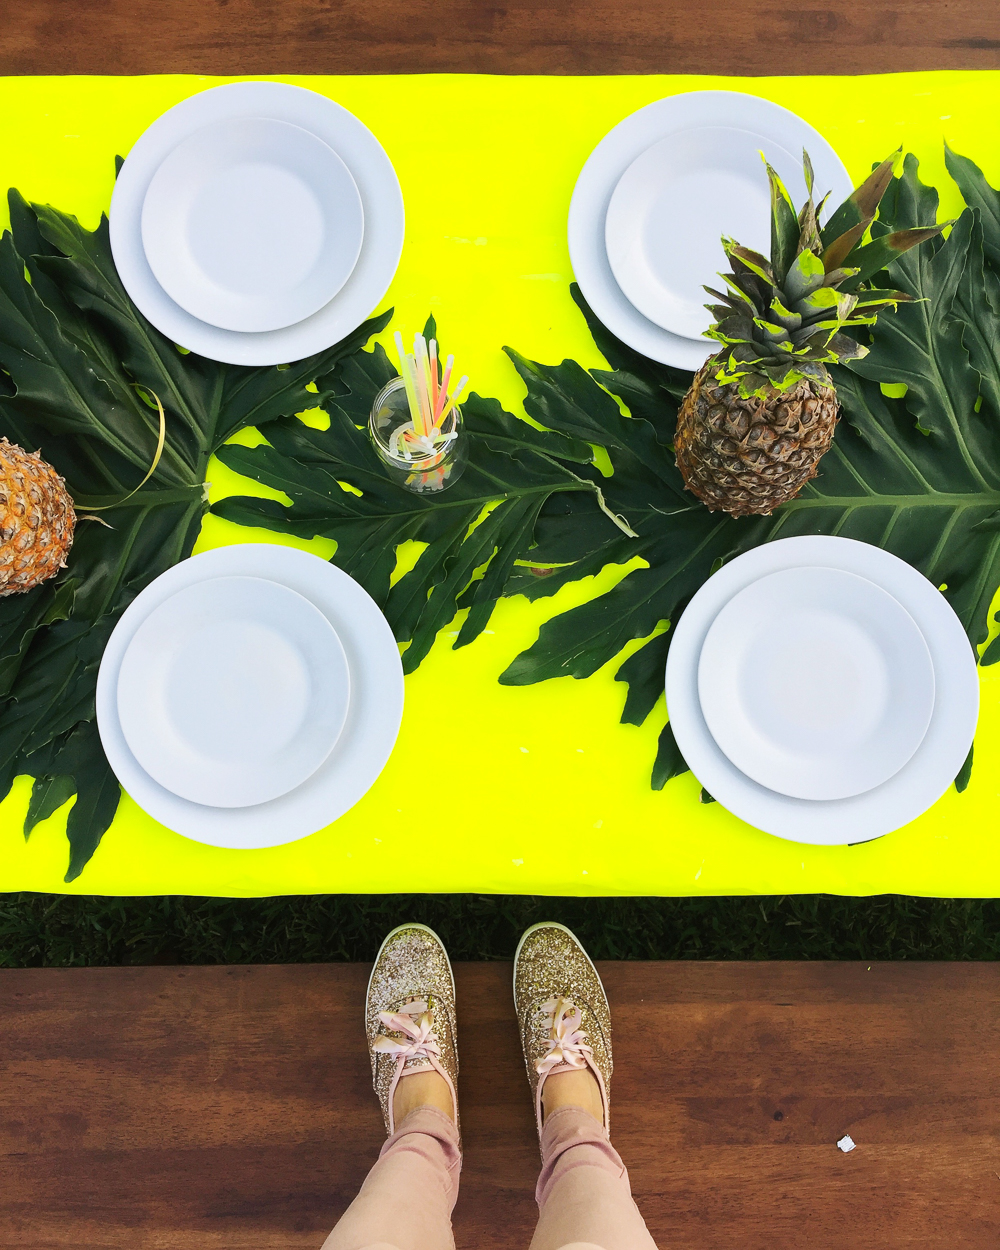
Shoes are Kate Spade for Keds (I own the Rose Gold and wore them when I was a maid-of-honor in my best friends wedding.)
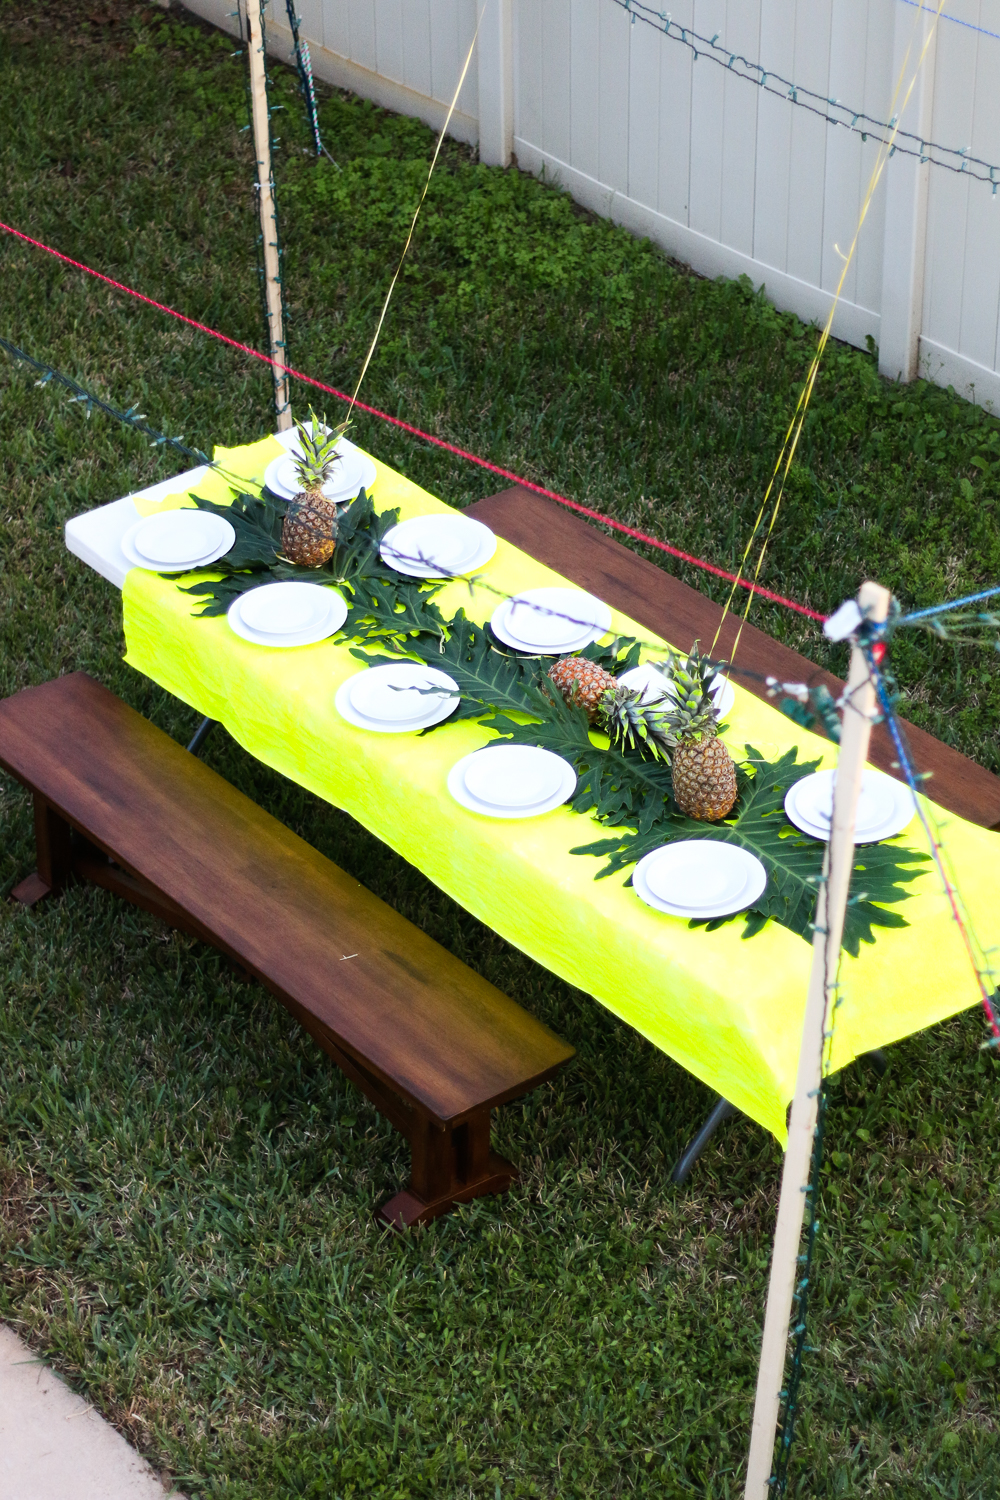
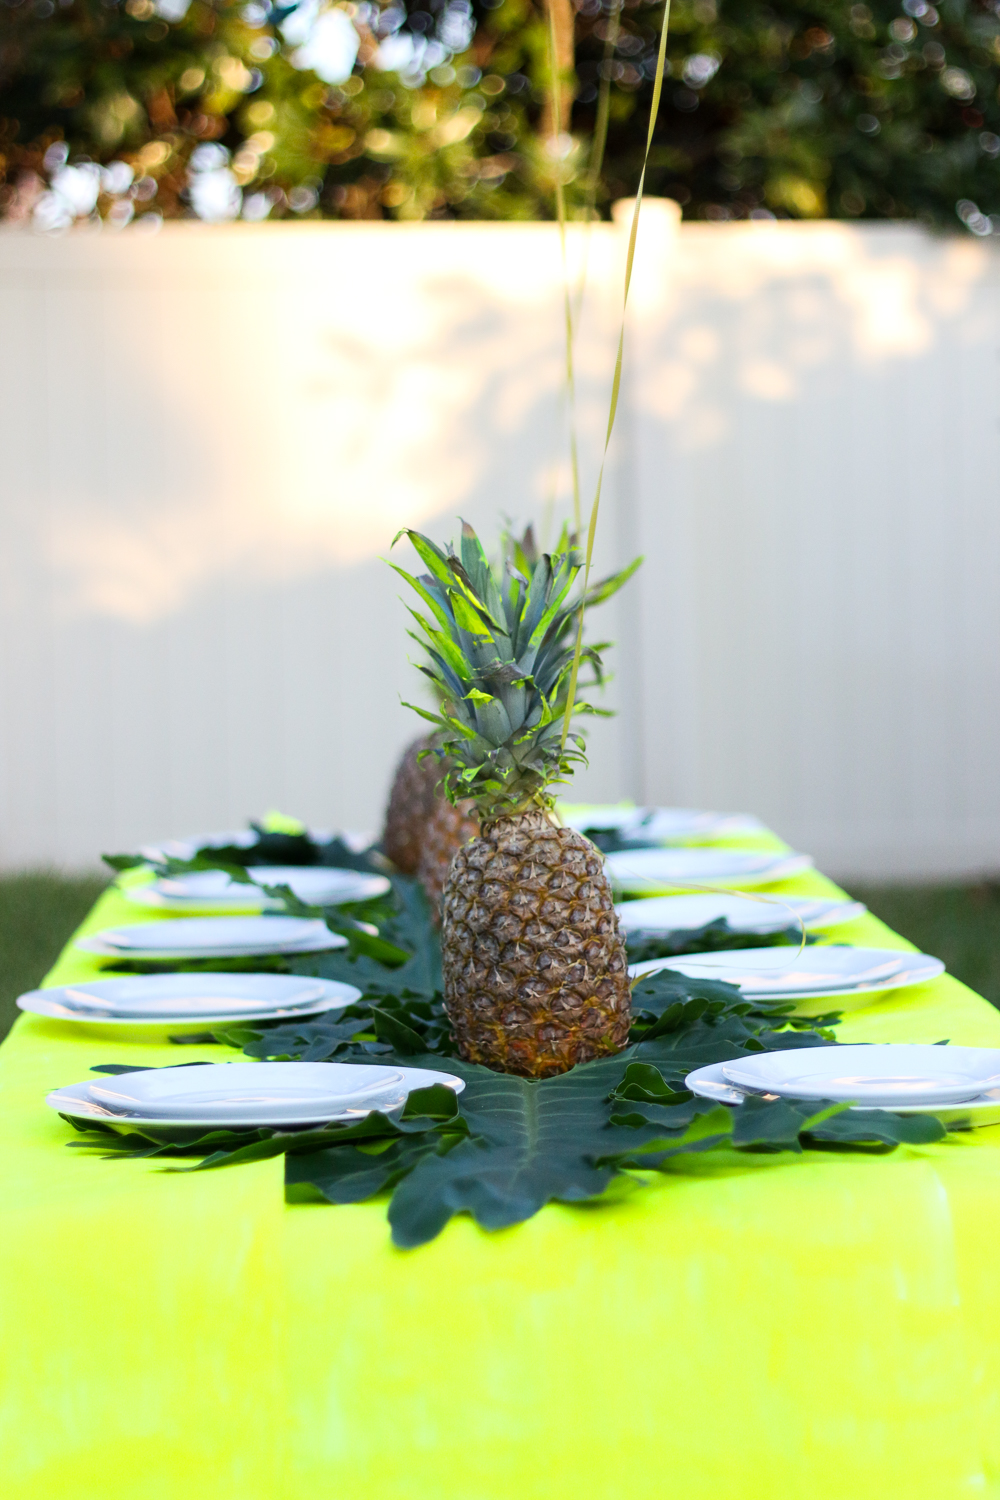
So, funny story about how I got the leaves I used as the centerpiece greenery (see them pretty things pictured above!). I knew I wanted pineapples and some type of greenery as the table centerpiece but remember I was on the spend no money train. I tried really hard to use what resources I had. Well, one day about a week or so before my friendsgiving dinner was planned, my mom and I took a walk by a local lake in town. During our walk on the public sidewalk (emphasis on public ha), we passed a ton of houses and what do you know lots of greenery. Then I spotted it! The most perfect plant I had ever seen in my life. I knew the leaves would work wonderfully as my table centerpiece. It was love at first leaf and I had to have them.
Two days before my friendsgiving, I had my dad come with me one night to chop down a few leaves. He had to bring his tree branch trimmers because the stems were so giant! My dad was not thrilled we took those leaves from someones yard. I had never seem him move so fast hahah! I love the leaves. During the dinner I was telling my friends the funny story and sure enough one of my good friends tells me, “Katie I have one of those plants in my yard!” I could have spared myself from the thrill and excitement I got from cutting down someone else leaves, but what’s the fun in that?!
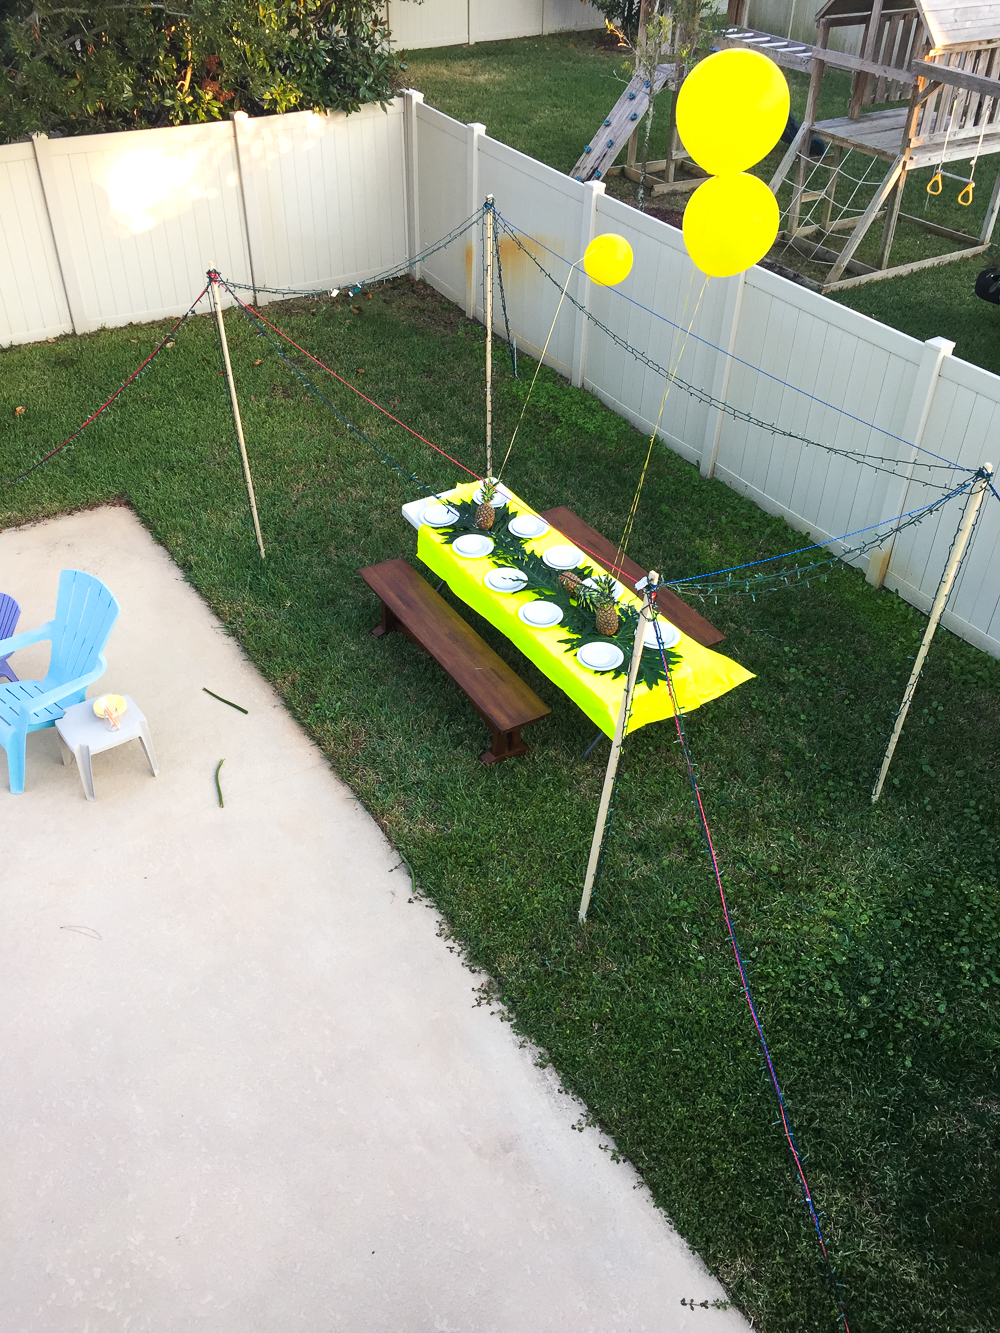
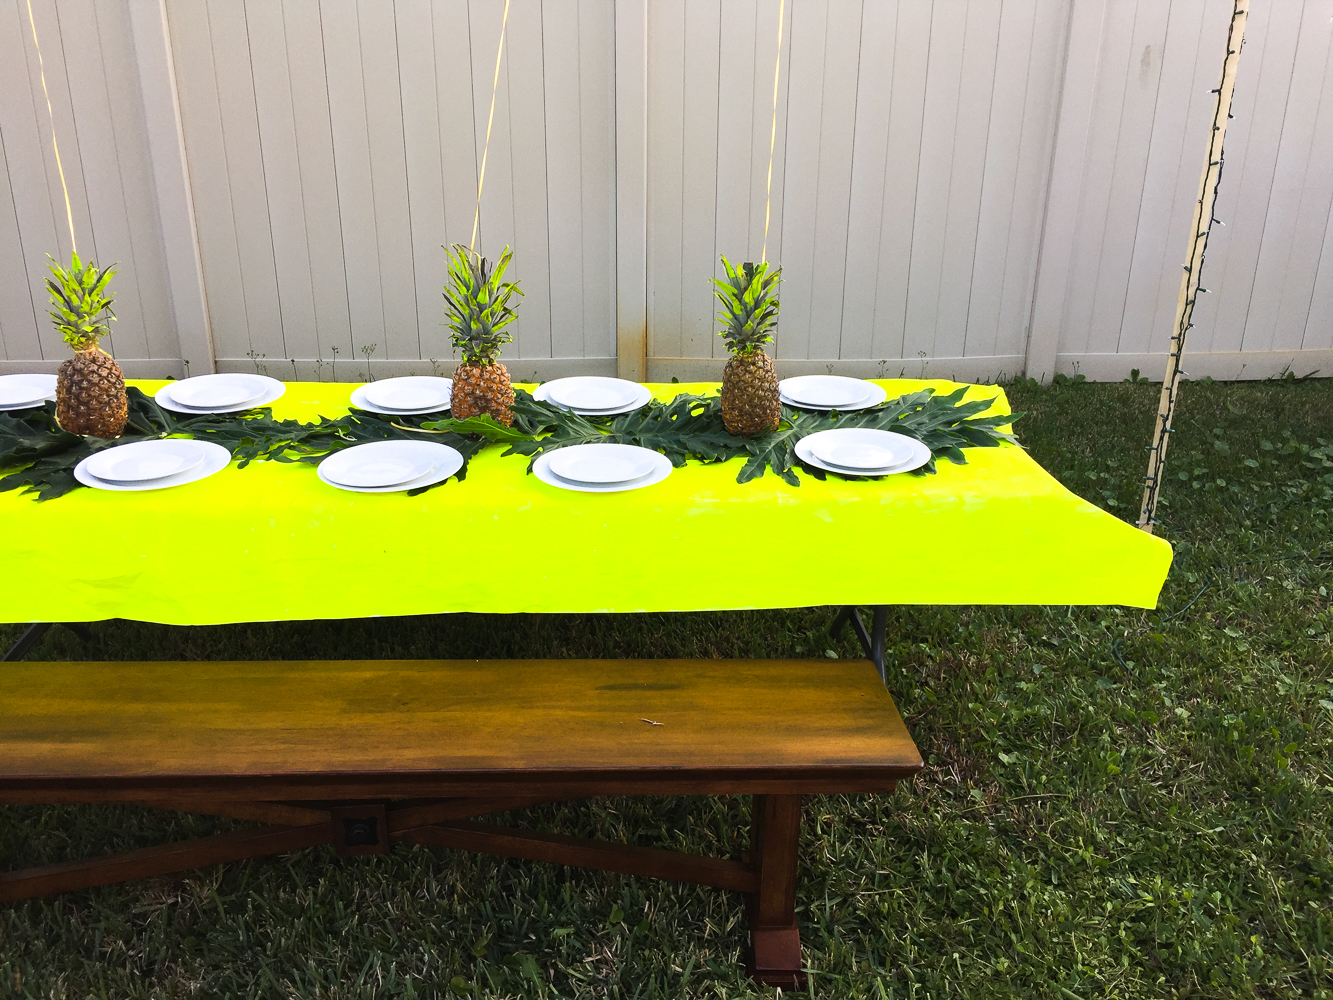
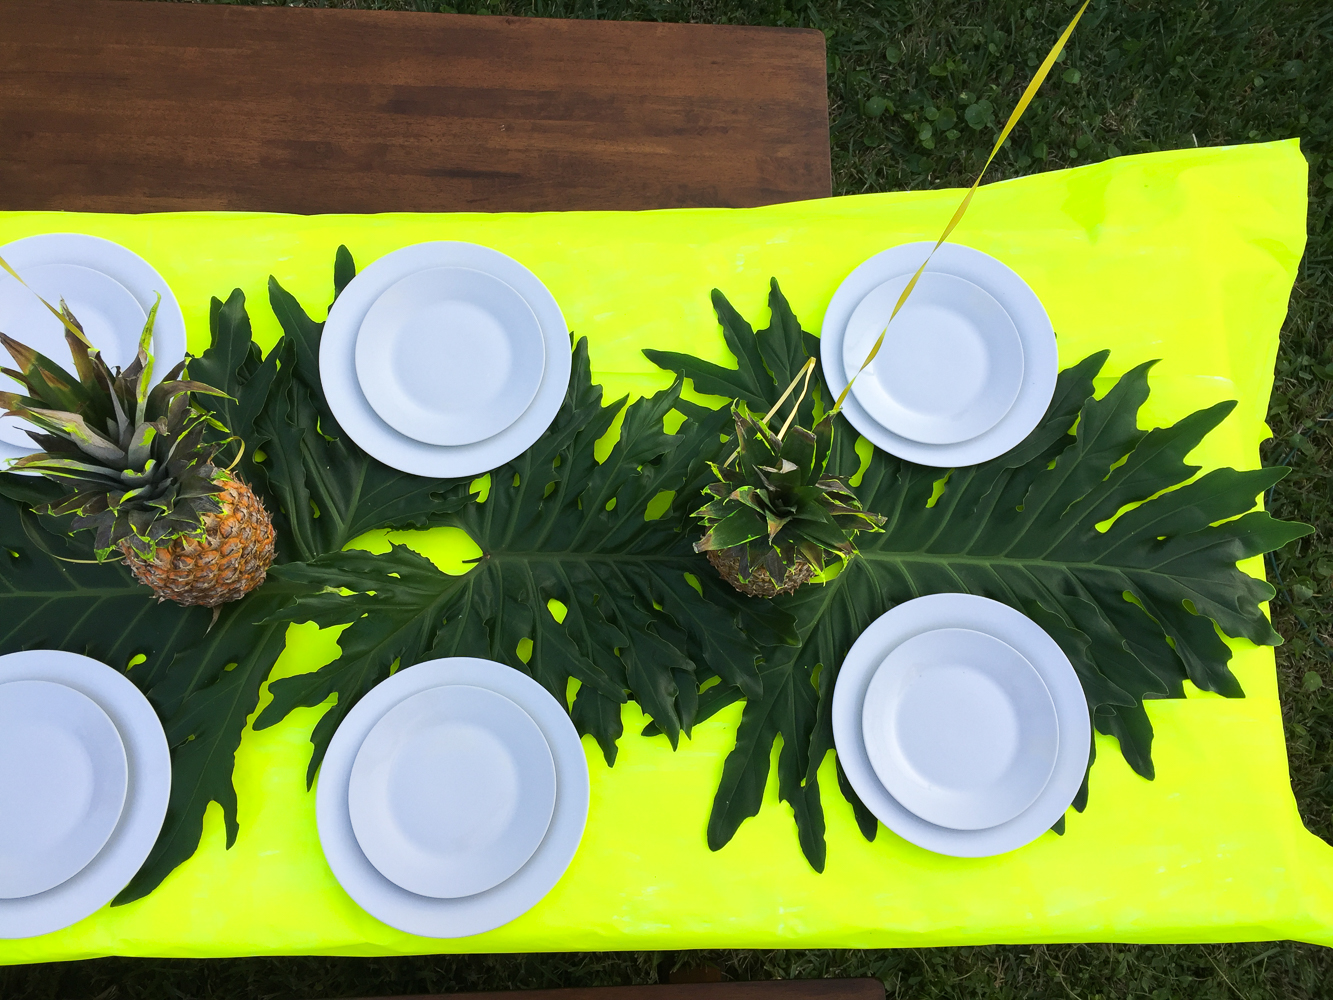
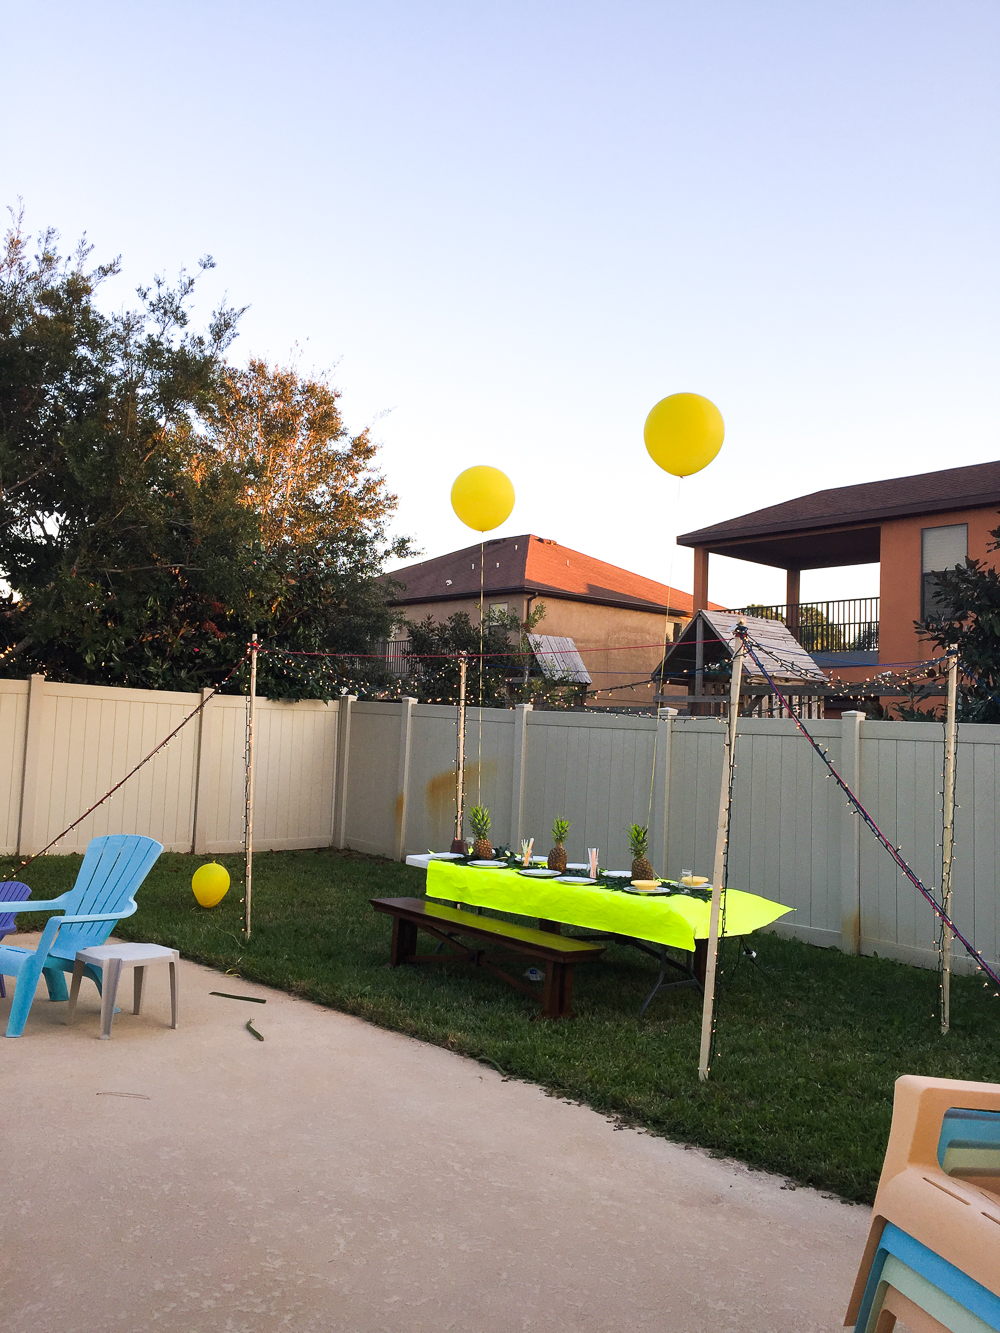
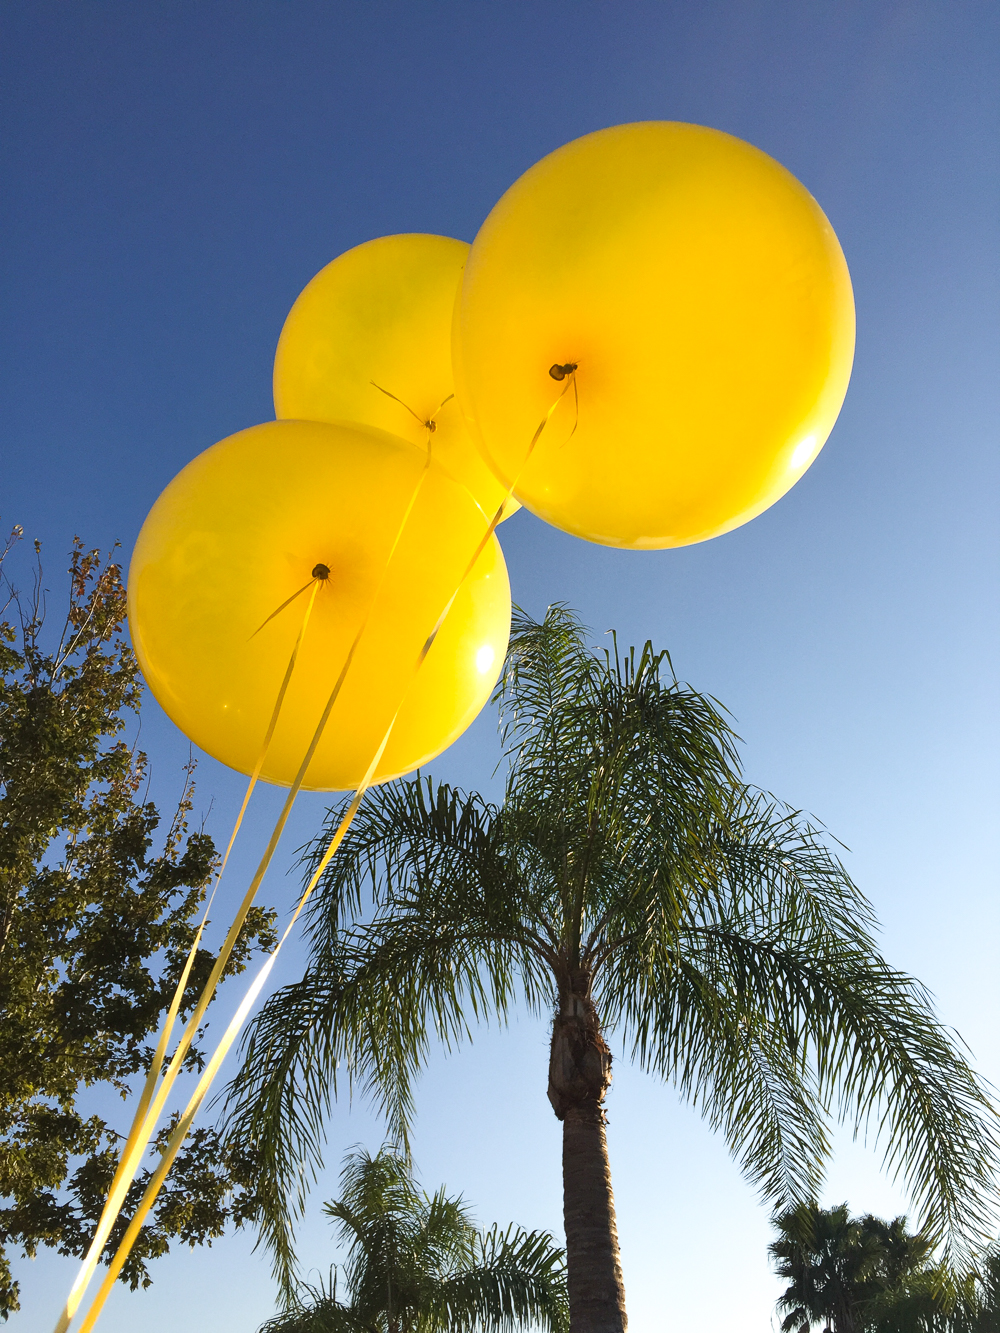
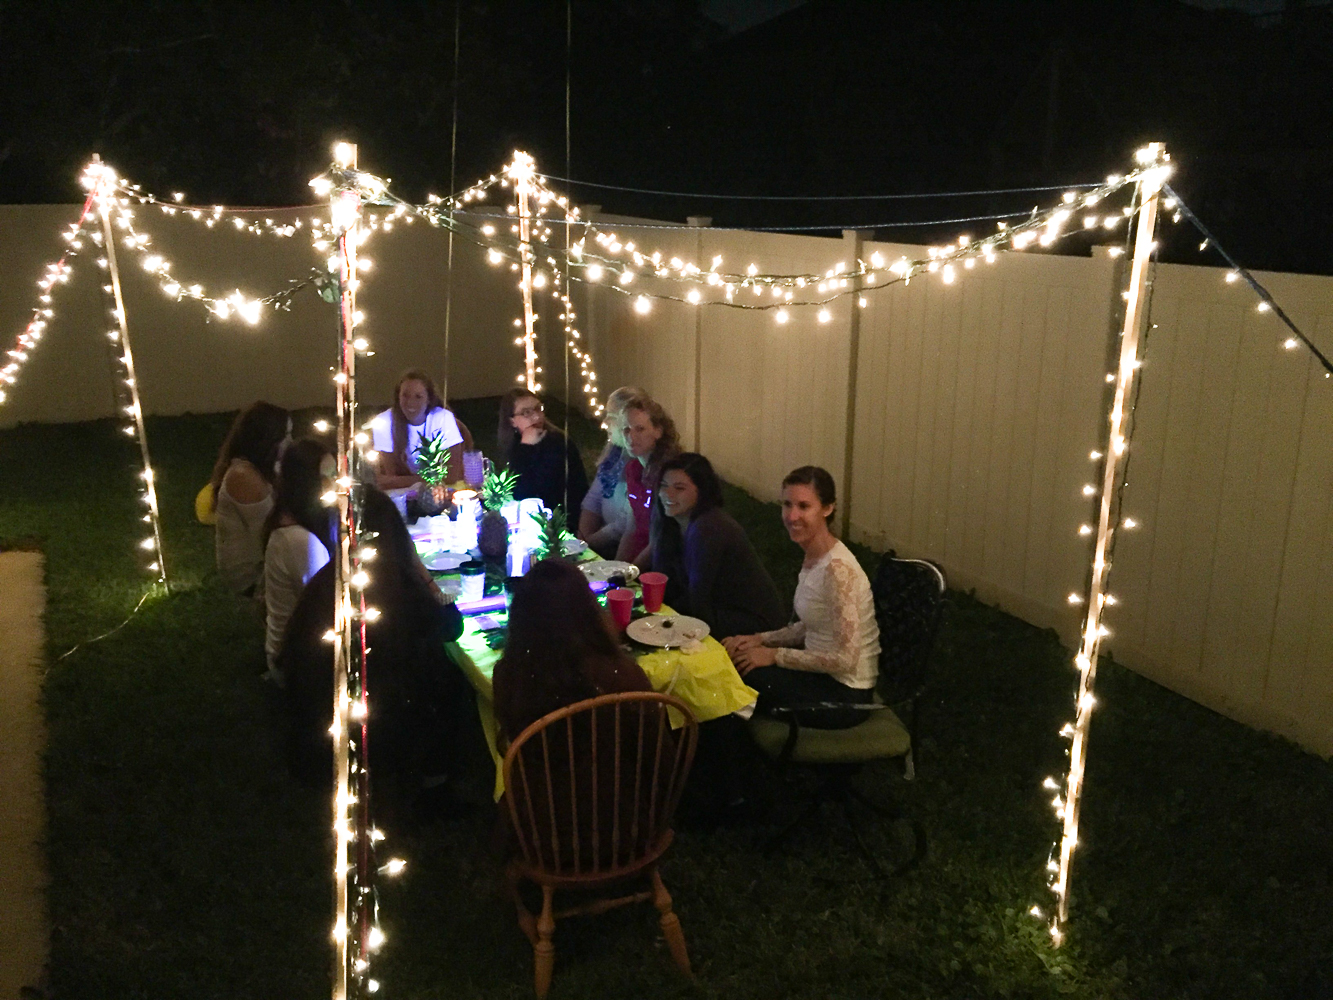
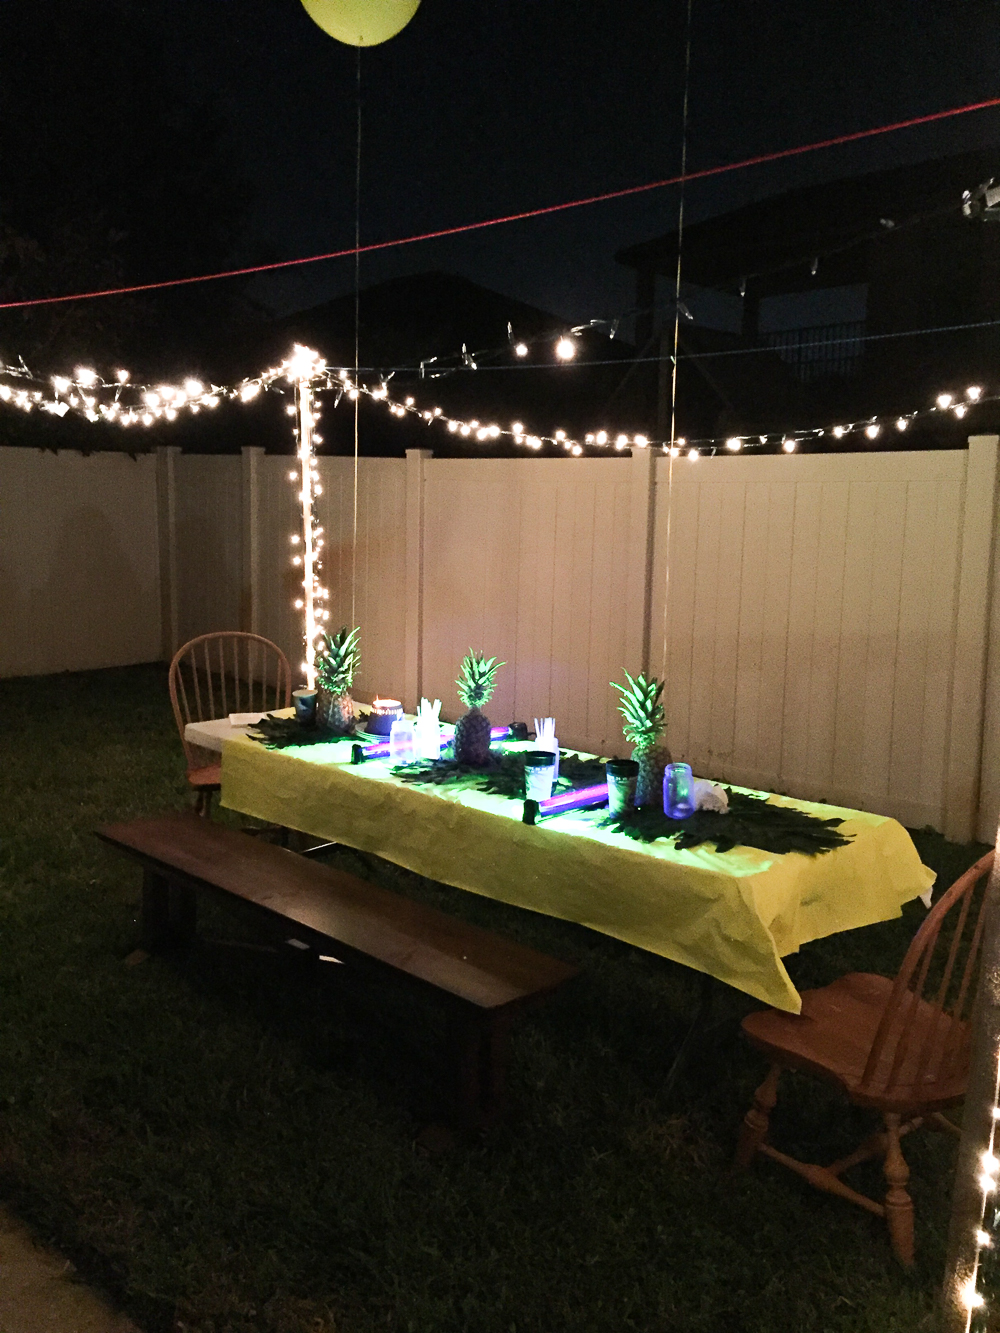
Look at that perfect glow!!!!
How to Host Your First Friendsgiving:
- Create a mood board and figure out your decorating theme.
- Figure out how many people you want to invite. This will determine what type of table you will sit at. A round table or even a sit on the floor set up sound so fun!
- Make a list and order online or purchase in store all necessary decorating supplies.
- Create a Private Facebook Group and invite all of your friends. Make sure to put in the hosting address, the type of food needed, what you will be doing during your friendsgiving and how your guests can contribute, ie. bring food, games, other friends, etc.
- Individually text those friends who don’t have Facebook to invite them (c’mon we all have them haha!). Don’t I repeat, don’t send a group text message. This just irritates people and not everyone has iMessage. Group texts annoy me and I did not want to receive back a million texts during the new few hours. I text all of my friends individually the night before who said they were coming and gave them specific instructions on food needed, my exact address and our gate code. This helped me by not having to answer a million calls the night of the actual dinner.
- If your decorating is really intensive take off work or plan your friendsgiving over the weekend. I held my dinner on a Thursday evening and from the moment I got off work I had to rush to get the table set up, balloons blown up and food made. A Friday or Saturday night would have been so much easier to plan around!
- Prepare the main dish. I made pizza and rice cripsy treats. I felt as the host it was my responsibility to supply the main meal instead of relying on someone else. Plus, big dishes like turkey, pot roast, crock pot dishes and even pizza can be hard to transport.
Items I used:
- Wildfire Visible Luminescence Paint in Brilliant Yellow
- Kids Easel Paper Roll
- 3 Pineapples
- Two packs of 36′ Yellow Sphere Balloons
- Two Blacklight Fixtures
- Mason Jars and Glowsticks
- One large Citronella Candle (I get bit almost every time I step outside and I did not want to be miserable eating outside so I lit a few of these candles and placed them around the table.)
- 1 Box Outdoor Citronella Tea Lights (I put these inside mason jars and placed around the table)


2 Comments
Offrs
May 30, 2017 at 10:06 pmOh my gosh, I love these hosting! Thanks for sharing them with us! Given me some great ideas!
katieskronicles
June 1, 2017 at 1:41 pmThanks! Hope you enjoyed it. =)