Meet the easiest fall craft, DIY velvet pumpkins! Even if you are a beginner, this is a super easy project for any skill level! To get into the fall spirit, I asked my mom what craft we should do and we both agreed on making our own personalized velvet pumpkins after stocking Pinterest! I am pretty sure this is “the” craft project to do this year because finding dried pumpkin stems was harder (and way more expensive) than I imagined.
How to Make DIY Velvet Pumpkins
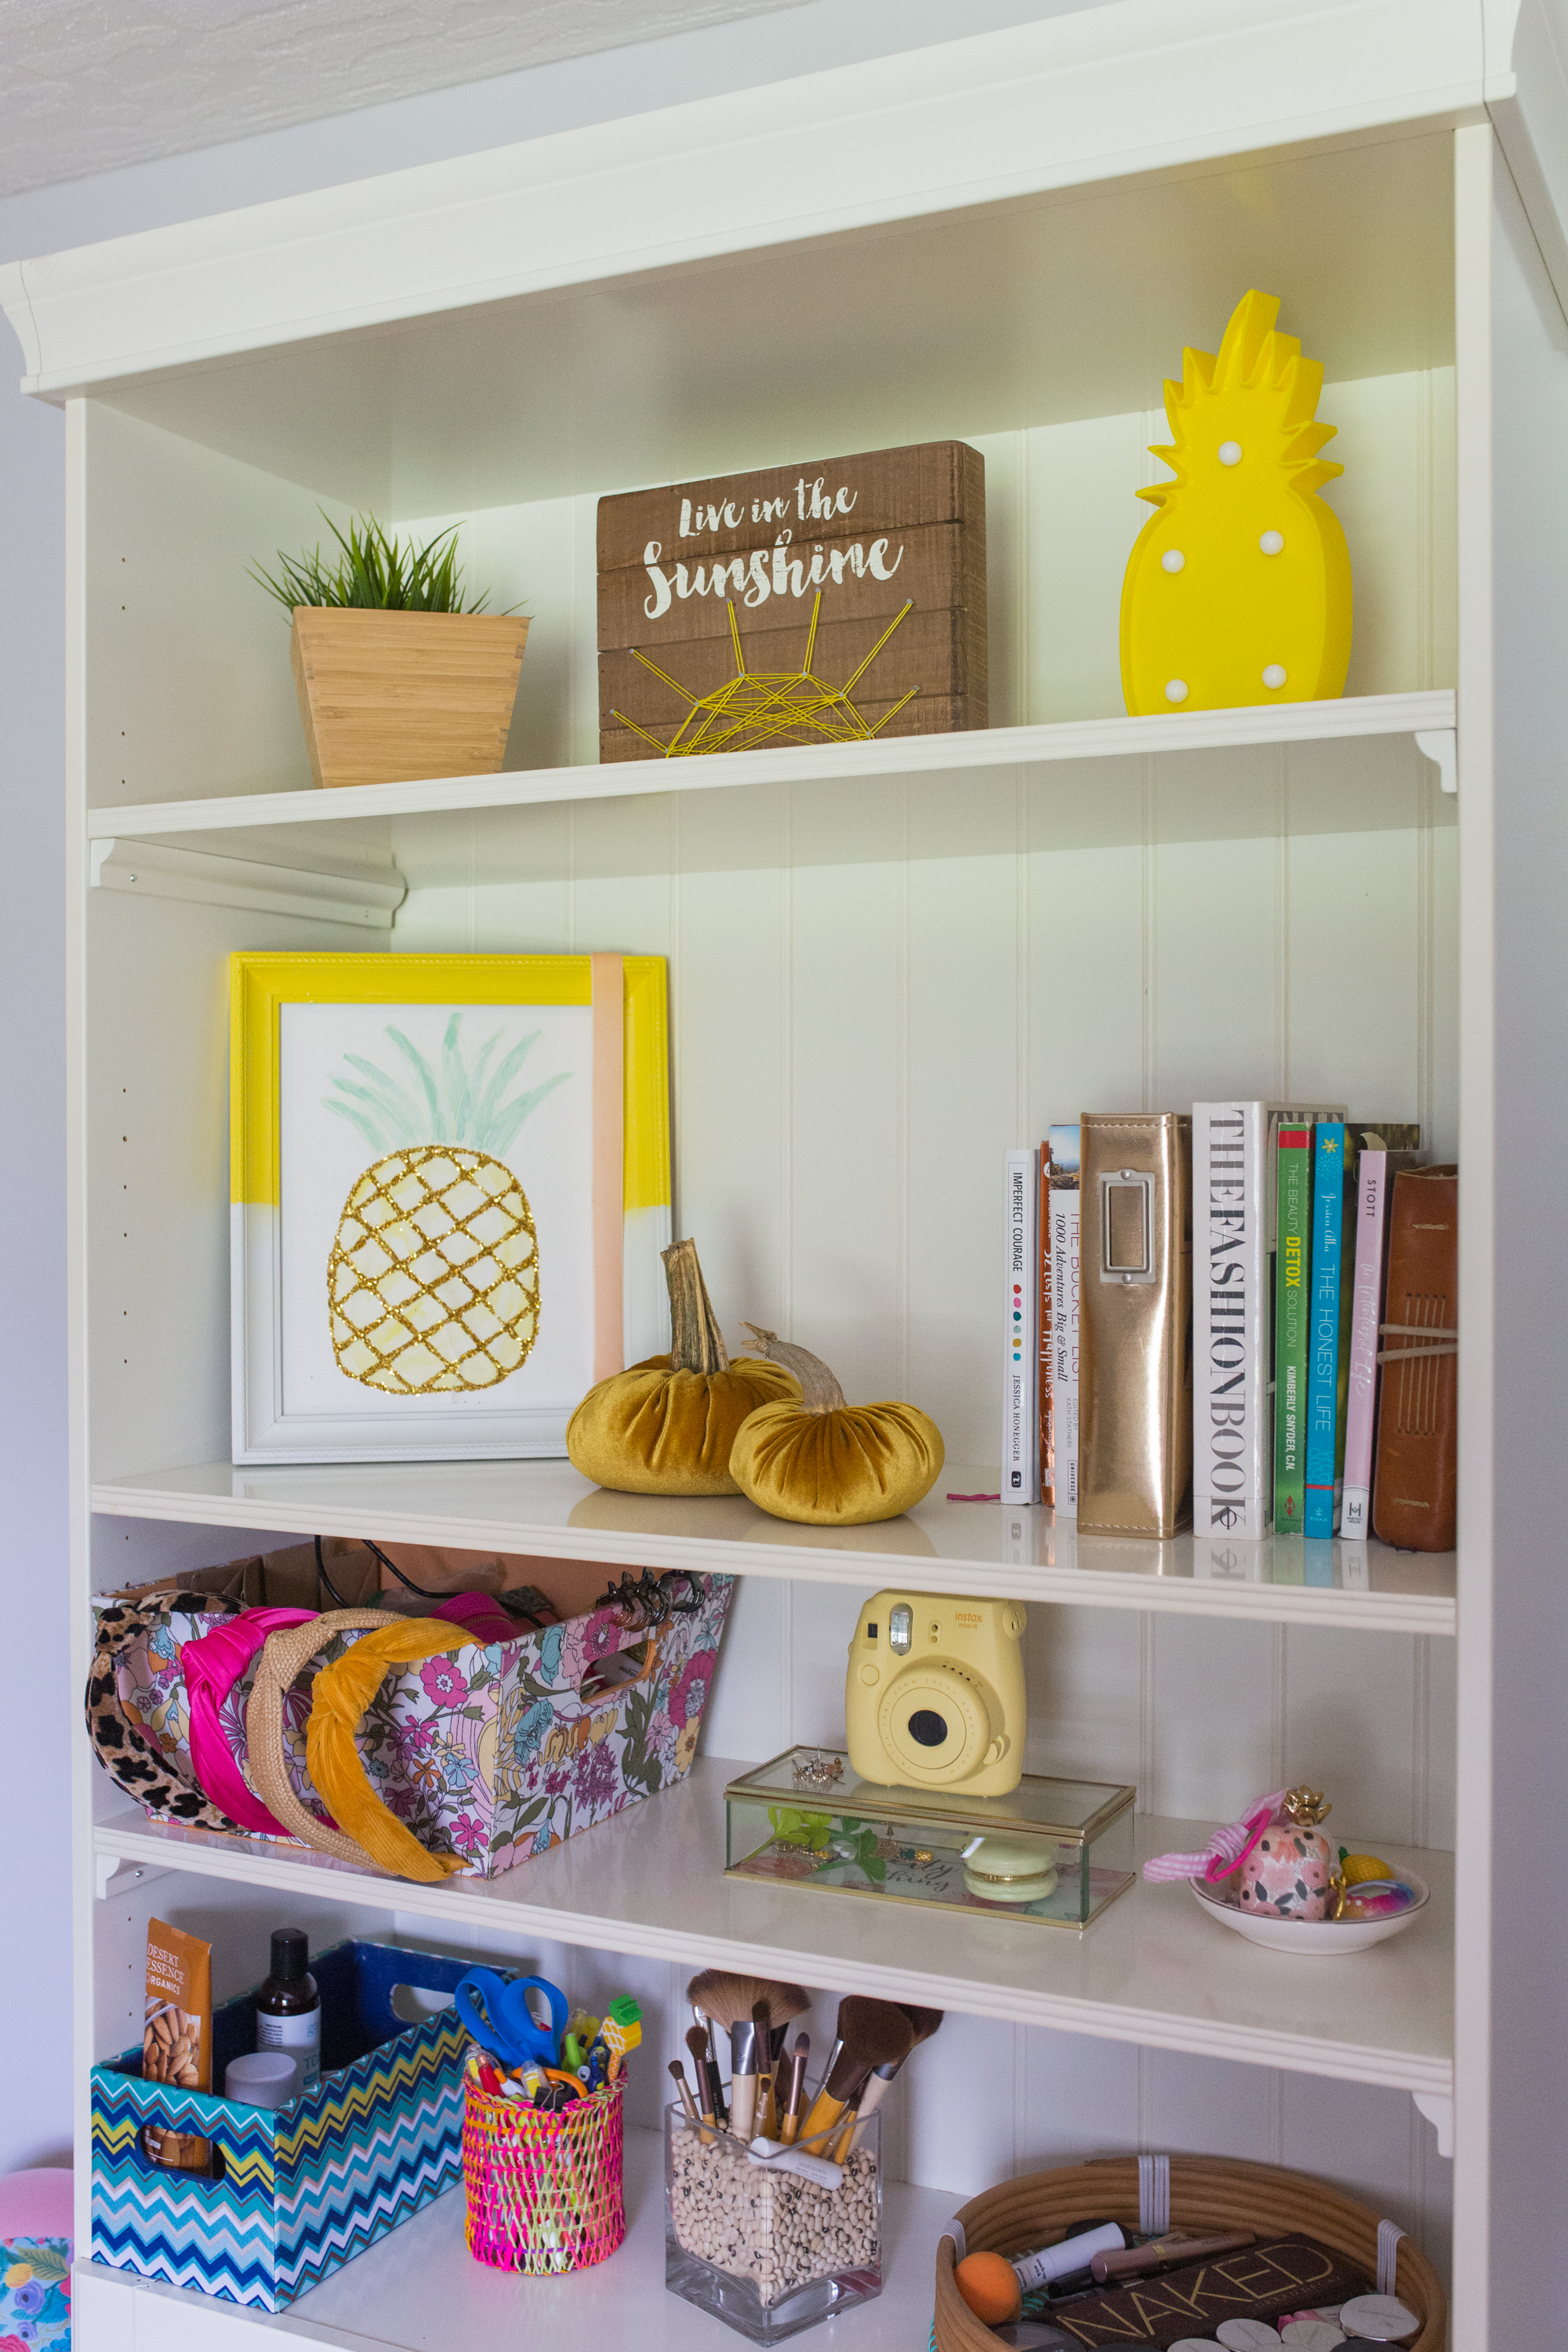
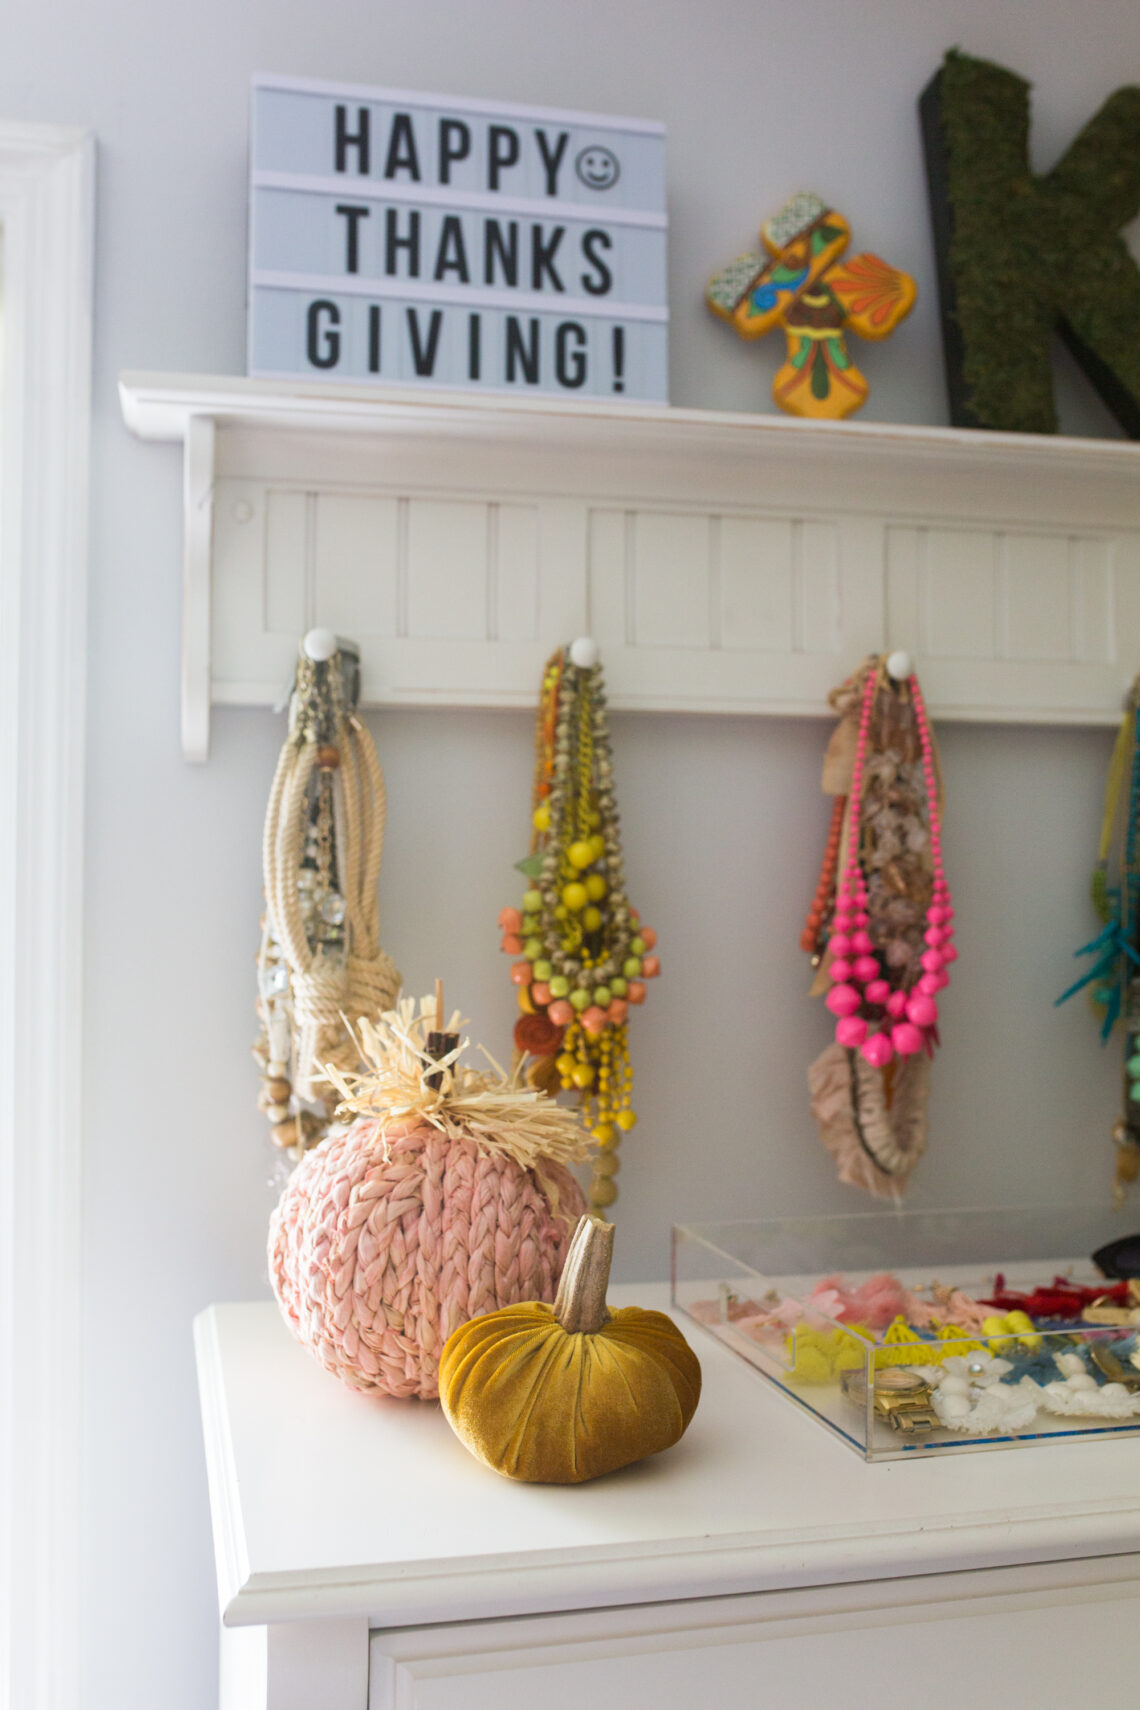
First, let’s talk about how cute they are! They instantly stand out in a room and make it feel so festive! I wanted to make sure mine were colorful and matched my tropical and coastal decorated room. We spent maybe an hour total on making 5 pumpkins and that included, cutting, sewing, stuffing and gluing! The mess is super minimal and it’s fun to be able to personalize the fabric and figure out what size you want your pumpkins.
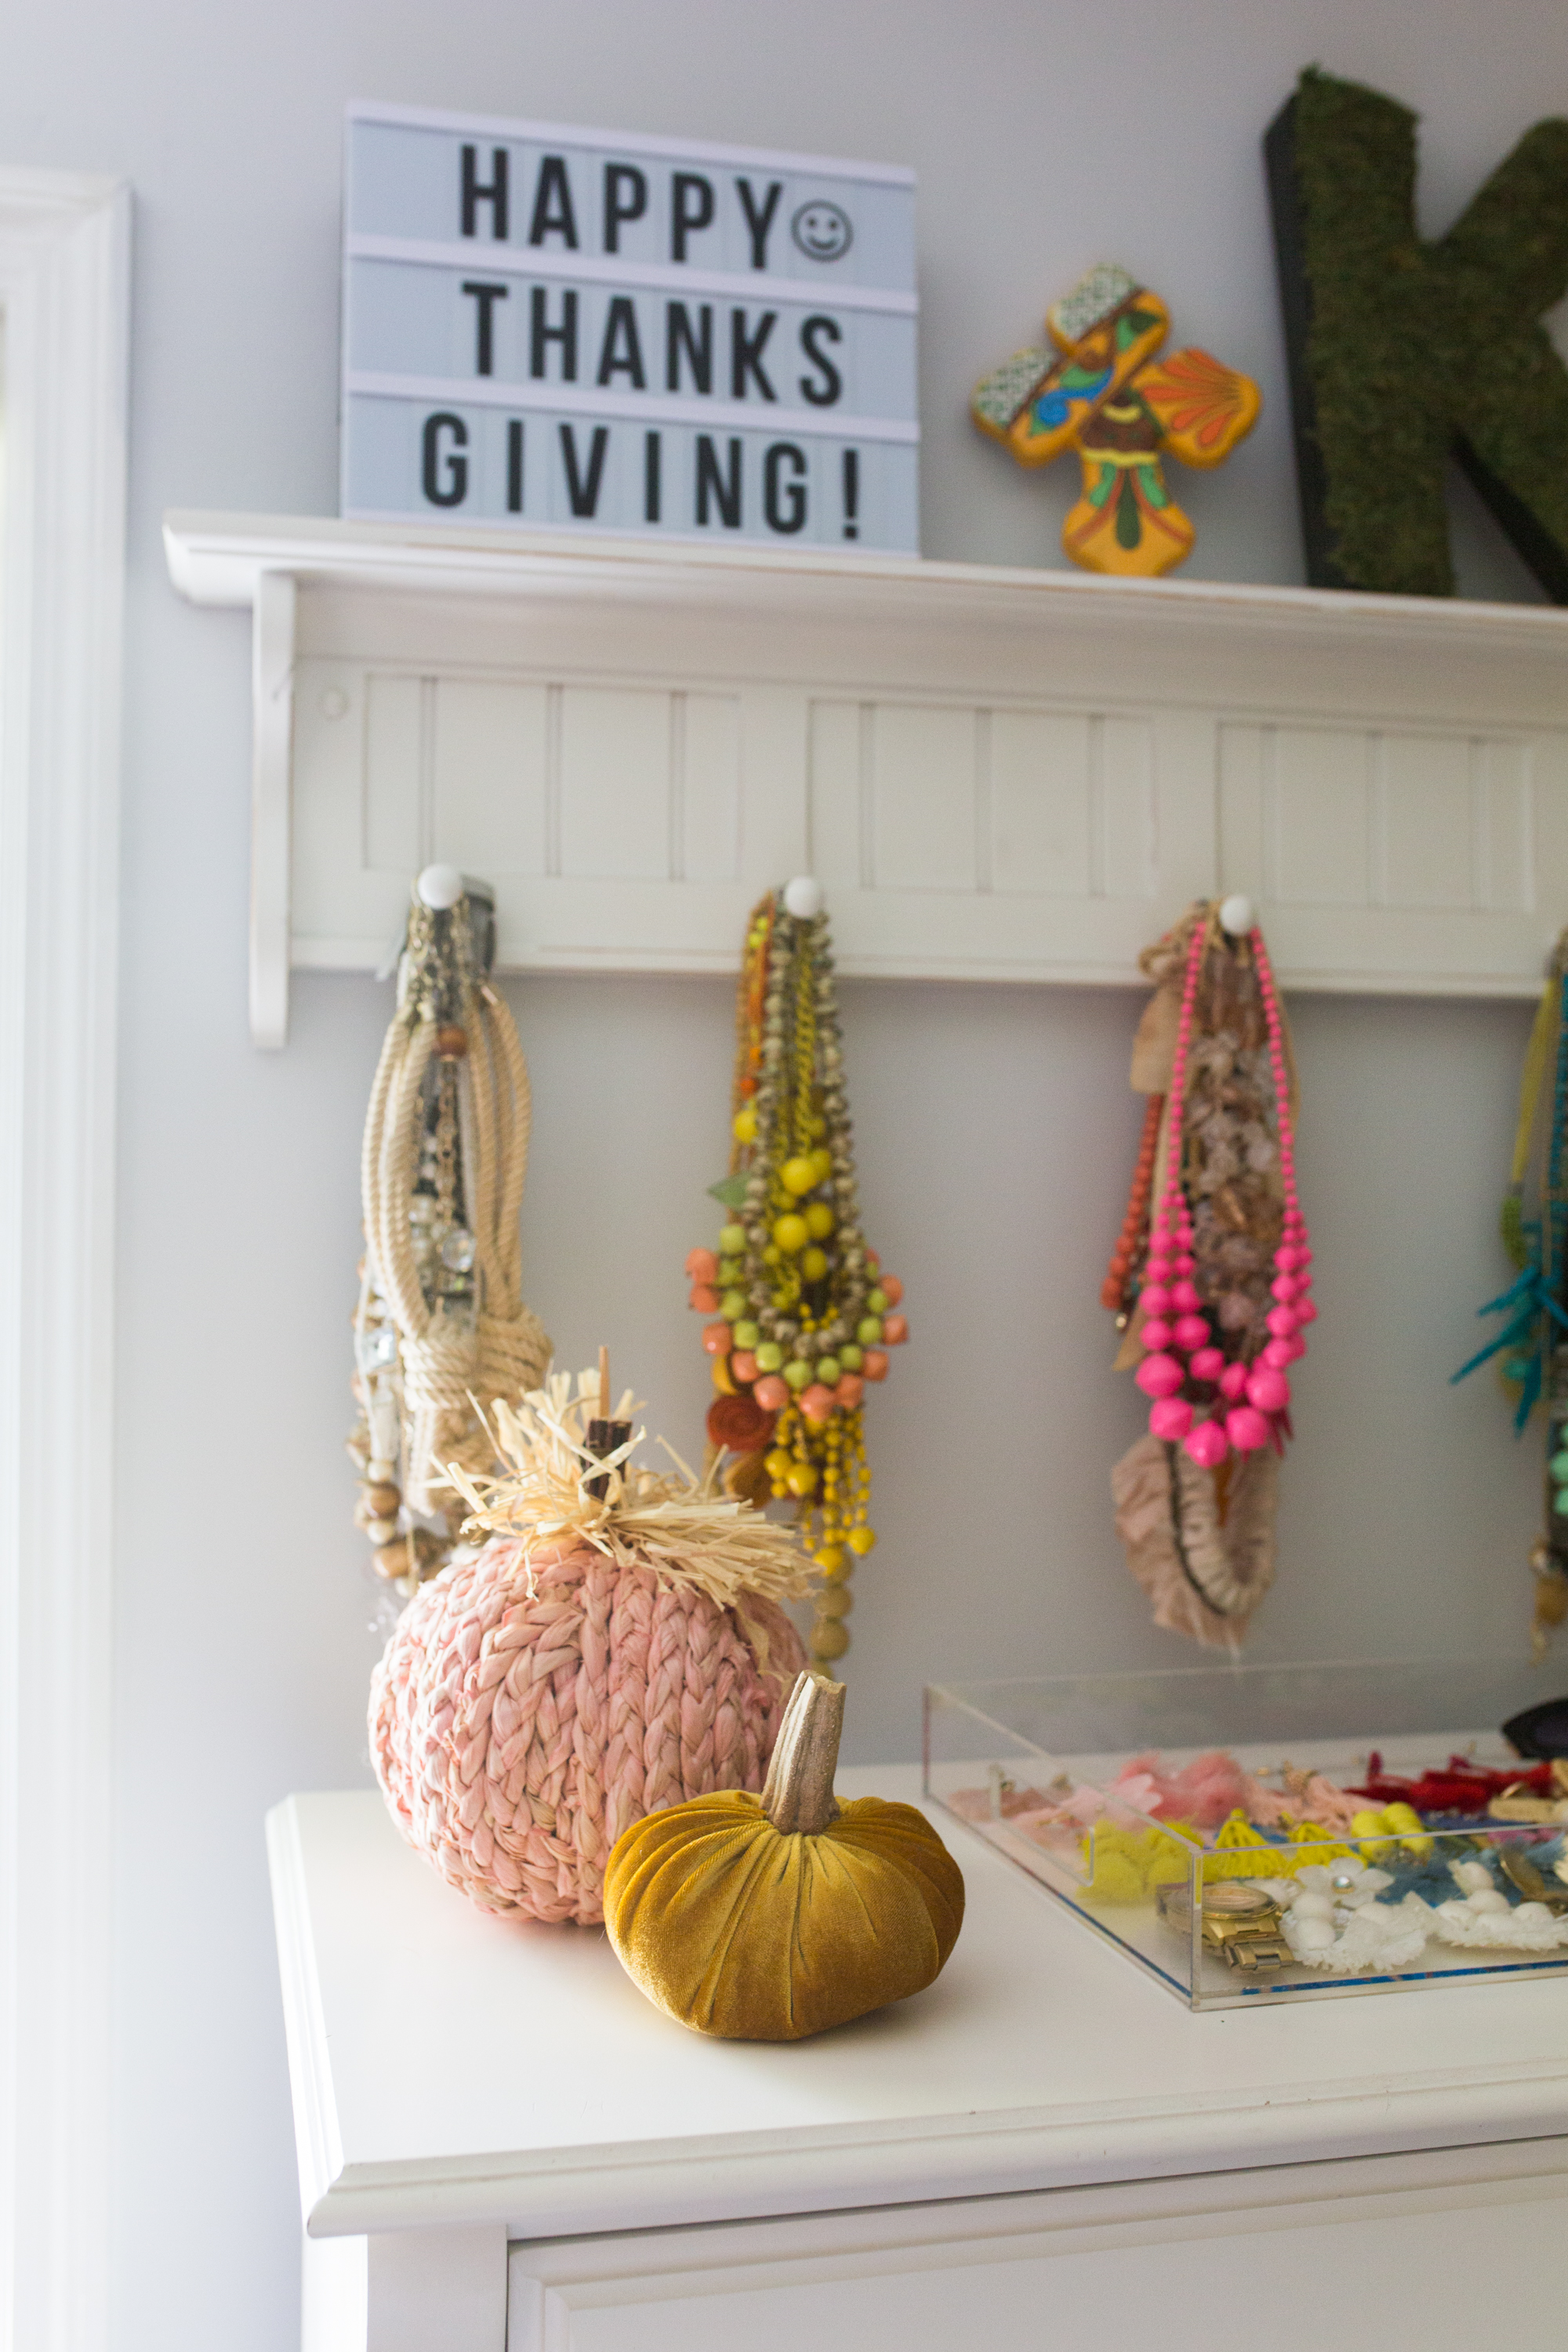
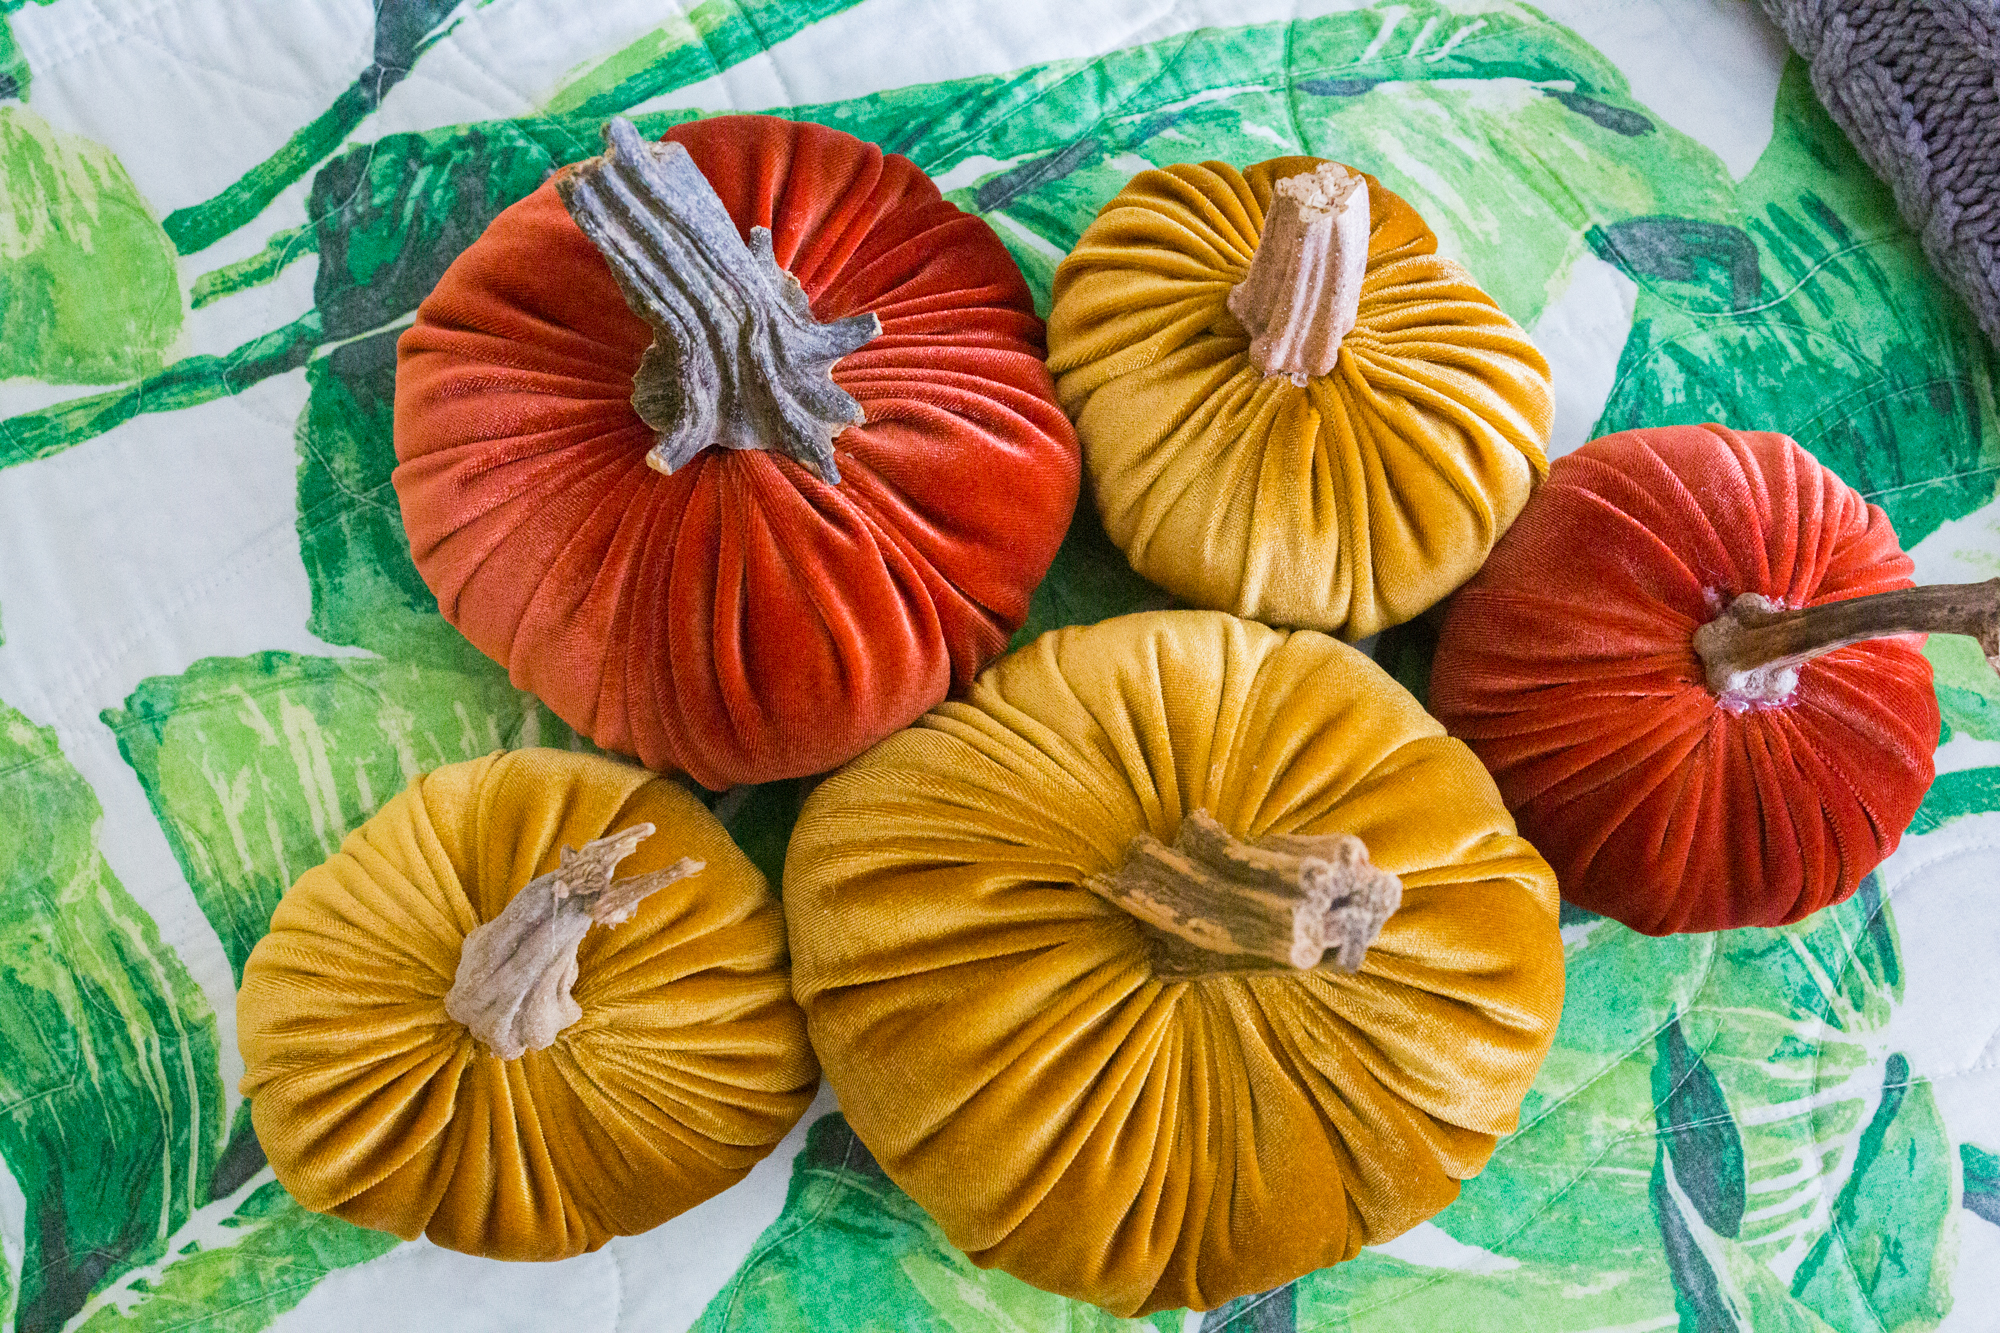
My decorating style compared to my moms is super different. She loves traditional fall decorating and all the warm colors. I love color, tropical vibes and like to decorate with non-traditional colors and prints. Also, I only have a teeny tiny bedroom to decorate now and I can only image how much fun it must be when you have a whole house! I used a yellow velvet fabric and she used a burnt orange velvet fabric from the same ETSY store.
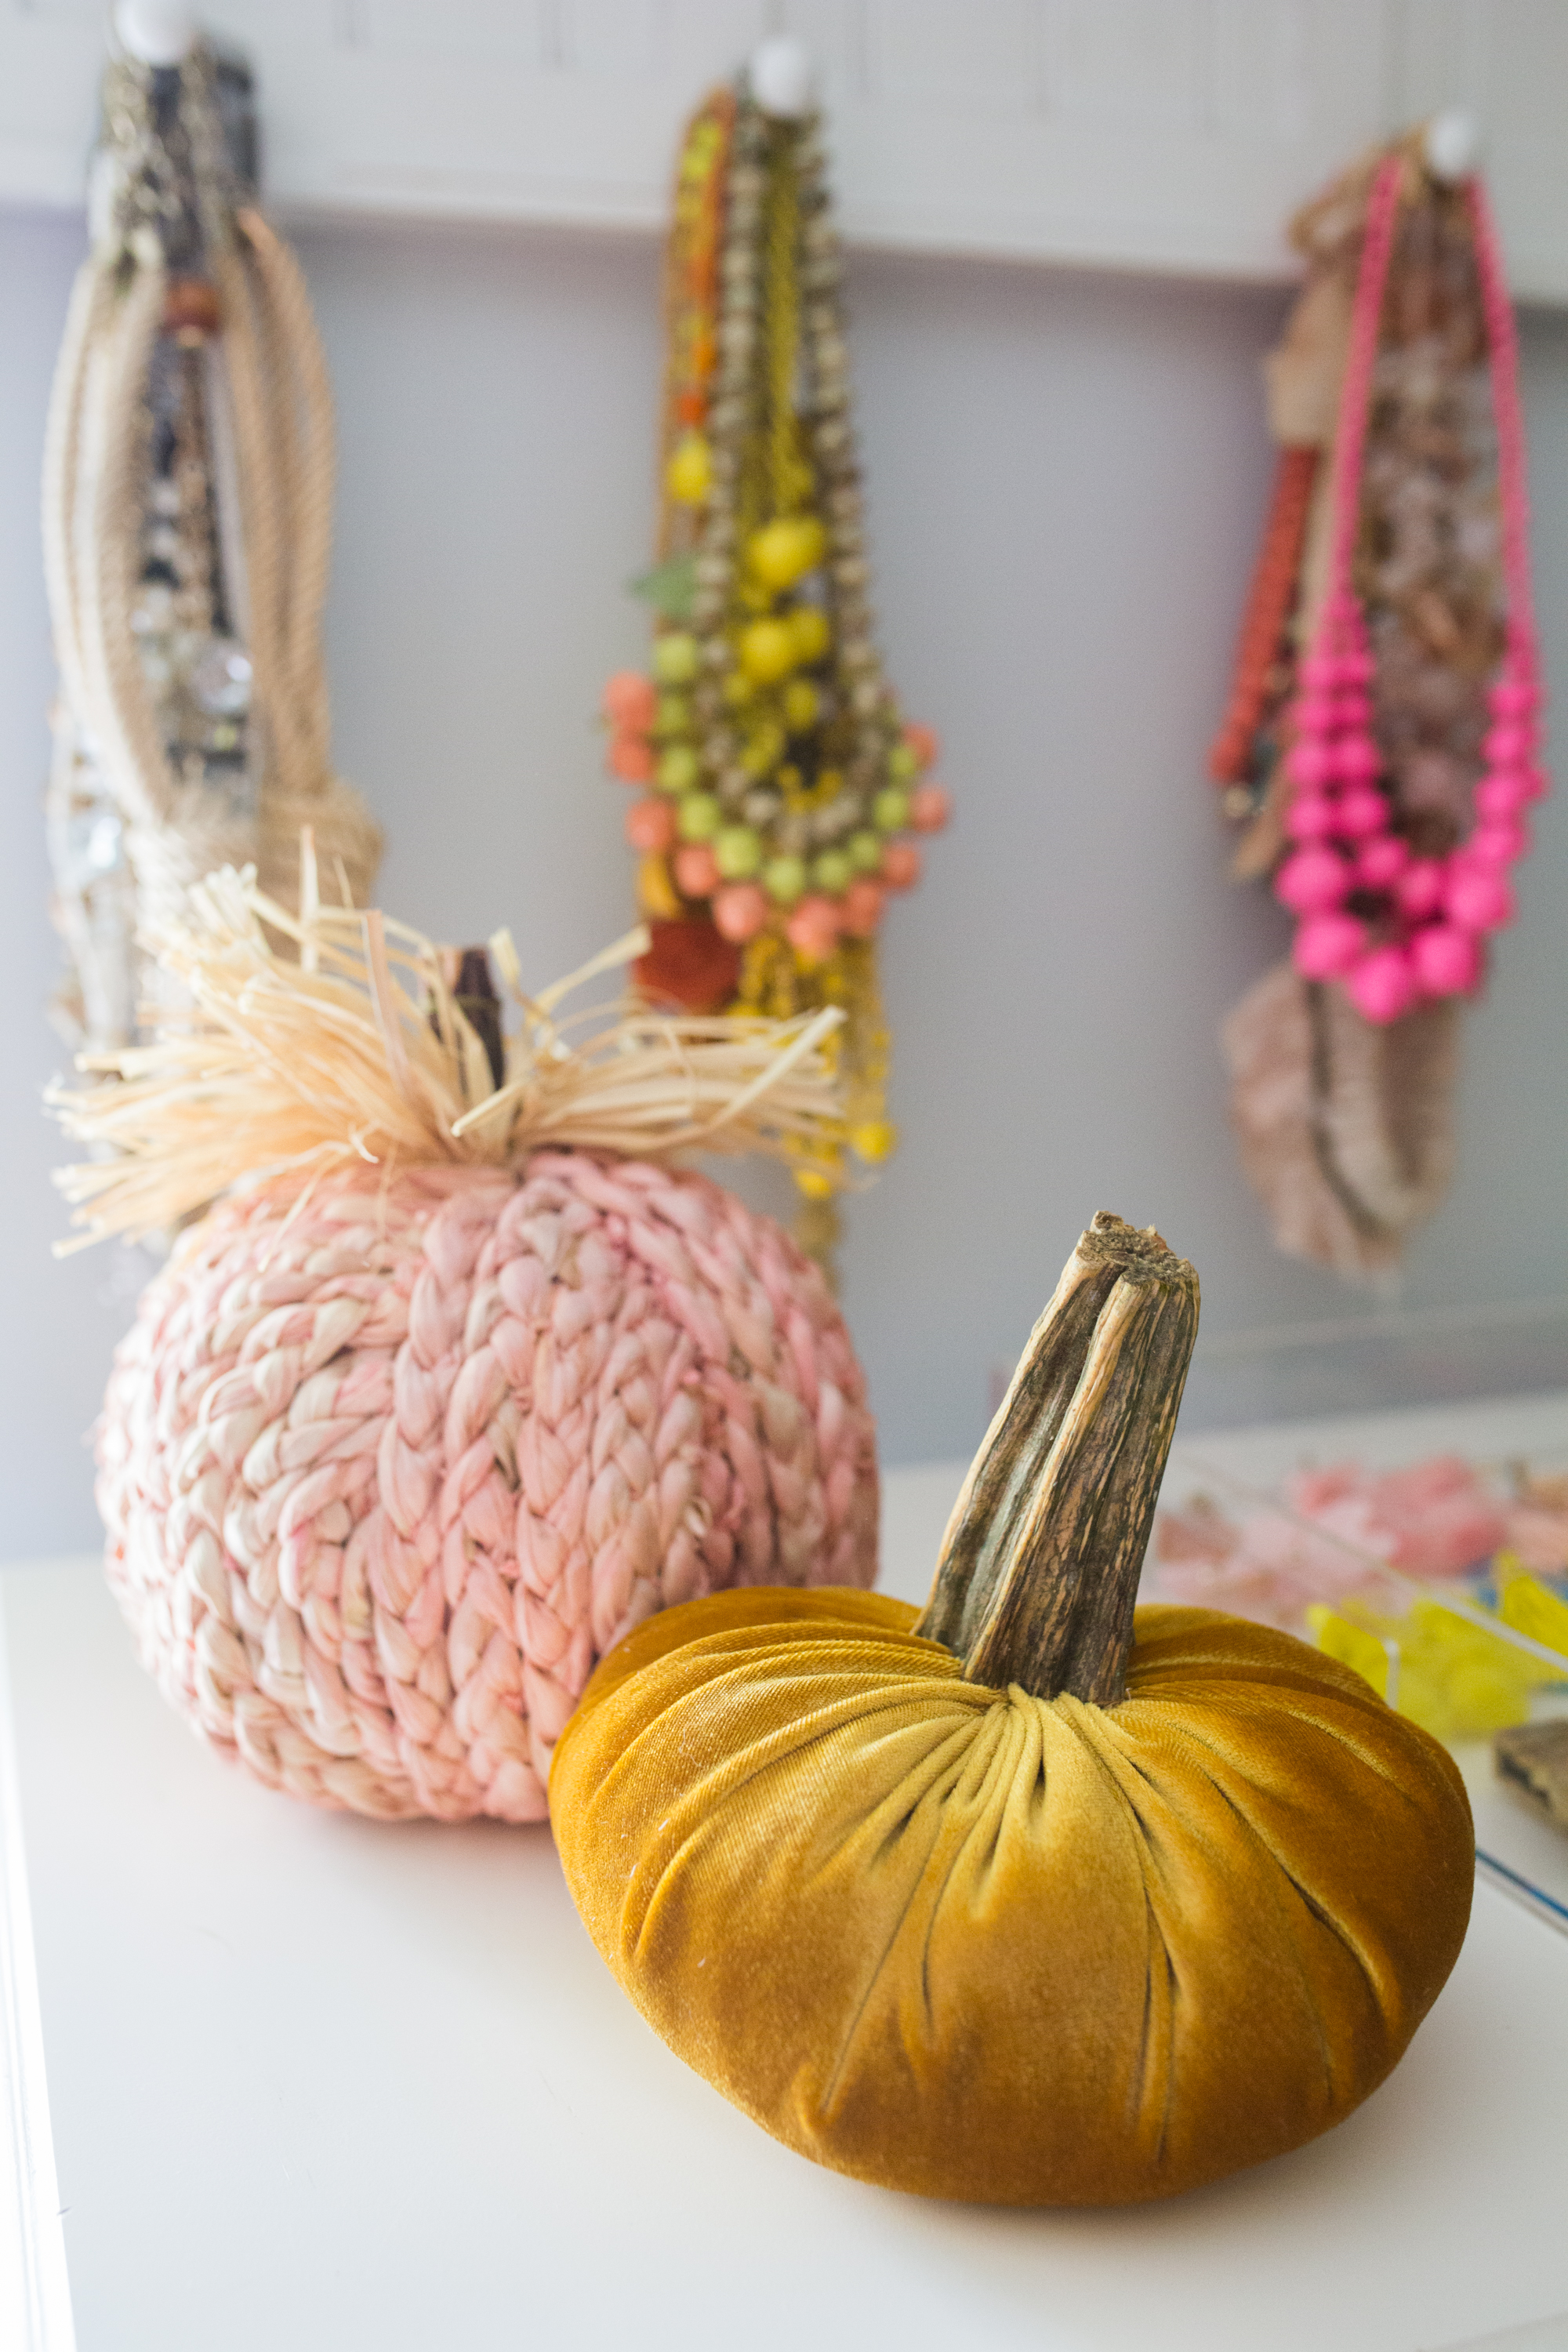
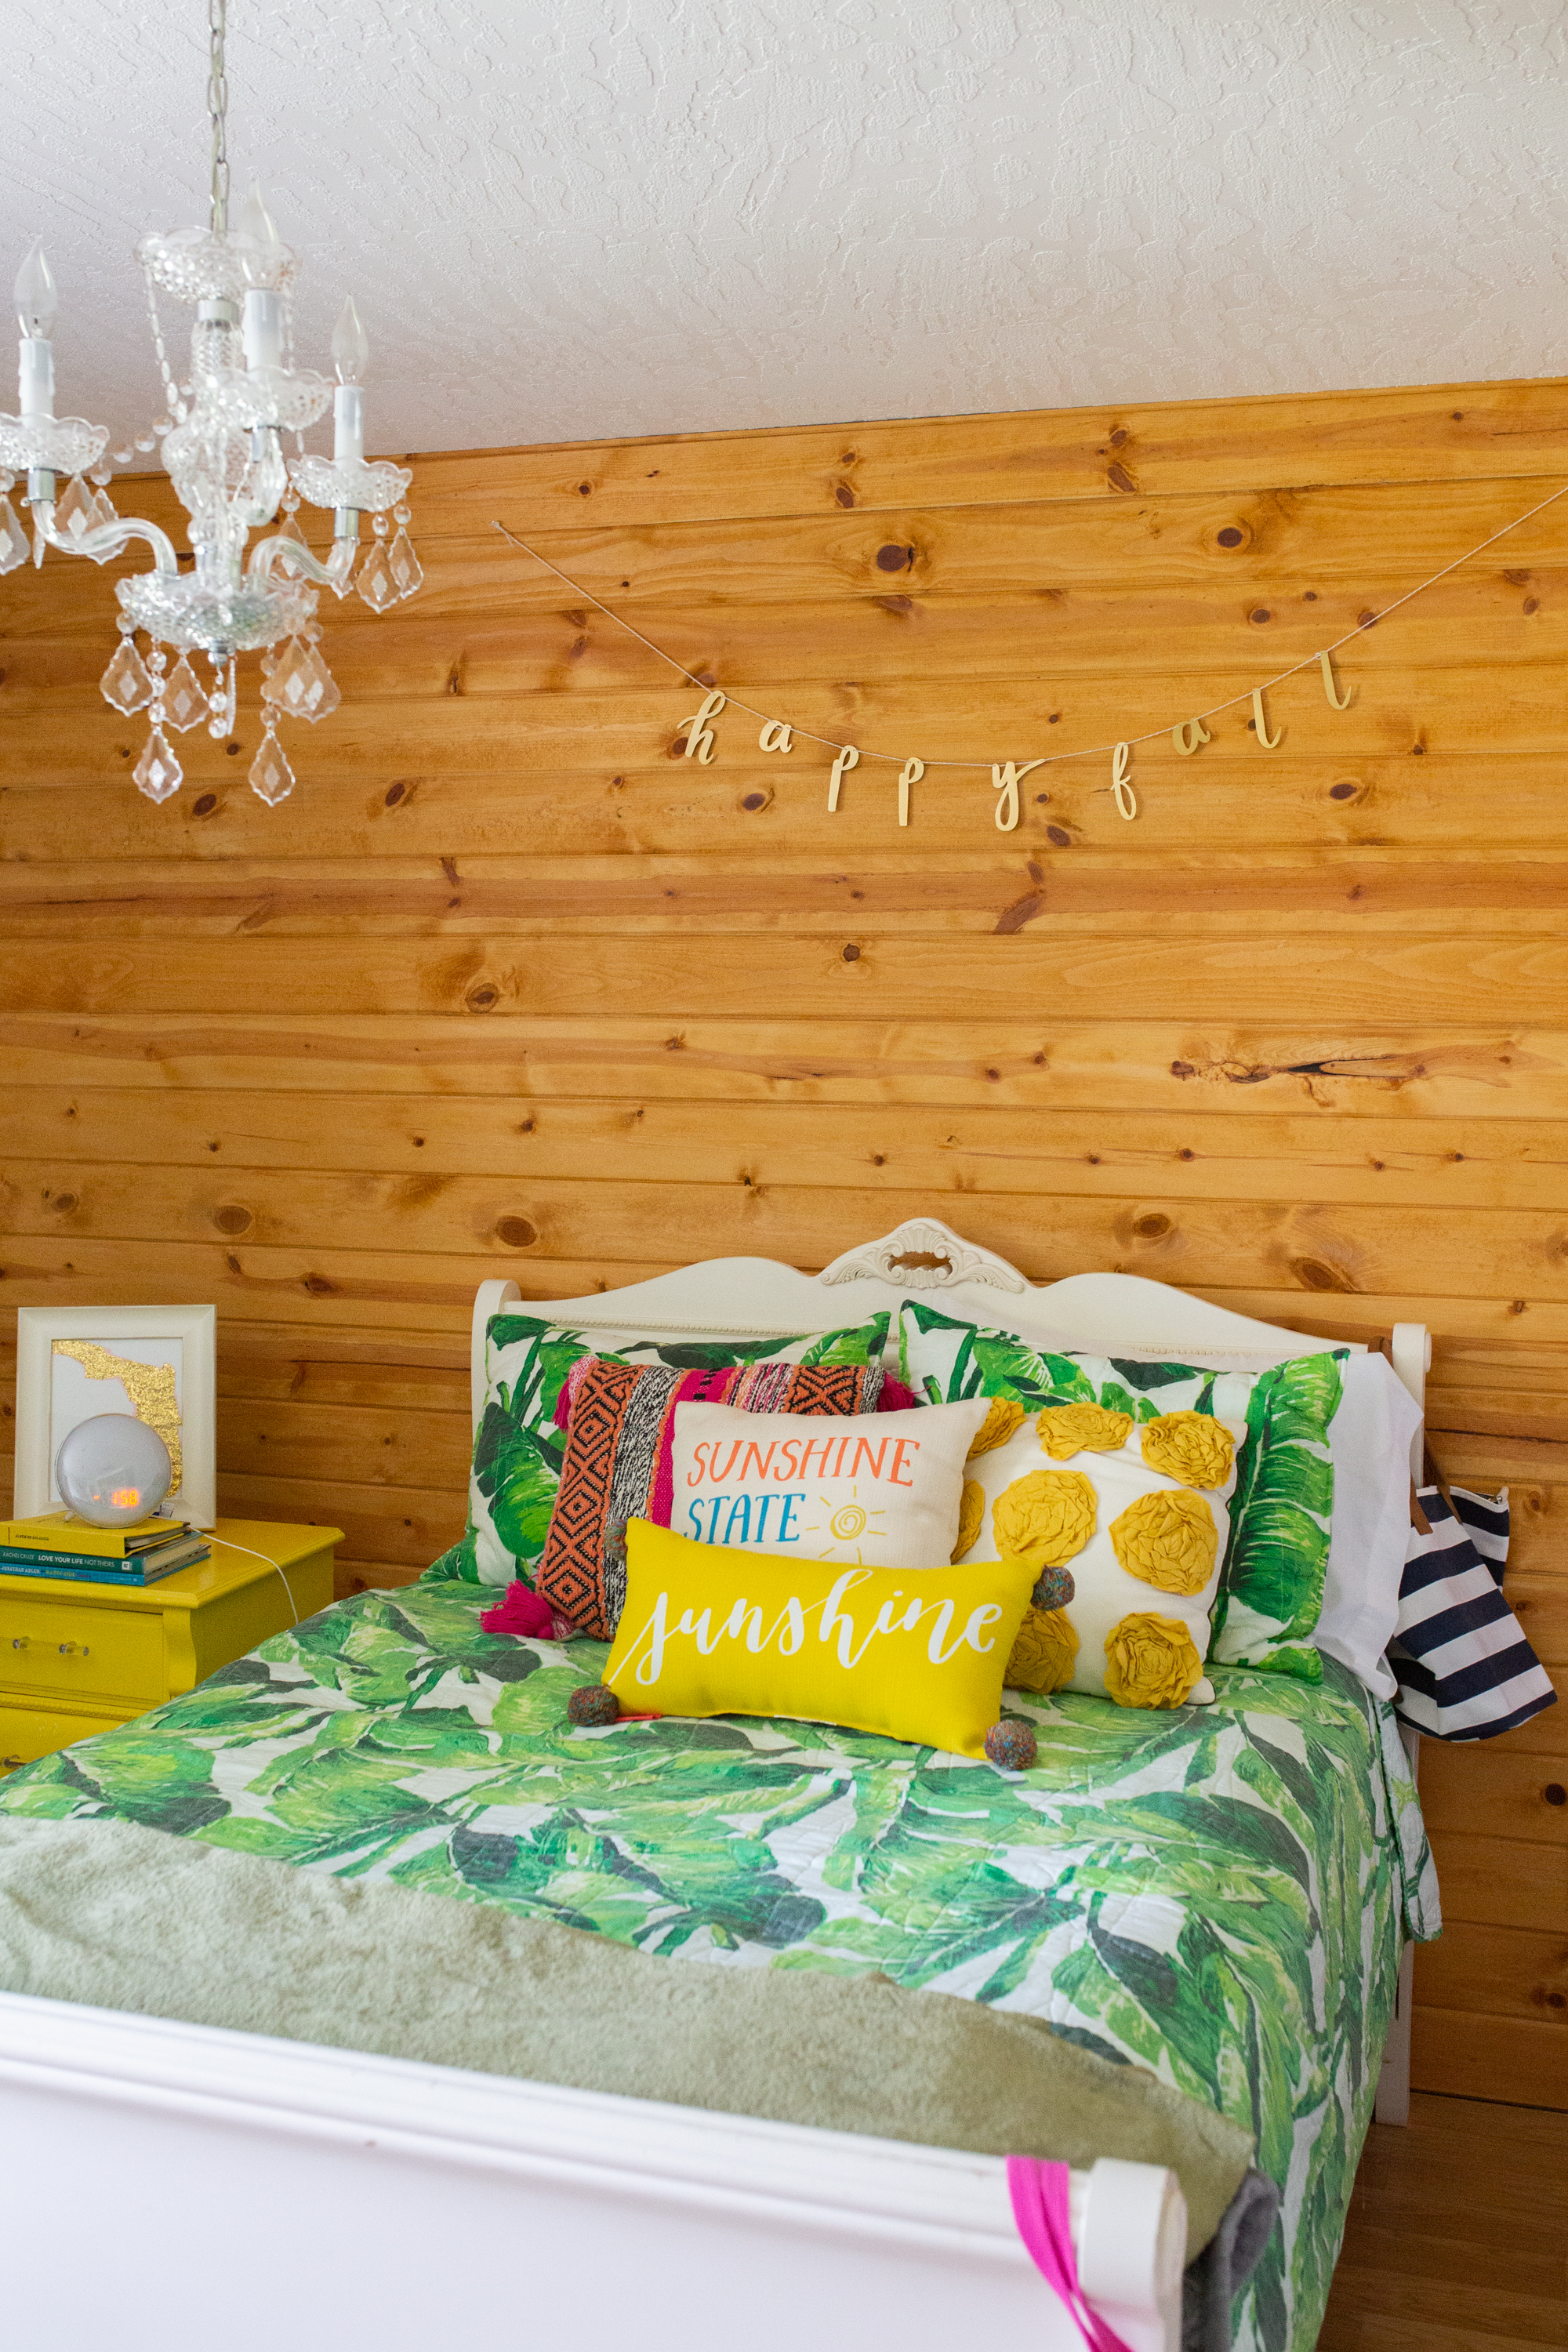
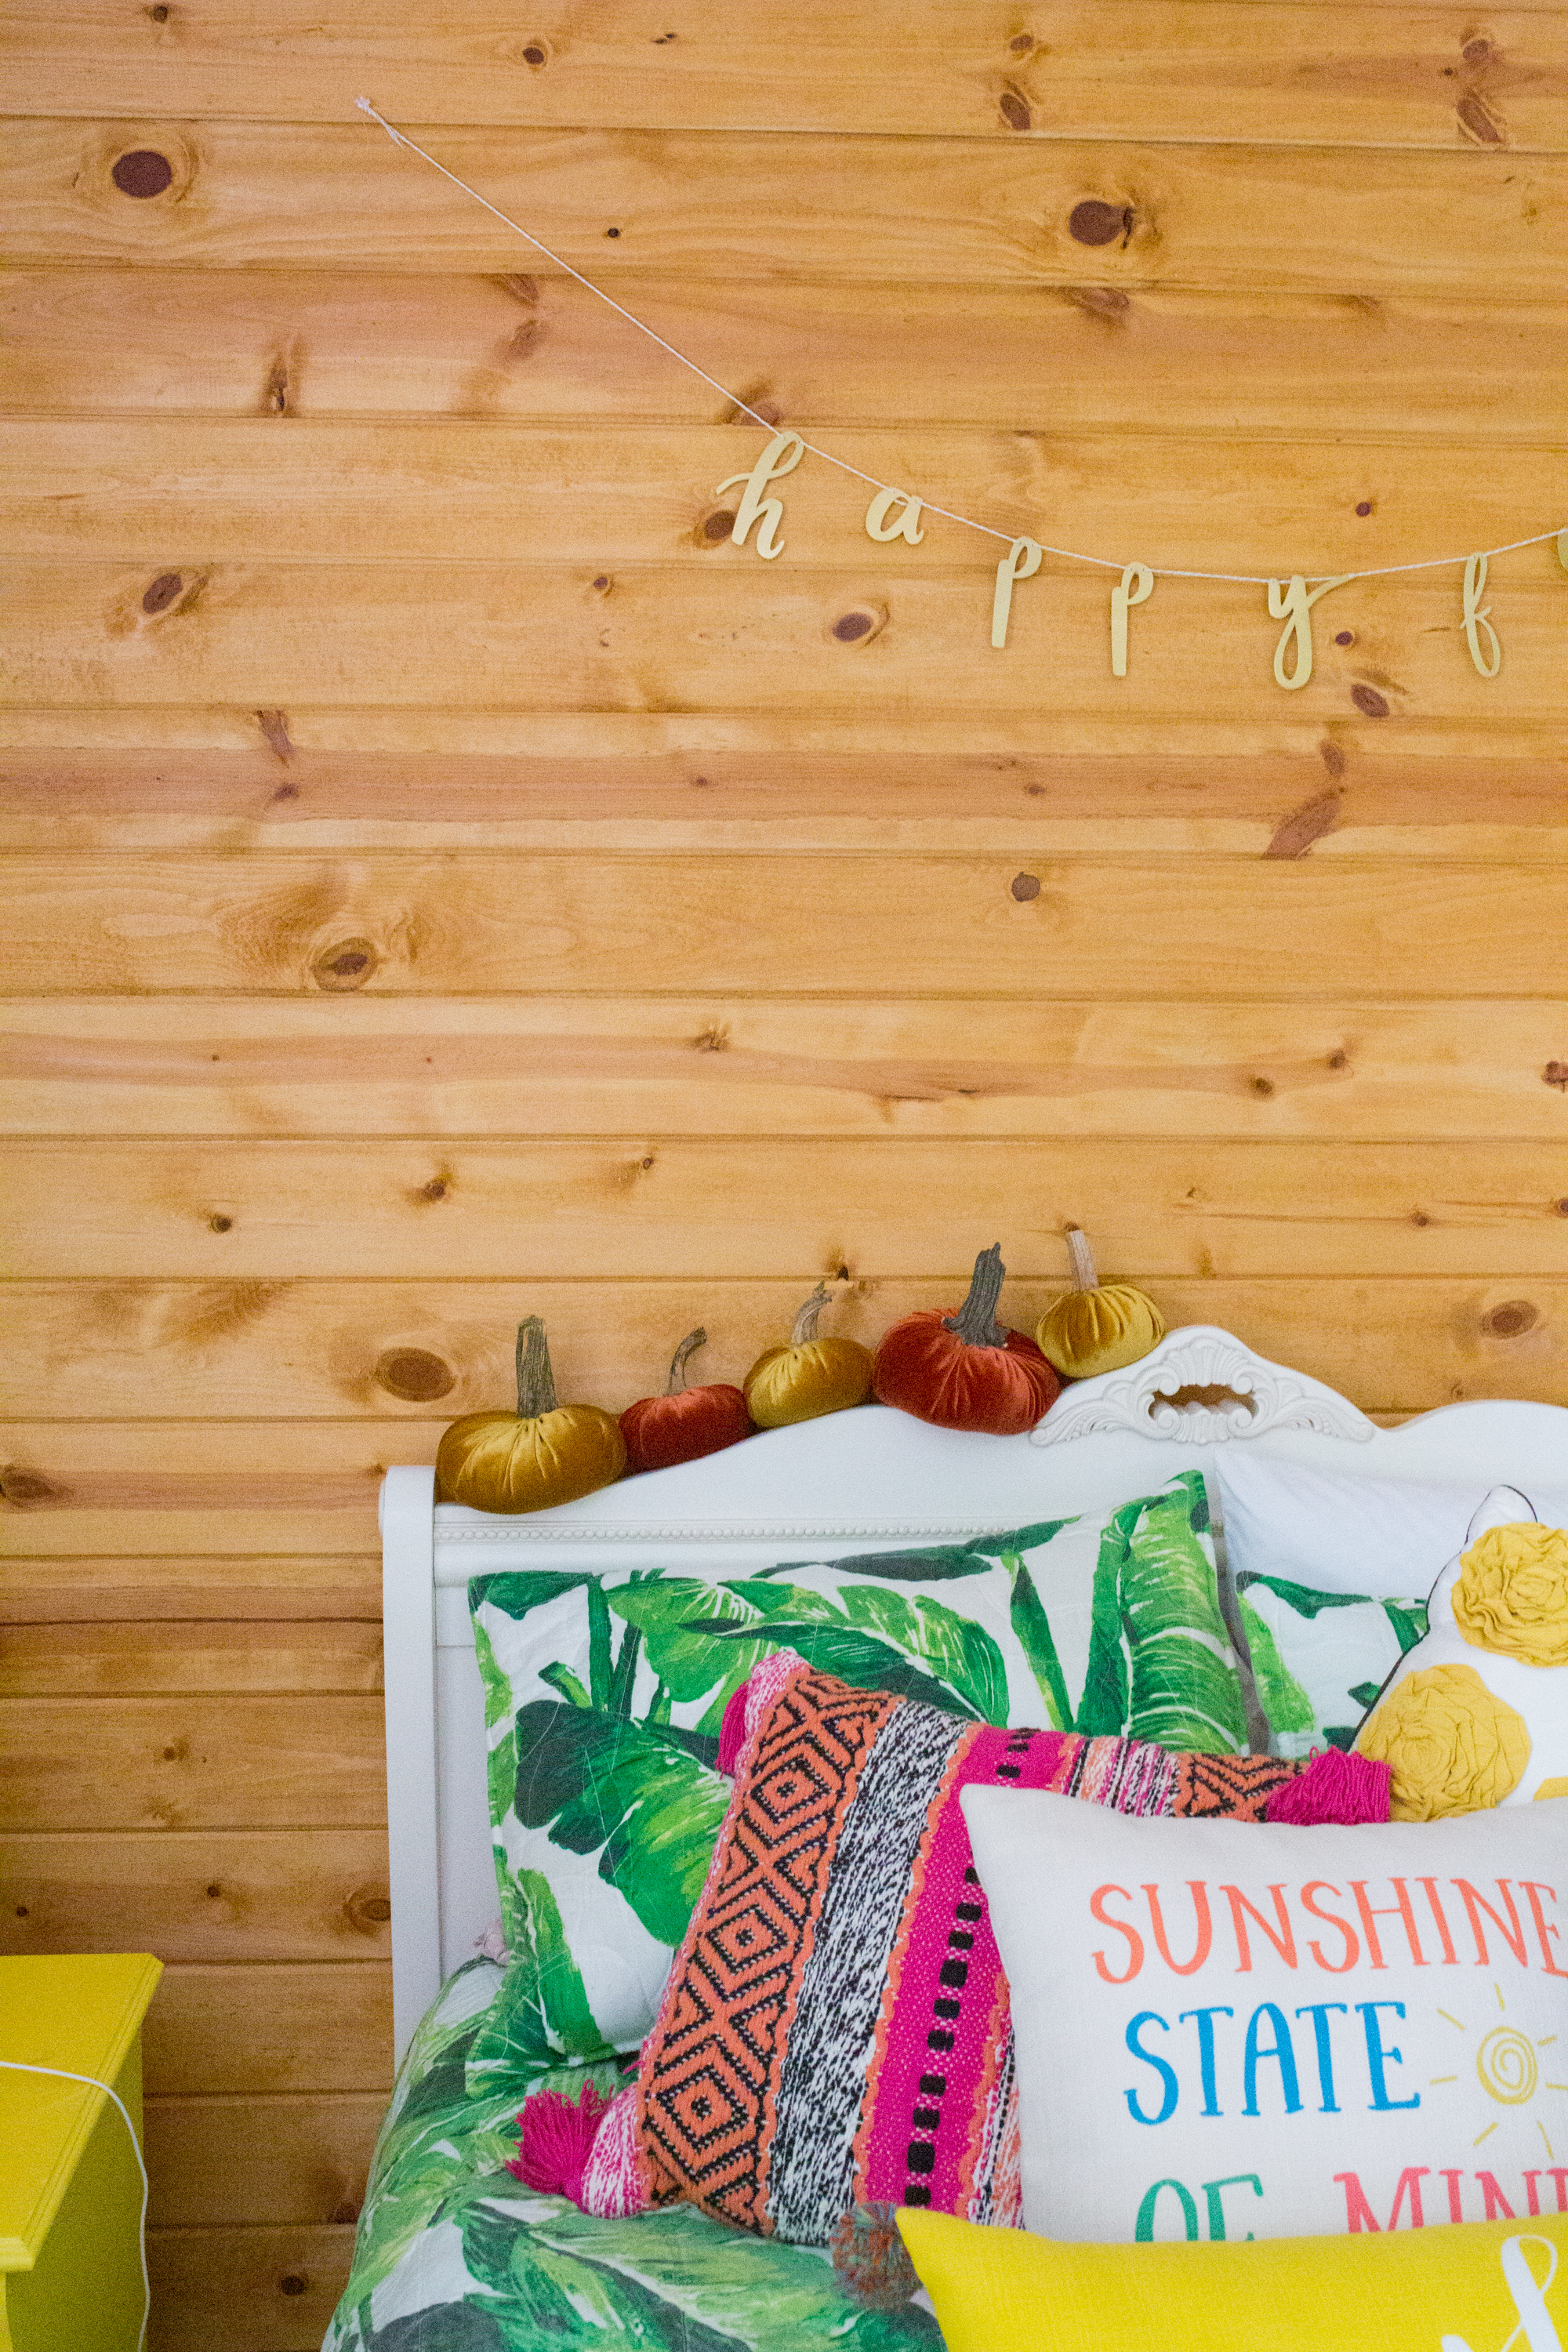
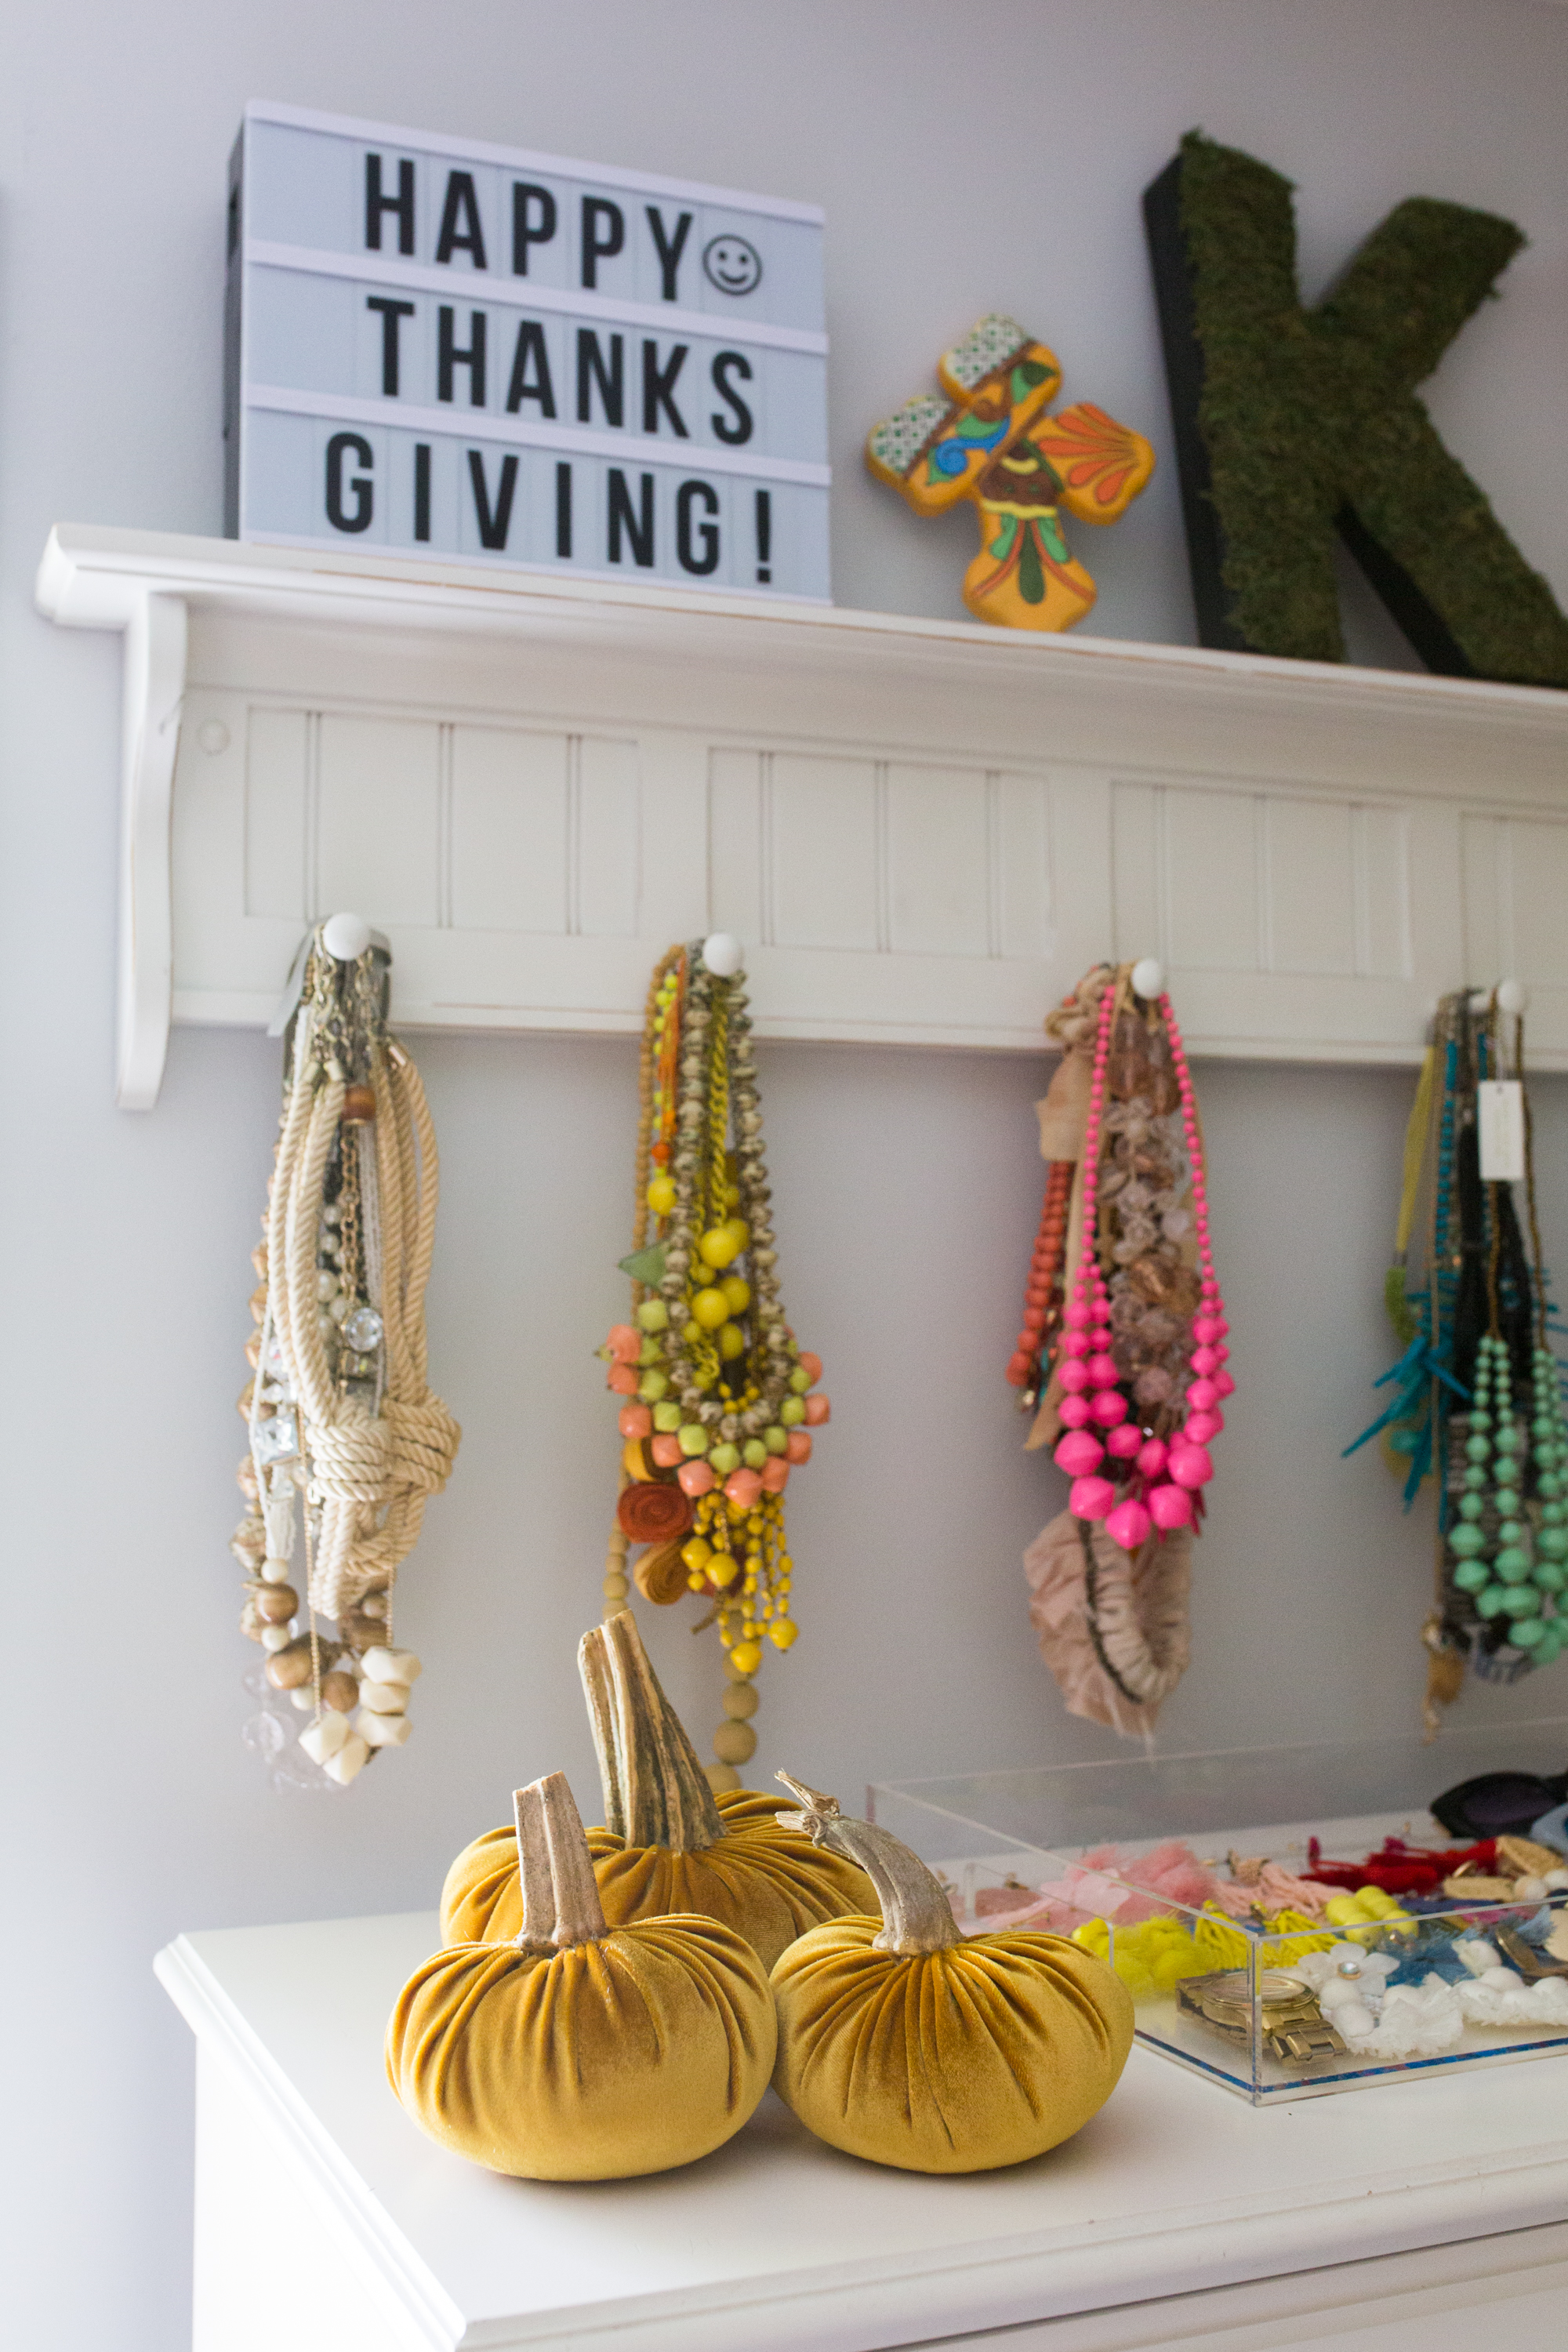
So, I ordered my mom and I 1 yard each of the yellow velvet and burnt orange fabric and we had plentyyyy left over. Also, I made 3 yellow pumpkins total. One was large cut from a 15″ plant stand top I traced and the other 2 were on the smaller side cut from a 11″ plate! We could only make 5 pumpkins because I only bought 5 stems. I read somewhere that you can use stems from spaghetti, butternut or acorn squash as well! So save those stems if you make squash soup soon! I plan on drying out the stems from pumpkins that I carved this year and will save them for next year so I can make more velvet pumpkins! They would make amazing gifts!

How to Make DIY Velvet Pumpkins
There is no way I can take credit for this awesome tutorial. Jann from Newton Custom Interiors did all the hard work and I used her YouTube video (mostly for the sewing visual) and this blog post for all of the materials I needed.
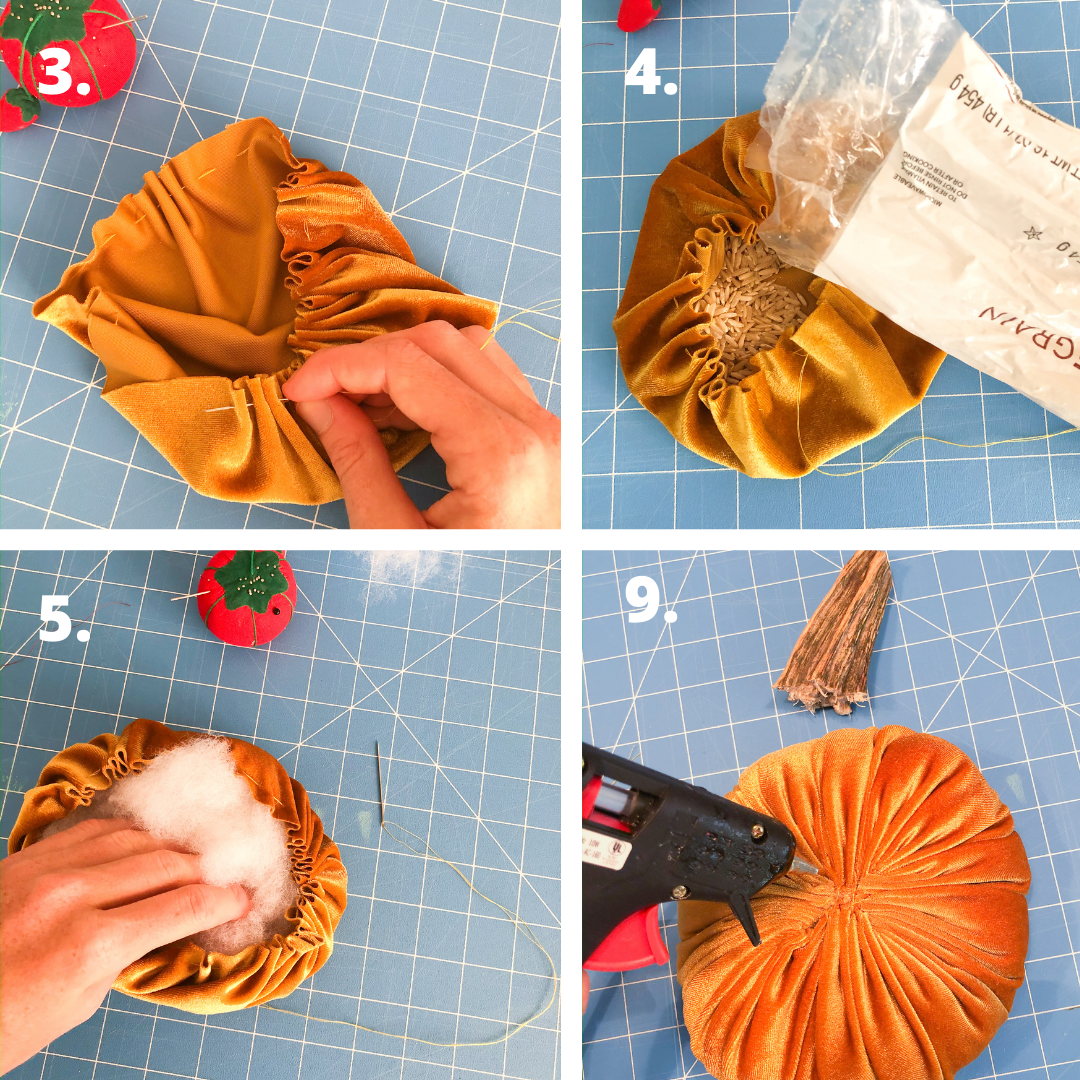
The hardest part of the entire project was sewing the pumpkin fabric shut. Watch the Youtube video and make sure to pay attention to that part! Again, it’s a beginner project and you don’t need to have extensive sewing knowledge to be able to make a pumpkin. Honestly, you could butcher the entire sewing part and it would still turn out okay because the stem covers any mistakes!
Keep in mind all you need is 1/2 yard of fabric. It can easily make 3-4 pumpkins. A full yard will make 5-10 depending on the size circle/pattern you use to cut the pumpkin. I bought 1 yard and have way to much left over, so I plan on making scrunchies!
Materials Needed
- 1/2 Yard Velvet Fabric (I used this yellow velvet and this burnt orange velvet fabric)
- Pumpkin Stems (Ordered mine off ETSY from Perkypumpkins! It was 5 for $17)
- Heavy Thread
- Needle
- Fabric Scissors (regular household scissors work just as fine!)
- Polyester Fiberfill
- Hot glue gun
- Dry rice or beans
Instructions
- Cut out your circle shape.
- Thread needle and knot double strand.
- Hand sew a basting stitch all the way around the circle of fabric. Gather up fabric.
- Place 1/4 cup of rice or beans in the bottom of the pumpkin.
- Fill the pumpkin with polyfill.
- Tighten basting stitches to close the pumpkin.
- Make a couple of stitches across the opening to help close it.
- Take a stitch to the bottom of the pumpkin and back up to the top. Knot your thread (watch the Youtube video for extra help!).
- Hot glue the stem onto the pumpkin. Covering the opening and stitches.
Shop DIY Velvet Pumpkin Supplies
Lots of Sunshine,
Katie



2 Comments
Katie
October 20, 2020 at 11:05 amLoved this craft! Can’t wait to try it!
Sunshine Style
October 21, 2020 at 8:02 pmThanks tons Katie! I am glad you loved the craft idea! Please share when you are finished with the craft. Can’t wait to see what you come up with! =)